Posts tagged "custard"

‘NATIONAL CHERRY TART DAY’

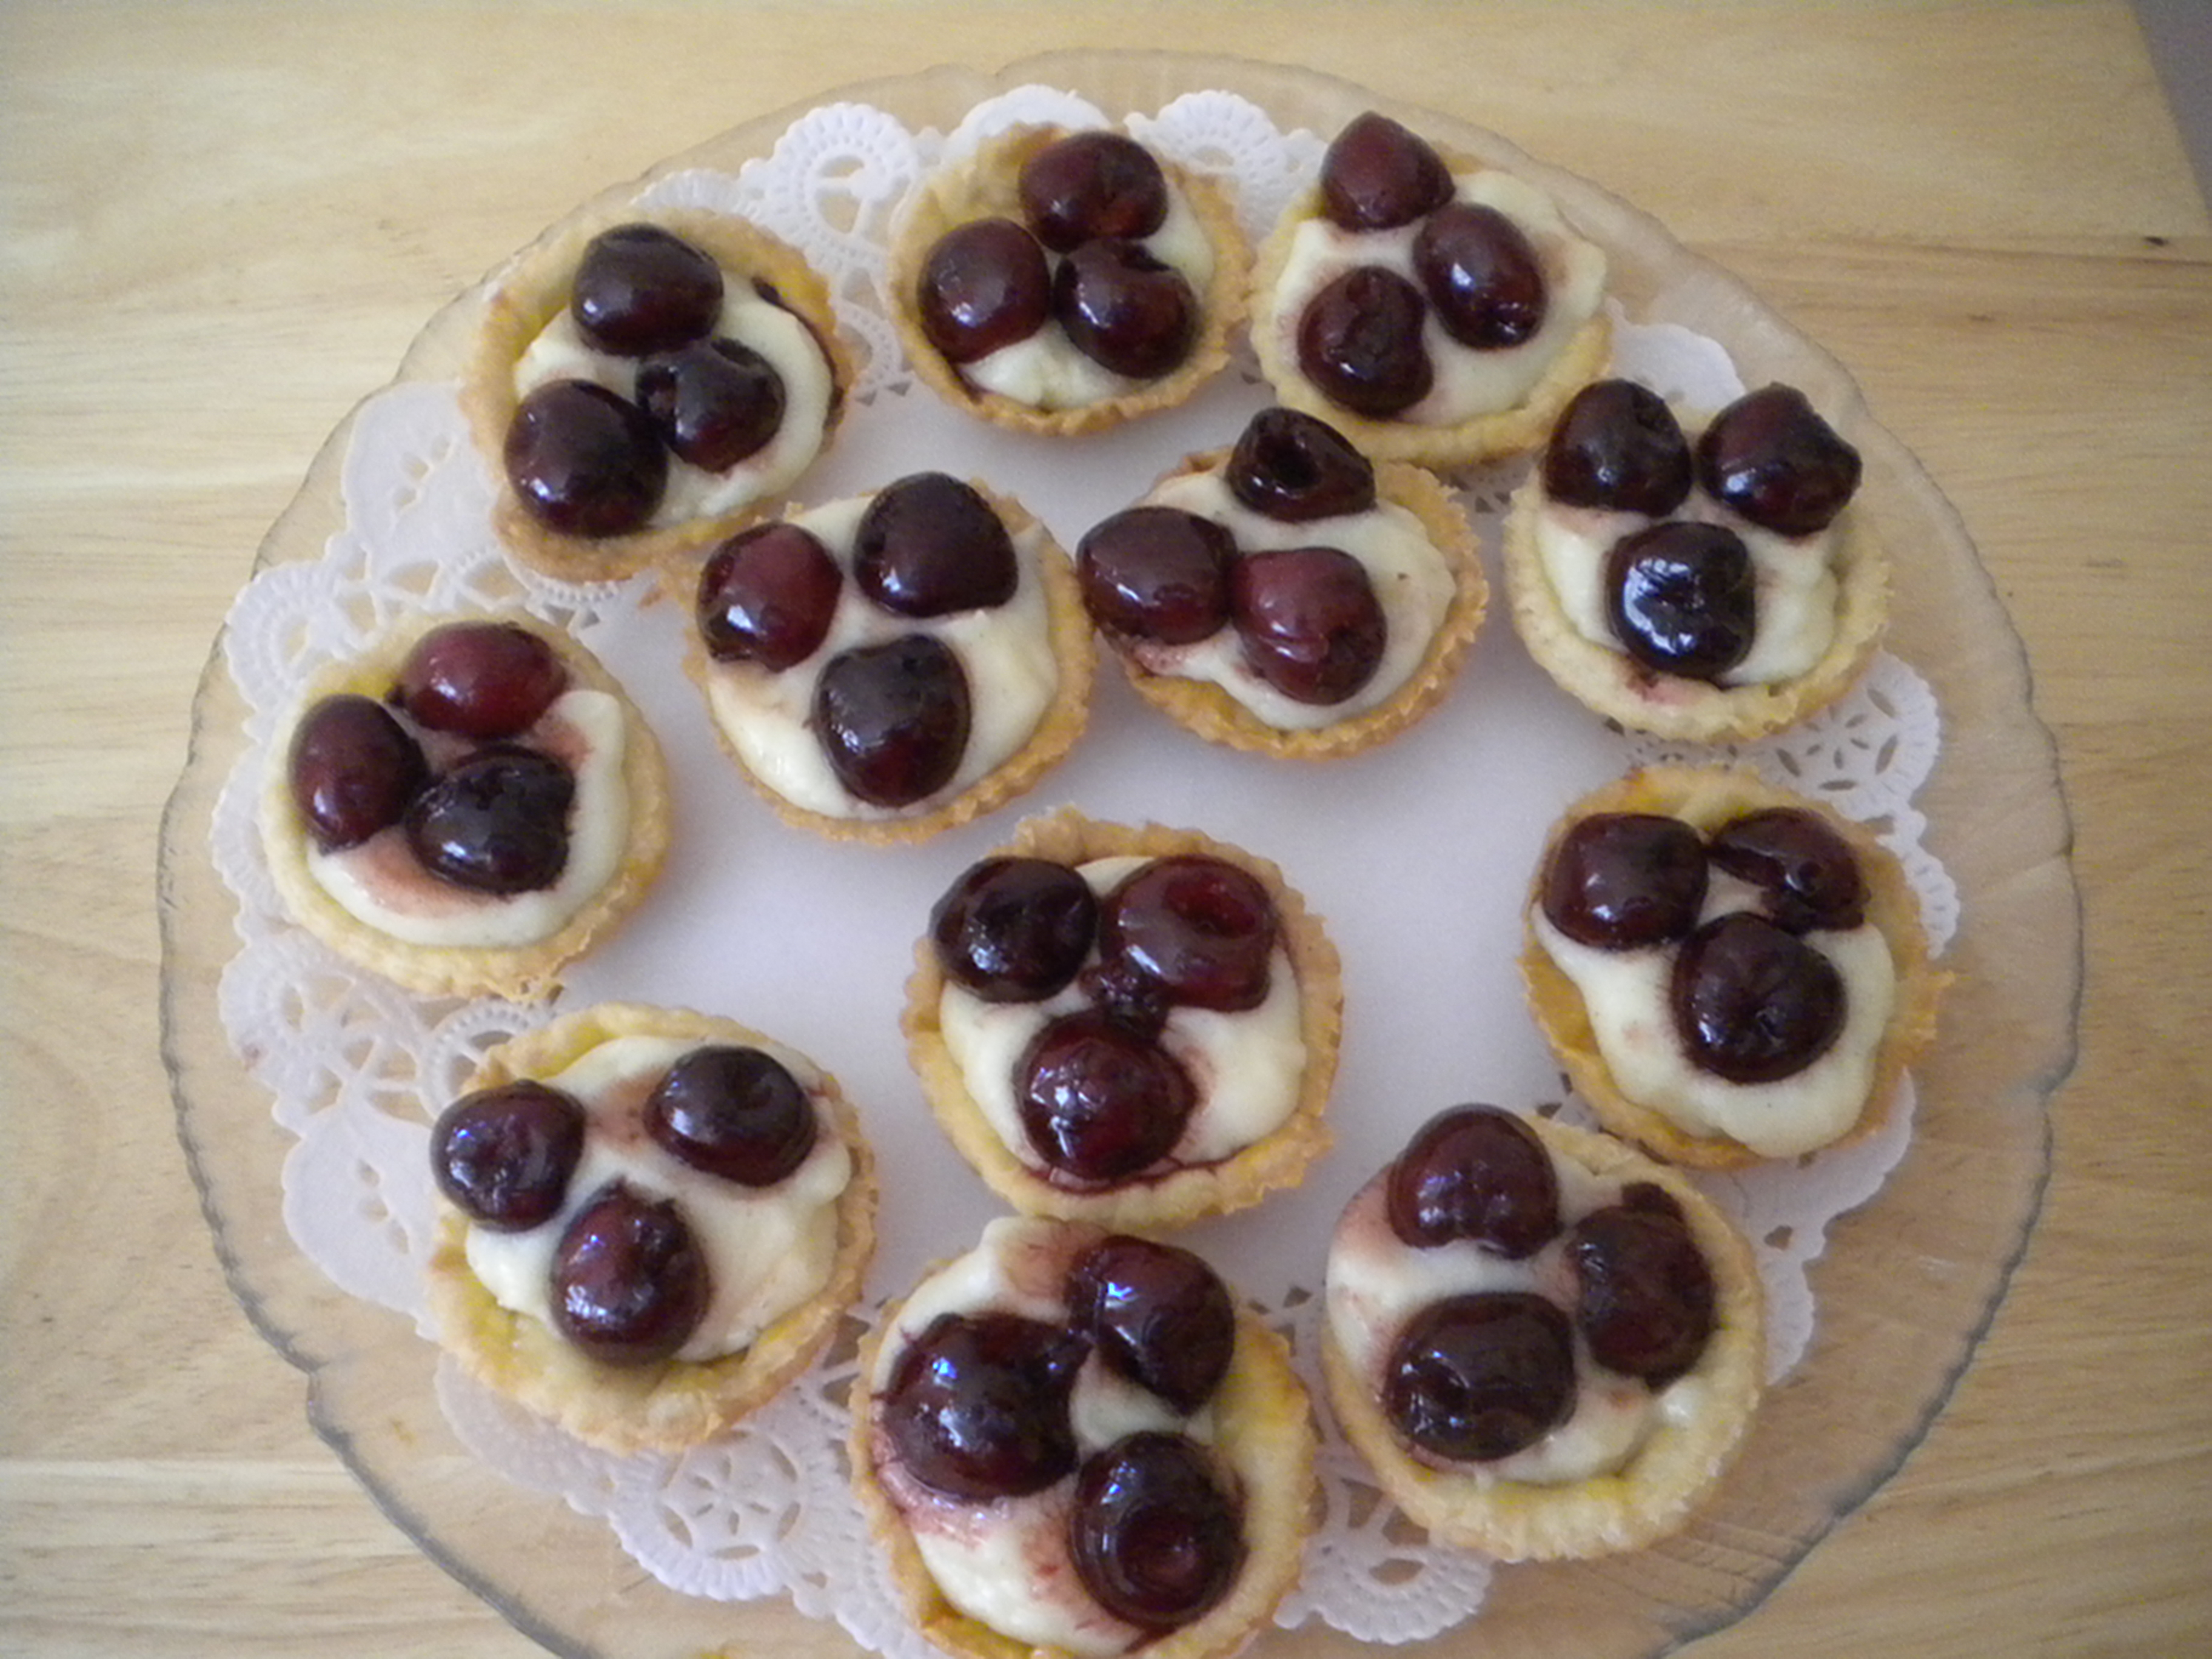
NATIONAL FOOD DAYS

‘National Cherry Tart Day’

June 18th, 2012


June is the perfect month for ‘National Cherry Tart Day’. Cherries are ripe and ready for picking, at least in California! Cherries are delicious to eat out of hand and are also delicious in whatever dish you decide to incorporate them into.  The three main varieties of Cherries available in Southern California are Bing (the sweetest), Mt. Rainer (also sweet) and Queen Anne (in recent years not so easy to find) which are a tart cherry that is perfect for making pies or jams and jellies.

To make a Cherry Tart you will need several components, namely a base for your tart, a custard filling and your cherries.  Let’s start with the base.  You can use a standard pie crust or a sweet tart crust which is perfect for tarts, large and small. The tart crust will consist of flour, sugar, salt butter, eggs and water and vanilla.

The next component would be the custard filling which consists of eggs, milk, sugar, butter and again vanilla or better yet, almond extract which will enhance the flavor of the cherries.  Almonds, Cherries, Peaches and Nectarines all have similar enzymes which contribute to the flavor of the fruit.  Adding Almond Extract to Cherry, Peach or Nectarine pastries will enhance the flavor of those fruits.

Lastly, you will need the Cherries.  For my Cherry Tart, I used sweet Bing Cherries.  First place the Cherries in a colander and rinse the under cold water.  Shake out as much of the water as possible and then put them in a bowl that has been lined with paper towels or a clean dish towel.  Set the Cherries aside while you prepare the other components.

The first component that you want to prepare would be the Tart Crust as it is easier to roll when it is chilled.  For the complete recipe please see the recipe section of this blog. sweet-tart-and-pie-pastry/ Once your tart crust has been prepared, flatten it to disc about 1” thick, wrap in plastic wrap and refrigerate while you prepare the Custard for the filling.

For the Custard filling, please see the recipe section of this blog. pastry-cream/ When you have finished cooking the Custard, place it in a bowl; let stand until it stops steaming and then cover with plastic wrap, being sure to place the plastic wrap directly on top of the Custard.  This will insure that a skin does not form on top of the Custard.  Refrigerate the Custard until you are ready to prepare the tarts.

The next step would be to roll out and bake the Tart Shell.  If you are making a large tart (8 or 9”) you can roll out the dough in one piece.  Be sure and lightly dust your rolling surface with flour.  Flatten the Dough into a round disc and roll out to approximately ¼”, using a stockinette covered rolling pin.  You can rub flour into the stockinette which will prevent the rolling pin from sticking to the dough, without adding additional flour to your dough which would toughen it.

If you are going to make individual tarts, divide the dough into several sections, depending on the size of your tart pans.  In the photo below, the pan I am using has 12 tiny tart indentations.  The dough should have been divided into 12 pieces.  In the case of the tiny tarts, you can just flatten the dough and then minimally roll it out to fit the pan.  Once you have fitted the dough into the pan, take your rolling pin and run it around the rim of the pan to cut off the excess dough.  Many tart pans come with removable bottoms which makes it easier to remove the tart from the pan, especially in the case of the larger tart.  With the smaller tart, you can easily lift the baked crust right out of the pan.


Divide the Dough into Individual Portions for Mini-Tarts

Flatten the Dough


Dough fitted Into Pan Trimming the Dough


Trimmed Tart Shells


To bake the crusts, first poke holes in the bottom with the tines of a fork and then place a piece of foil into the bottom and up the sides of the pan.  Place some pie weights on top of the foil.  Pie weights can be aluminum weights that you buy in your local culinary shop or dried beans that you keep just for this purpose.  Once the beans are used for weights they can no longer be cooked.


Foil Added to the Tart Shells


Weights Added to Tart Shell


Bake the Crust at 325 F.  with the weights for about 15 minutes.  Then remove the weights (you can easily lift out the foil as it doesn’t get too hot – and then just dump the weight back into their container.

Brush the Crusts with an Egg Yolk beaten with a little cream of milk and then return to the oven until they are a light golden brown – about 10 more minutes.


Remove the baked crusts from the oven and once they are cool enough to handle place them on a serving plate.  This would be for the individual ones.  If you are making a large tart, remove the sides of the pan but leave the crust on the bottom or if you can easily remove it without breaking it, place it on a serving plate.

While the crusts are baking, you can finish preparing the Cherries.  You can use the Cherries uncooked, but cooking them slightly, brings out the flavor and add a natural syrup to them which coats them and preserves them.  The first thing you have to do though is to remove the pits.  There are several ways to do this.  The easiest is to use a Cherry Pitter that will remove the pits from multiple Cherries for you.  If you don’t have this type of Cherry Pitter, then you can use one that remove the pits, one Cherry at a time.  Barring that, you can do what we used to do when I was small and that was to use a large tapestry needle to remove the pits individually from each Cherry.  That was always my job after we had gone Cherry Picking and my Mother made Jams, Jellies and Pies.  Today, though if you have the proper tools, it is much easier to do.


Multiple Cherry Pitter


Single Cherry Pitter


Heat a sauté pan and add about half cup of wine (I used Marsala but you can also use Madeira, Burgundy or even Kirsch, which is a Cherry Liquer. Bring the liquid to a simmer and then add the Cherries.  Cook until the Cherries release their liquid and continue cooking until the liquid becomes syrupy.  This will take from 5 – 10 minutes but no longer.  Transfer the Cherries to a shallow bowl and allow to cool.

Cooking the Cherries


Place the Custard in the bottom of the Tart(s) and then add the Cherries to the top.  Refrigerate until ready to serve.  In the case of small tarts, one per person (depending on the size) should be sufficient for each person.  The Tiny Tarts pictured would be perfect for a Dessert Buffet which would allow each person to sample several desserts without becoming too overloaded with sugar.

Use a #60 Scoop to portion the Custard


Custard Filled Tarts


Finished Tart


Try this version of Cherry Tarts or try creating your own.  Whichever you do, you should enjoy making them and your family and/or friends will enjoy eating them!


Digg This
Reddit This
Stumble Now!
Buzz This
Vote on DZone
Share on Facebook
Bookmark this on Delicious
Kick It on DotNetKicks.com
Shout it
Share on LinkedIn
Bookmark this on Technorati
Post on Twitter
Google Buzz (aka. Google Reader)

Be the first to comment - What do you think?
Posted by sylveee - 2012/06/19 at 9:14 PM

Categories: Baking, Dessert Ideas, Fruit, Main, Pastry, Salads   Tags: , , , , ,

CREATING SFOGLIATELLI – PHOTOS

Quartered Sfogliatellie Dough

Rolling Sfogliatelli Dough

Rolling Sfogliatelli Dough

Sliced Sfogliatelli


Shaped Sfogliatelle

Baking Sfogliatellie

Baked Sfogliatelli

Digg This
Reddit This
Stumble Now!
Buzz This
Vote on DZone
Share on Facebook
Bookmark this on Delicious
Kick It on DotNetKicks.com
Shout it
Share on LinkedIn
Bookmark this on Technorati
Post on Twitter
Google Buzz (aka. Google Reader)

Be the first to comment - What do you think?
Posted by sylveee - 2011/06/12 at 11:51 PM

Categories: Baking, Italian, Main   Tags: , , , ,

SFOGLIATELLI – FIRST TRY

Baked Sfogliatelli

Chef Tim and I are going to make Sfogliatelli tomorrow night with his Professional Class in Westlake Village, CA.  When we made plans to make these, neither one of us had ever made them.  This was to be a first for both of us, however I decided that it might be prudent if at least one of us had tried it out before the class so I decided to do so. The dough which is made simply from flour, salt and water should be made about two hours ahead of time.  The instructions I had said to run the dough through the widest opening of a pasta roller for about 12 – 15 passes.  I decided that making the dough in the food processor and running it for 2 minutes instead of the usual 1 minute that the food processor recommends would do the trick.  I think it did.  Once the dough is made flatten it into a round disk and wrap it in plastic wrap and refrigerate for at least 2 hours.

While the dough is refrigerating, you can make the filling which consists of cooked Semolina (this creates a thick custard that will not run during baking) ricotta cheese, sugar, egg yolks, vanilla, cinnamon and candied orange peel.  This is then put into a shallow dish (I used a glass pie plate) and refrigerated until set.

When the dough is firm enough to roll, remove it from the refrigerator, unwrap and flour generously.  Then cut it into four pieces.  Keep three of the pieces refrigerated while you are rolling out the first piece.  The best way to do this is with a pasta roller – running it through every other setting twice.   Start with the widest setting, run the dough through twice, then skip to the 3rd one and then run it through twice again.  Once you get to the last setting the dough should be thin enough to make the sfogliatelli.  Once all the pieces are rolled, then take softened or melted butter and cover the first piece of dough with a thin layer of the butter.

Starting at the narrow end, tightly roll the dough into a cylinder.  Brush the next piece with butter and place the first roll on top and then roll it up in the new piece of dough.  Continue in this manner until all the dough is used up.  Wrap in plastic wrap and refrigerate for at least 2 hours or overnight.

Now you are ready to make the sfogliatelli (clam shells).  The cylinder of dough is cut into half inch pieces and then each piece is flattened and then stretched to for a cone.  The cone is filled with the custard mixture and then placed on a parchment covered baking sheet.  The sfogliatelli are baked at 400 degrees for 20-25 minutes or until a deep golden color.  The shells are supposed to be brushed with more butter before and during the baking process, but I find that they end up being too greasy with the addition of more butter.  There is definitely enough butter that is put between the layers of dough.

The resulting pastry is crispy, buttery and the filling is quite good.  A delicious pastry, but alas, filled with many calories.  The photos below depictthe different steps in the making of sfogliatelli.  I will take more photos tomorrow and we will see if the second try comes out any different than the first one.  See the next post for the remaining pictures from this article.

Sfogliatelli Dough dusted with Flour

Digg This
Reddit This
Stumble Now!
Buzz This
Vote on DZone
Share on Facebook
Bookmark this on Delicious
Kick It on DotNetKicks.com
Shout it
Share on LinkedIn
Bookmark this on Technorati
Post on Twitter
Google Buzz (aka. Google Reader)

Be the first to comment - What do you think?
Posted by sylveee - 2011/06/12 at 11:18 PM

Categories: Baking, Italian, Main, Pasta   Tags: , , , ,