ANGEL FOOD CAKE – SUMMER PERFECTION
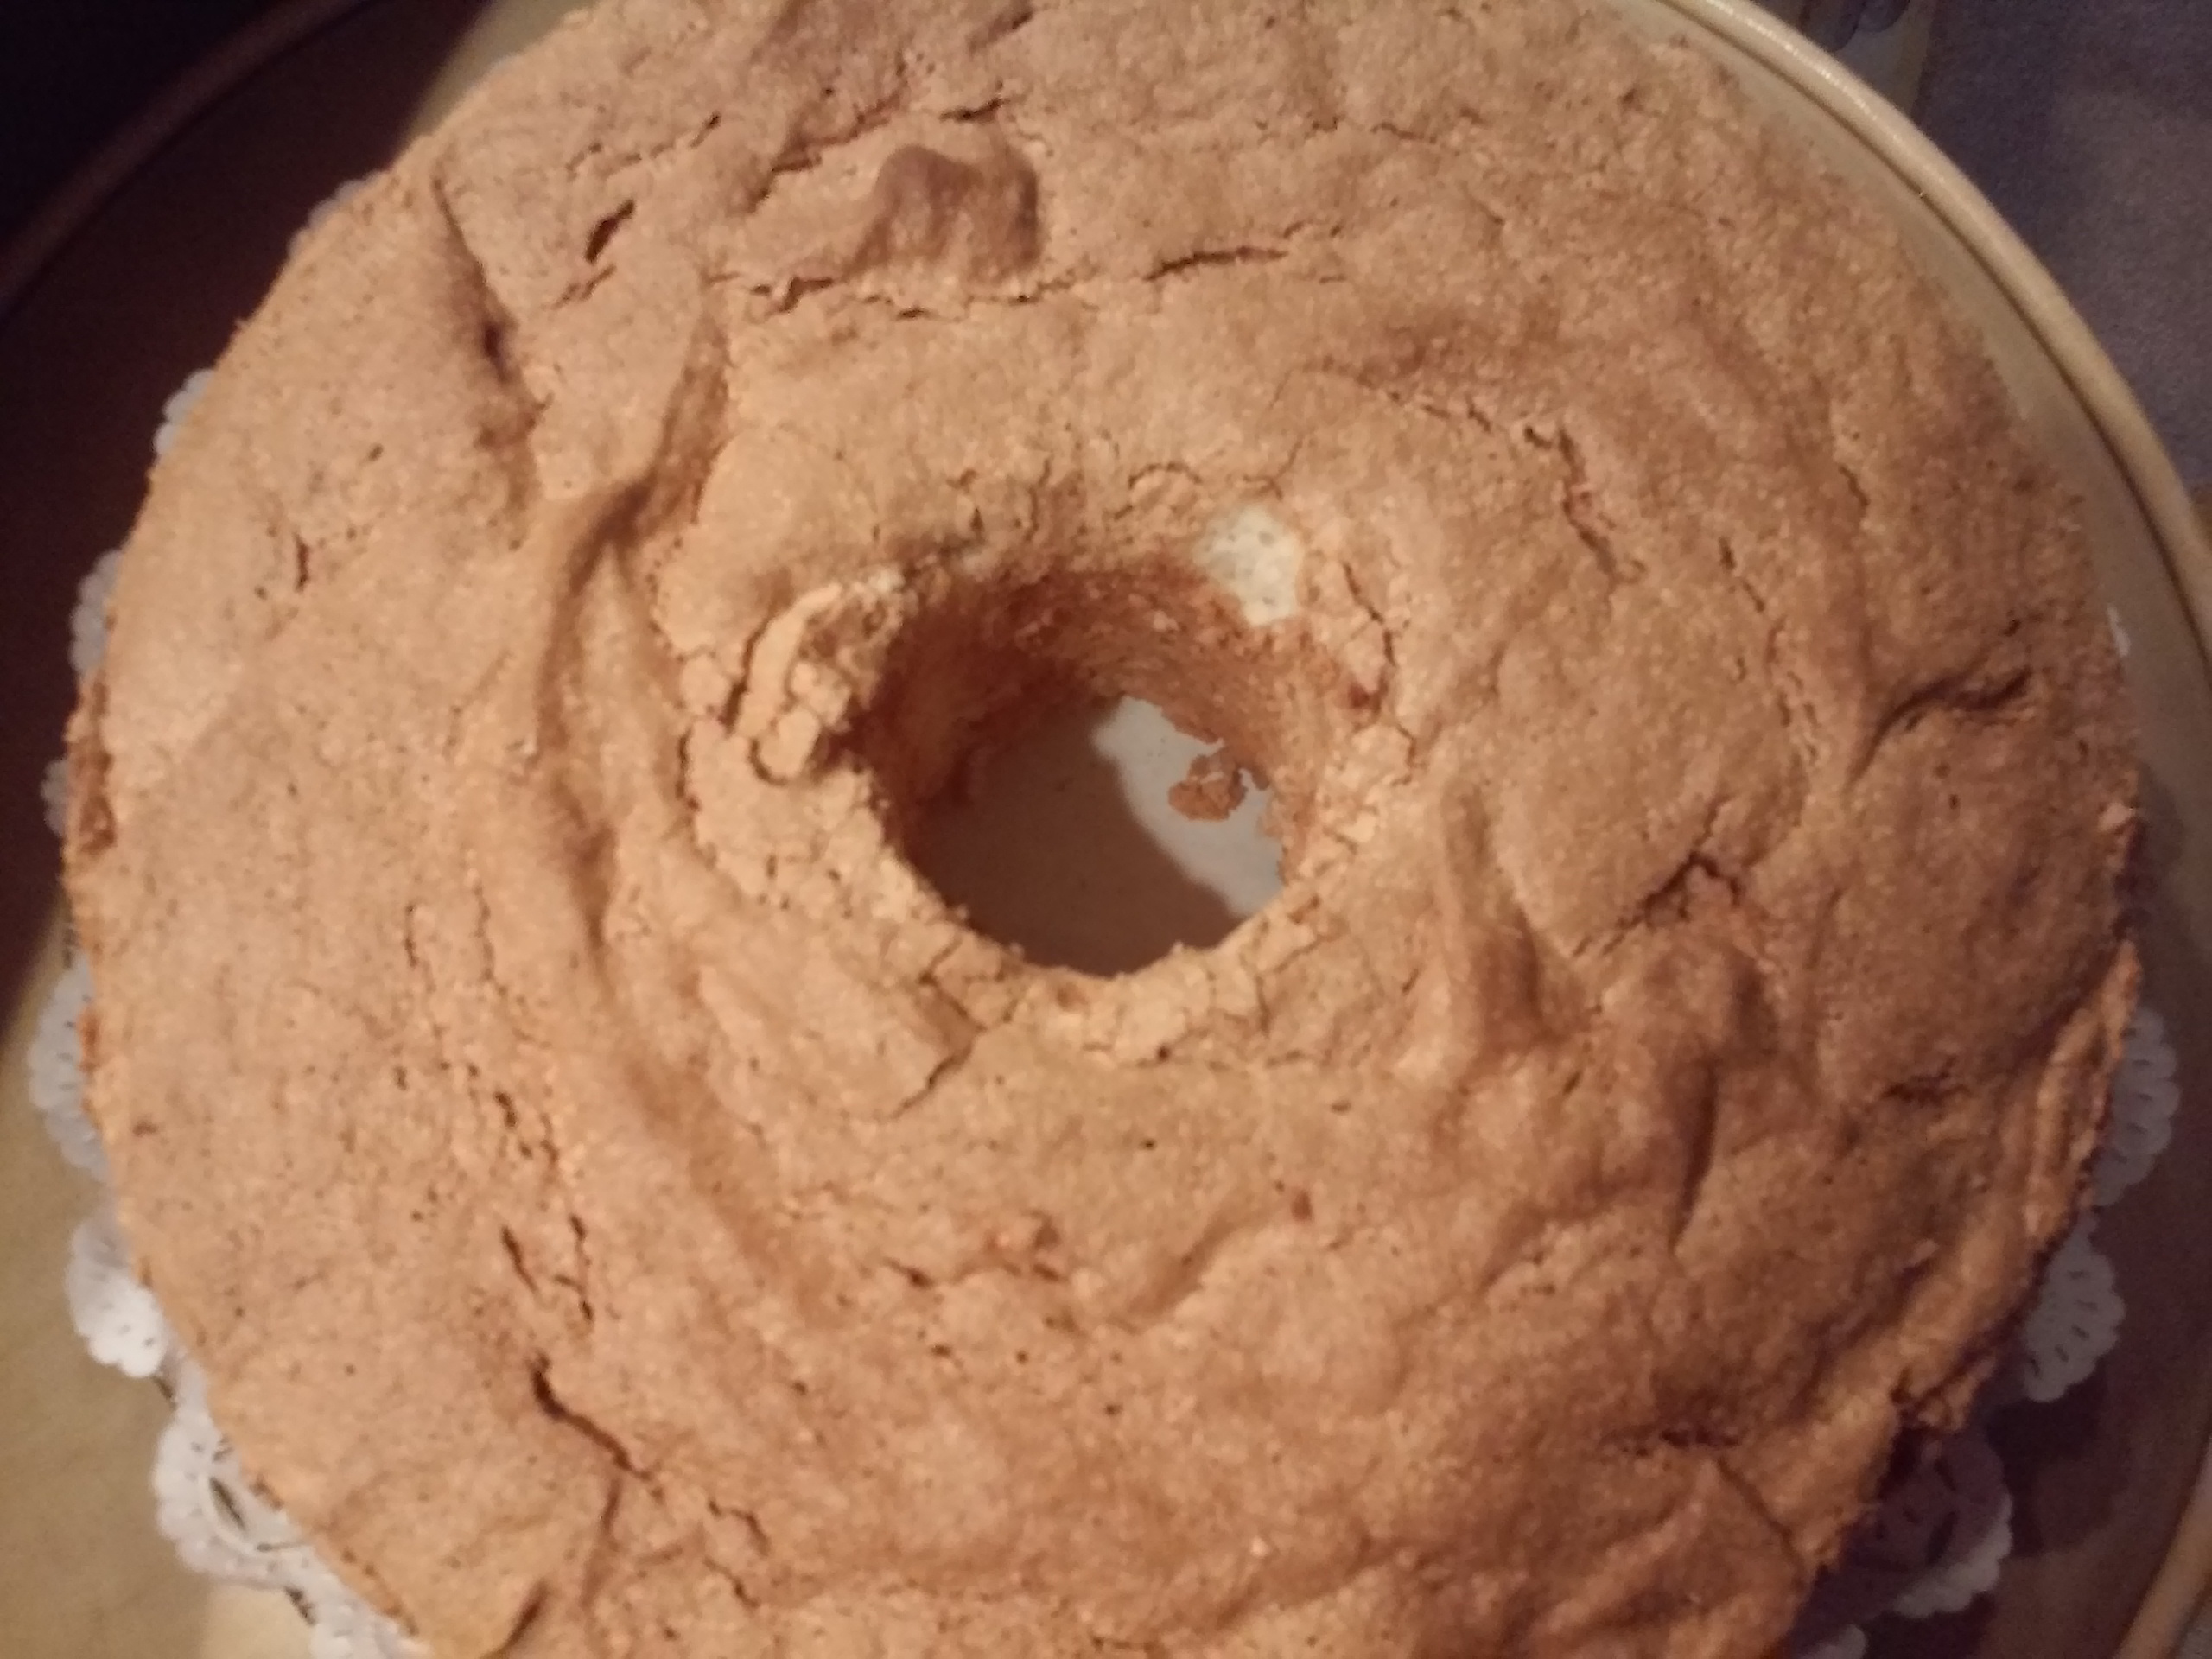
Angel Food Cake is like it’s name implies – ‘light and heavenly’. Angel Food Cake is the perfect summer dessert. It can be eaten plain (and not make you feel too full or sugared out) or it can be topped with Strawberries and Whipped Cream or filled with Ice Cream and covered with a Baked Meringue for a faux ‘Baked Alaska’.
The main structure of an Angel Food is Egg Whites whipped full of air which in turn provides the leavening for your cake. Because it has no fat, an Angel Food Cake has fewer calories than most other shortened cakes. There are three main ingredients in Angel Food Cake – Egg Whites, Sugar & Flour. Add a little salt for balance and Vanilla for flavor and lots of air for your leavening agent.
To have your Angel Food Cake come out like it should, just follow a few important rules:
1. Separate the Egg Whites from the Yolks and make sure that not a speck of Yolk gets into the White portion. Egg Whites are mainly Protein and Egg Yolks contain a good portion of Fat. The Whites will not beat up like they should if you get even a tiny bit of yolk into them. So, when you separate your Whites from the Yolks, follow a few simple rules.
- Separate the Eggs when they are still cold from the refrigerator. There is less chance of getting the yolk into the white this way.
- Have a clean bowl for the Whites and another bowl for the Yolks. Have a second smaller bowl to separate the White into before adding to your larger bowl. This way, if some yolk gets into the white by mistake, it is only one white that you cannot use, instead of a whole bowl full of them. If you do get some yolk into the white this way, just combine the White and the Yolk and set aside for another use, such as scrambled eggs or cookies that require a whole egg.
- If you are not going to use the yolks right away, cover with a thin layer of water and then plastic wrap and refrigerate. The water will prevent the yolks from drying out. When ready to use, the water should be easy to pour off or just incorporate them into the eggs.
- Allow your Whites to come to room temperature before beating them. Cold Egg Whites will not beat up as well as the warmer ones and therefore will not be able to incorporate enough air to make a light cake.
2. Use a tube pan that is large enough to hold at least a 12 Egg White Cake. Never, ever grease the pan when making Angel Food Cake or other Sponge Cakes. The lubricant will make the batter fall down and not raise up sufficiently. The Angel Food Cake needs the ungreased walls of the pan to cling to when raising in the oven.
3. Always use Cake Flour for an Angel Food Cake. (Cake Flour is lighter than All-Purpose and will therefore give you a lighter cake. Spoon the Flour into a dry measuring cups and level off with a straight-edged spatula.
4. Sift the Flour and half the Sugar into a clean, dry mixing bowl.
5. Make sure the bowl that you are going to beat the whites into is clean and dry; any speck of grease or other residue will prevent the Whites from beating up properly.
6. Always, fold the flour into the beaten whites, DO NOT MIX – the folding process is an over and under motion. Beating will deflate the Whites and prevent the cake from raising up properly.
7. When you are ready to begin your cake preparation, lower your oven rack to the lowest setting and heat the oven to 350 degrees.
For the recipe go to angel-food-cake/. This recipe is a 12 Egg White recipe – for a taller cake increase the recipe by 1/2 – use 1 1/2 cups of Whites instead of 1 cup. Increase all the other ingredients accordingly. For the increase recipe use a 12 inch tube pan. The cake pictured in the recipe was made in a 10 inch tube pan. I prefer the large one because it make a more attractive cake.
The best and easiest way to beat your Whites if to use a ‘standing electric mixer’. A hand mixer can also be used but the standing mixer will give you the best results. As an anecdote, the very first Angel Food Cake that I made was when I was a teenager and decided to make for my Mother for Mother’s Day. We did not own an electric mixer or even a hand electric mixer. All we had was a Rotary Egg Beater and this was before they put ball bearings into the wheel. It took me so long to beat those Egg Whites that I ended up with a blister on my thumb. If we had even a wire whisk, that would have been infinitely better. But the Cake turned out fine but I don’t think I made another Angel Food until I owned an electric mixer.
Sift the Flour/Sugar mixture over the Beaten Egg Whites and use a rubber spatula to fold the dry ingredients into the Whites. Be sure and get all the dry ingredients incorporated.
Use a rubber spatula to scrape the batter from the mixing bowl to the baking pan. Level off the top and then place in the lower third of the pre-heated oven and bake for 45 minutes. The increased recipe bakes for the same time as the original one as the pan you use is larger.
There are many ways to serve Angel Food Cake – the photos below show two different ways –
At right, Angel Food Cake with Strawberries,
Vanilla Ice Cream and a Chocolate Sauce made
from Bittersweet Chocolate melted with Butter and
a little Heavy Cream, Powdered Sugar and Vanilla.
Keep it thin so it can be poured over the cake.
The photo below shows Angel Food Cake with
fresh Peaches and fresh Pitted Cherries which
have been cut in half. Add a little Whipped
Cream or just pouring Cream and you have a
delicious dessert or even breakfast.
Categories: Baking, Dessert Ideas, Fruit, Main Tags: baking, Dessert Ideas, Egg Whites, family dinner, Fruit, Summer Baking
MY CULINARY DIARY – Shrimp and Pasta
MY CULINARY DIARY
Sunday, June 24, 2012
Today was a Culinary Half-Marathon. Since we were almost out of bread, I decided to make some Country White Bread. I once got a T-Shirt at one conference or another that had the White Lily Flour Logo on it. I had never actually ever used White Lily because it does come from back East and I have never seen it for sale on the West Coast until about 4 weeks ago when I was browsing through Surfas, a great Restaurant Supply Store in Culver City. There and behold was White Lily Flour! Not being able to resist it I purchased a 5lb. bag of their All-Purpose Flour and their Bread Flour. Today, I decided to try out the Bread Flour in my Bread. It really turned out quite scrumptious.
I made the Dough using the Dough Blade in my Food Processor and then put it in a 2 gallon plastic bag. Before I bagged the Dough I covered it in a thin layer of Olive Oil. This adds flavor and keeps the dough from drying out. I did not use a recipe for the Bread but here are the ingredients I used:
4 cups Bread Flour
1 Tbsp. Dry Active Yeast
1 Tbsp. Malt Powder (Sugar or Honey may be used instead)
1 ½ tsp. Salt (2 tsps. Would have been better)
2 Tbsps. Olive Oil
1 ½ cup Water
If you make this Dough in your Food Processor, use cold water as the heat from the motor of the processor heats up the dough. You do not want the dough to get so hot as to kill the yeast.
You can also make the Dough by hand or in a standing electric mixer.
While the Dough was rising, I took a trip to the market(s) to purchase some other ingredients. My first stop was Sprouts to purchase Shrimp and look for Rennet Tablets and Citric Acid. Monti made Mozzarella Cheese and has inspired to try it too. Looks very simple and fresh Mozzarella is really good. I purchased the Shrimp, 2 boxes of Strawberries which were on sale for a very good price. I found the Citric Acid but not the Rennet. I did find Vanilla Powder though. Vanilla Powder is a good substitute for liquid Vanilla Extract when you do not want to add any more moisture to a baked product, especially ones like Churros or anything fried.
The next stop was Whole Foods to look for the Rennet, but all they had were very expensive Mozzarella making Kits. I did find some nice Mango Bath Salts though which are good for a very relaxing bath.
The next stop was Ralphs where they had Eggs on sale for 88 cents a dozen. (Limit 2 doz.) Since I use a lot of Eggs for baking this was a good deal.
On to home and the rest of my afternoon cooking and baking. Once I put away the groceries, I put the Baking Stone in the bottom of my lower oven and turned the oven on to 500 degrees to heat up the stone. (It takes at least 30 minutes to heat the stone, but 1 hour is even better) Since it was a warm day, I knew that the Bread would rise up fast, once it was shaped. The next thing I did was to put some Cornmeal on my Pizza Peel (which I use to slip the bread onto the stone with) and shape the Bread. I flattened the Dough to get out the Carbon Dioxide build up. You always want to raise your dough at least 2 times, even three to get a great loaf of bread.
Next I shaped it into a rectangle and folded over the top third. After flattening that as much as I could, I then folded over the bottom third and then flattened it again. The loaf was the lifted onto the peel. Realizing that the seam was up and should have been down, I turned over the loaf. That is why when you look at the photos that there is cornmeal on top of the bread as well as the bottom. This actually give some additional texture, taste and crunch to the crust. The top of the loaf was slashed with a Baker’s Blade (Lame); this allows for expansion and better baking.
I covered the loaf with a clean dish towel and then went on to my other tasks of making Strawberry Parfait and Angel Food Cake. The Strawberry Parfait was made with fresh Strawberries and Heavy Cream which was to be whipped. I did not want the Cream to break down, so I measured out 2 teaspoons of Gelatin (Gelatin comes in 1 oz. Packages or 1 lb. Containers) The one ounce package has 2 ½ tsps. In it. I also measured 2 cups of Heavy Cream (Whipping Cream) and poured 2 Tbsps. into a small bowl and then sprinkled the Gelatin over the cold cream. Once the Gelatin softened I placed it in the Microwave to dissolve it. Stir it thoroughly to be sure that all the granules are dissolved. I then poured the Gelatin mixture into the remainder of the Cream and covered it and refrigerated it to be sure it was cold enough to whip without turning into butter.
Next I placed the Strawberries in a Colander and rinsed them with Cold Water. I set them aside to drain.
Next I made my Angel Food Cake. Before starting this though, I made sure the oven rack was at the bottom and that the upper racks were well out of the way. Next I turned the oven to 375 degrees. To make Angel Food Cake, use a tube pan and DO NOT GREASE IT!
I used the White Lily All-Purpose Flour for the Cake which normally calls for Cake Flour. Since the White Lily All-Purpose Flour is lighter than most commercial brands of All-Purpose Flour (you actually have to add 2 Tablespoons to every cup of White Lily Flour to have it equal 1 cup of regular All-Purpose Flour) The White Lily Flour was almost the weight of the Cake Flour.
The reason I decided to make an Angel Food Cake was because I had a large collection of Egg Whites that I had saved from recipes that only called for Yolks. I could have made a larger Angel Food Cake than I did, but two people can only eat so many sweets!
The recipe I used called for:
1 cup Egg Whites (approximately 12)
1 tsp. Cream of Tartar
¼ tsp. Salt
1 ½ cups Granulated Sugar (divided in half)
1 cup Cake Flour
1 tsp. Vanilla
For the complete recipe see: angel-food-cake/
Once the cake is done remove from the oven and turn upside down until completely cool. Run a spatula around the sides of the pan and If your tube pan is a 2 part pan, remove the sides and then run the spatula under the bottom part of the cake. Turn over onto a serving platter.
Angel Food Cake makes a great base for Strawberries and Whipped Cream or for the Strawberry Parfait that I made next.
For the Strawberry Parfait I used:
1 Pint Strawberries
1 Pint Whipping Cream
2 tsps. Gelatin (I think 1 would probably have been enough)
Superfine Sugar
For the complete recipe and directions see: strawberry-parfait/
Once the Parfait was done I began preparations for dinner which was Oriechetti (Ear-shape Pasta – the name actually means little ears); there were a few wagon wheels thrown in the the Oriechetti as I wanted to use up the small amount I had) with fresh Tomato and Herb Sauce and sautéed Shrimp. I shelled and deveined the Shrimp and rinsed them with cold water and then blotted them dry with a paper towel. I add some minced Basil mixed with some Himalayan Sea Salt, Olive Oil and Saffron. (The Saffron gives color and is a browning agent – Paprika or Turmeric can be used instead although the Turmeric will add its own flavor) You can also add some Lemon Juice to this mixture, but this time I added Marsala Wine.
The bread was put in the oven before the Cake was put in. As I said it was a very warm day and the loaf rose up quickly. The bread also finished baking before the Cake. When it was done I removed it with my peel and placed it on a rack to cool. Ev couldn’t stand it (the aroma of freshly baked bread is so good!) and he had to have a slice with Butter of course!
Next I washed the Tomatoes (no need to dry) and removed the cores. Next I diced them and minced some fresh Oregano Leaves.
I also minced some Chives but kept them separate as they were to be used for a garnish. Usually I grill the Shrimp (grilling adds flavor and gives more color to the Shrimp) but since I already had several pots and pans on the stove, I decided to sauté them instead in the pan that I was using for the Sauce. Once the Shrimp were sautéed I removed them to a dish and covered them until the sauce was done.
To make the sauce, add a small amount of Olive Oil to the pan and add some diced Onions. Sauté until the Onions start to soften and then add the Tomatoes along with the fresh herbs and 1 tsp. of Sea Salt and some freshly ground Pepper to taste. Cook until the tomatoes are reduced and a sauce start to form. If desired, you can add a little Marsala to the Sauce but be sure to cook it down somewhat.
While I making the Sauce I cooked the Pasta in plenty of boiling salted water. Once it was done, I poured it into a Colander and shook out all the excess water. Once the Sauce was done I put the drained Pasta on top and surrounded it with the Sautéed Shrimp.
In addition to the Shrimp and Pasta we had the freshly baked Bread and some sautéed Spinach to go along with it. All in all it was a delicious meal followed by Angel Food Cake and Strawberry Parfait.
Categories: Baking, Bread, Cooking for Everyone, Dessert Ideas, Dinner Ideas, Fruit, Main, Pasta Tags: Angel Food Cake, Basil, Culinary Diary, Egg Whites, Herbs, Oregano, Parfait, Pasta, Saffron, Shrimp, Strawberries, Tomatoes