HERBS – FRESH & GREEN
Today is ‘More Herbs, Less Salt Day’. While Salt is a wonderful all-purpose seasoning that would be hard to do without, Herbs play another role in our culinary efforts. Herbs impart wonderful flavor, each one distinctive from another. Even the different herbs in the same family have different distinctive flavors and aromas.
My favorite all-around Herb is Basil. There are dozens of varieties of Basil, but of all the ones that I have encountered, Sweet Italian Basil is my favorite. Here are just some varieties of Basil that are available in local nurseries in Southern California. Varieties will vary throughout the country and throughout the world.
BASIL VARITIES:
African Blue Basil – blue hue to the leaves and has purple flowers
Greek Basil – small green leaves – lasts long into the Fall
Italian Sweet Basil – large green leaves (probably the most popular)
Lemon Basil – small leaves with slight lemon scent
Thai Basil – smaller leaves with some purple hue to them – purple flowers, slightly spicy
The Varieties of Basil above are listed in alphabetical order. The Greek and Sweet Italian are probably the most popular and used most frequently in Italian and Greek Cuisine.
The Thai Basil is used in South Eastern Cuisine and does have a distinctive taste, somewhat sharper than the sweet varieties.
I prefer to use the Sweet Italian most of the time just because it is easier to clean and mince because of the size of the leaves. I also use the African Blue, but usually just use the whole leave as they are small.
I use Thai Basil in all my Asian Cooking. I really love the Thai Basil and if you don’t grow it you can easily find it in Asian markets.
Oregano –The second most popular Herb is probably Oregano. I planted Oregano when we first moved into this house and the same plant is still growing. It sometimes freezes in the Winter but always comes back in the spring. It is an essential in Italian and Greek Cuisine and is of course used in other types of cooking as well.
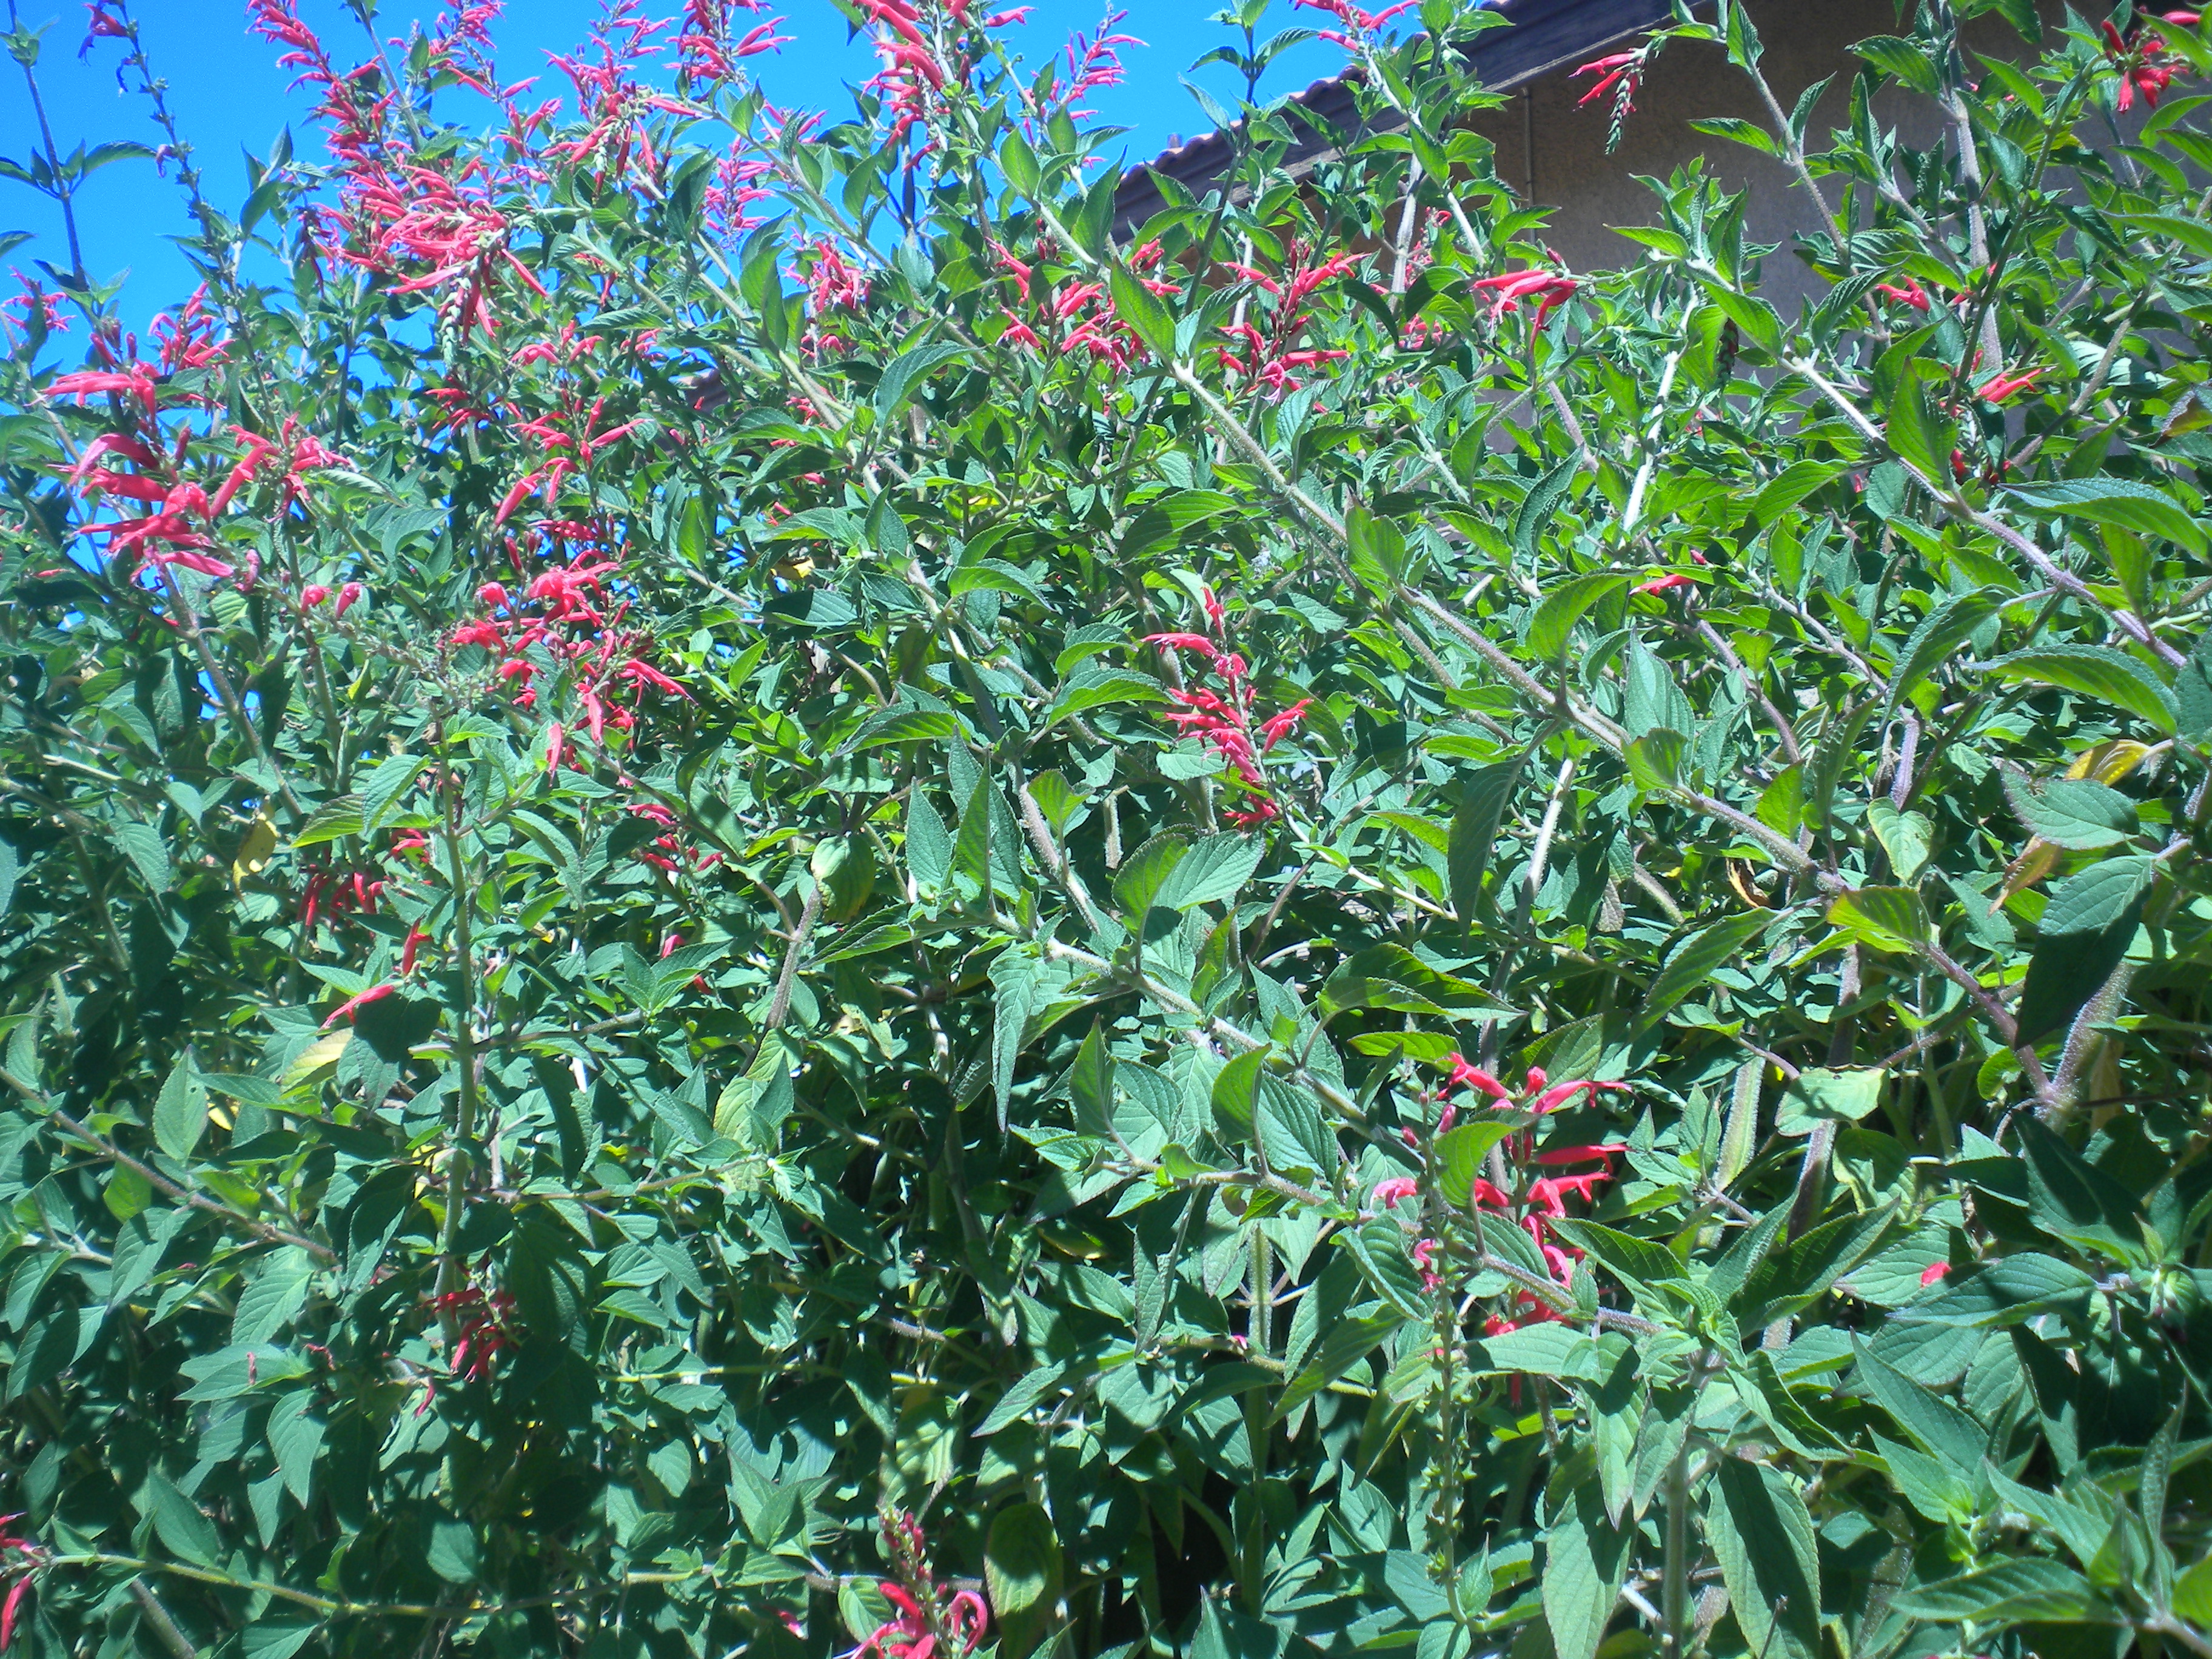
Pineapple Sage – normally I don’t like Sage, but the Pineapple variety is another story. It actually smells like Pineapple when you tear a leave or water and does impart the flavor of Pineapple to your dishes. I planted a tiny plant several years ago. This plant is now huge in spite of being constantly cut back. I have also endowed many of my friends with a shoot from this plant. All you have to do is stick a piece in water and let it root, then plant it. The result eventually will be as pictured here in this blog. One of the assets of this Sage plant is the Red Flowers which attract Humming Birds to our yard.
Mint – is popular in mixed drinks, desserts and in South East Asian Cuisine. This too grows like crazy and is easy to root. We have mint that comes over from our neighbors yard and I constantly have to pull it out. I sometimes will wash it and then steep it in hot water and make a mint fusion which can be used for drinks or mint jelly. Mint also comes in several varieties, such as Spearmint, Peppermint and my favorite, Chocolate Mint.
Lemon Grass – an essential in South East Asian Cuisine, especially Thai and Vietnamese. In fact, there is a restaurant named after this Herb on the Hawaiian Island of Kauai. This too grows like crazy. I just planted a small plant and this is the result.
Chives – part of the Onion Family – frequently served as a topping for Baked Potatoes – but beware! those Chives in the Restaurants are more frequently Green Onions or Scallions which are thicker and less flavorful (but stronger) than the Chives. Chives are very thin and it is best to cut them with scissors. Chives make a nice flavorful addition to many vegetable and meat dishes.
Try some Herbs today and you will find that you don’t need to use too much salt in your food!
Categories: Asian, Condiments, Cooking for Everyone, Dinner Ideas, Italian, Main, National Food Days, Salads Tags: Basil, Chives, Herbs, Lemon Grass, Mint, Oregano, Sage, Salt
GARLIC – THE SMELLY ROSE
Garlic is an absolute essential in many Cuisines. It is an aromatic vegetable which creates wonderful flavor, but can easily be over-used. Too much garlic and you will scare away your friends, not just the ‘vampires’. It is also good for your health – it helps to keep the blood pressure down, among other things.
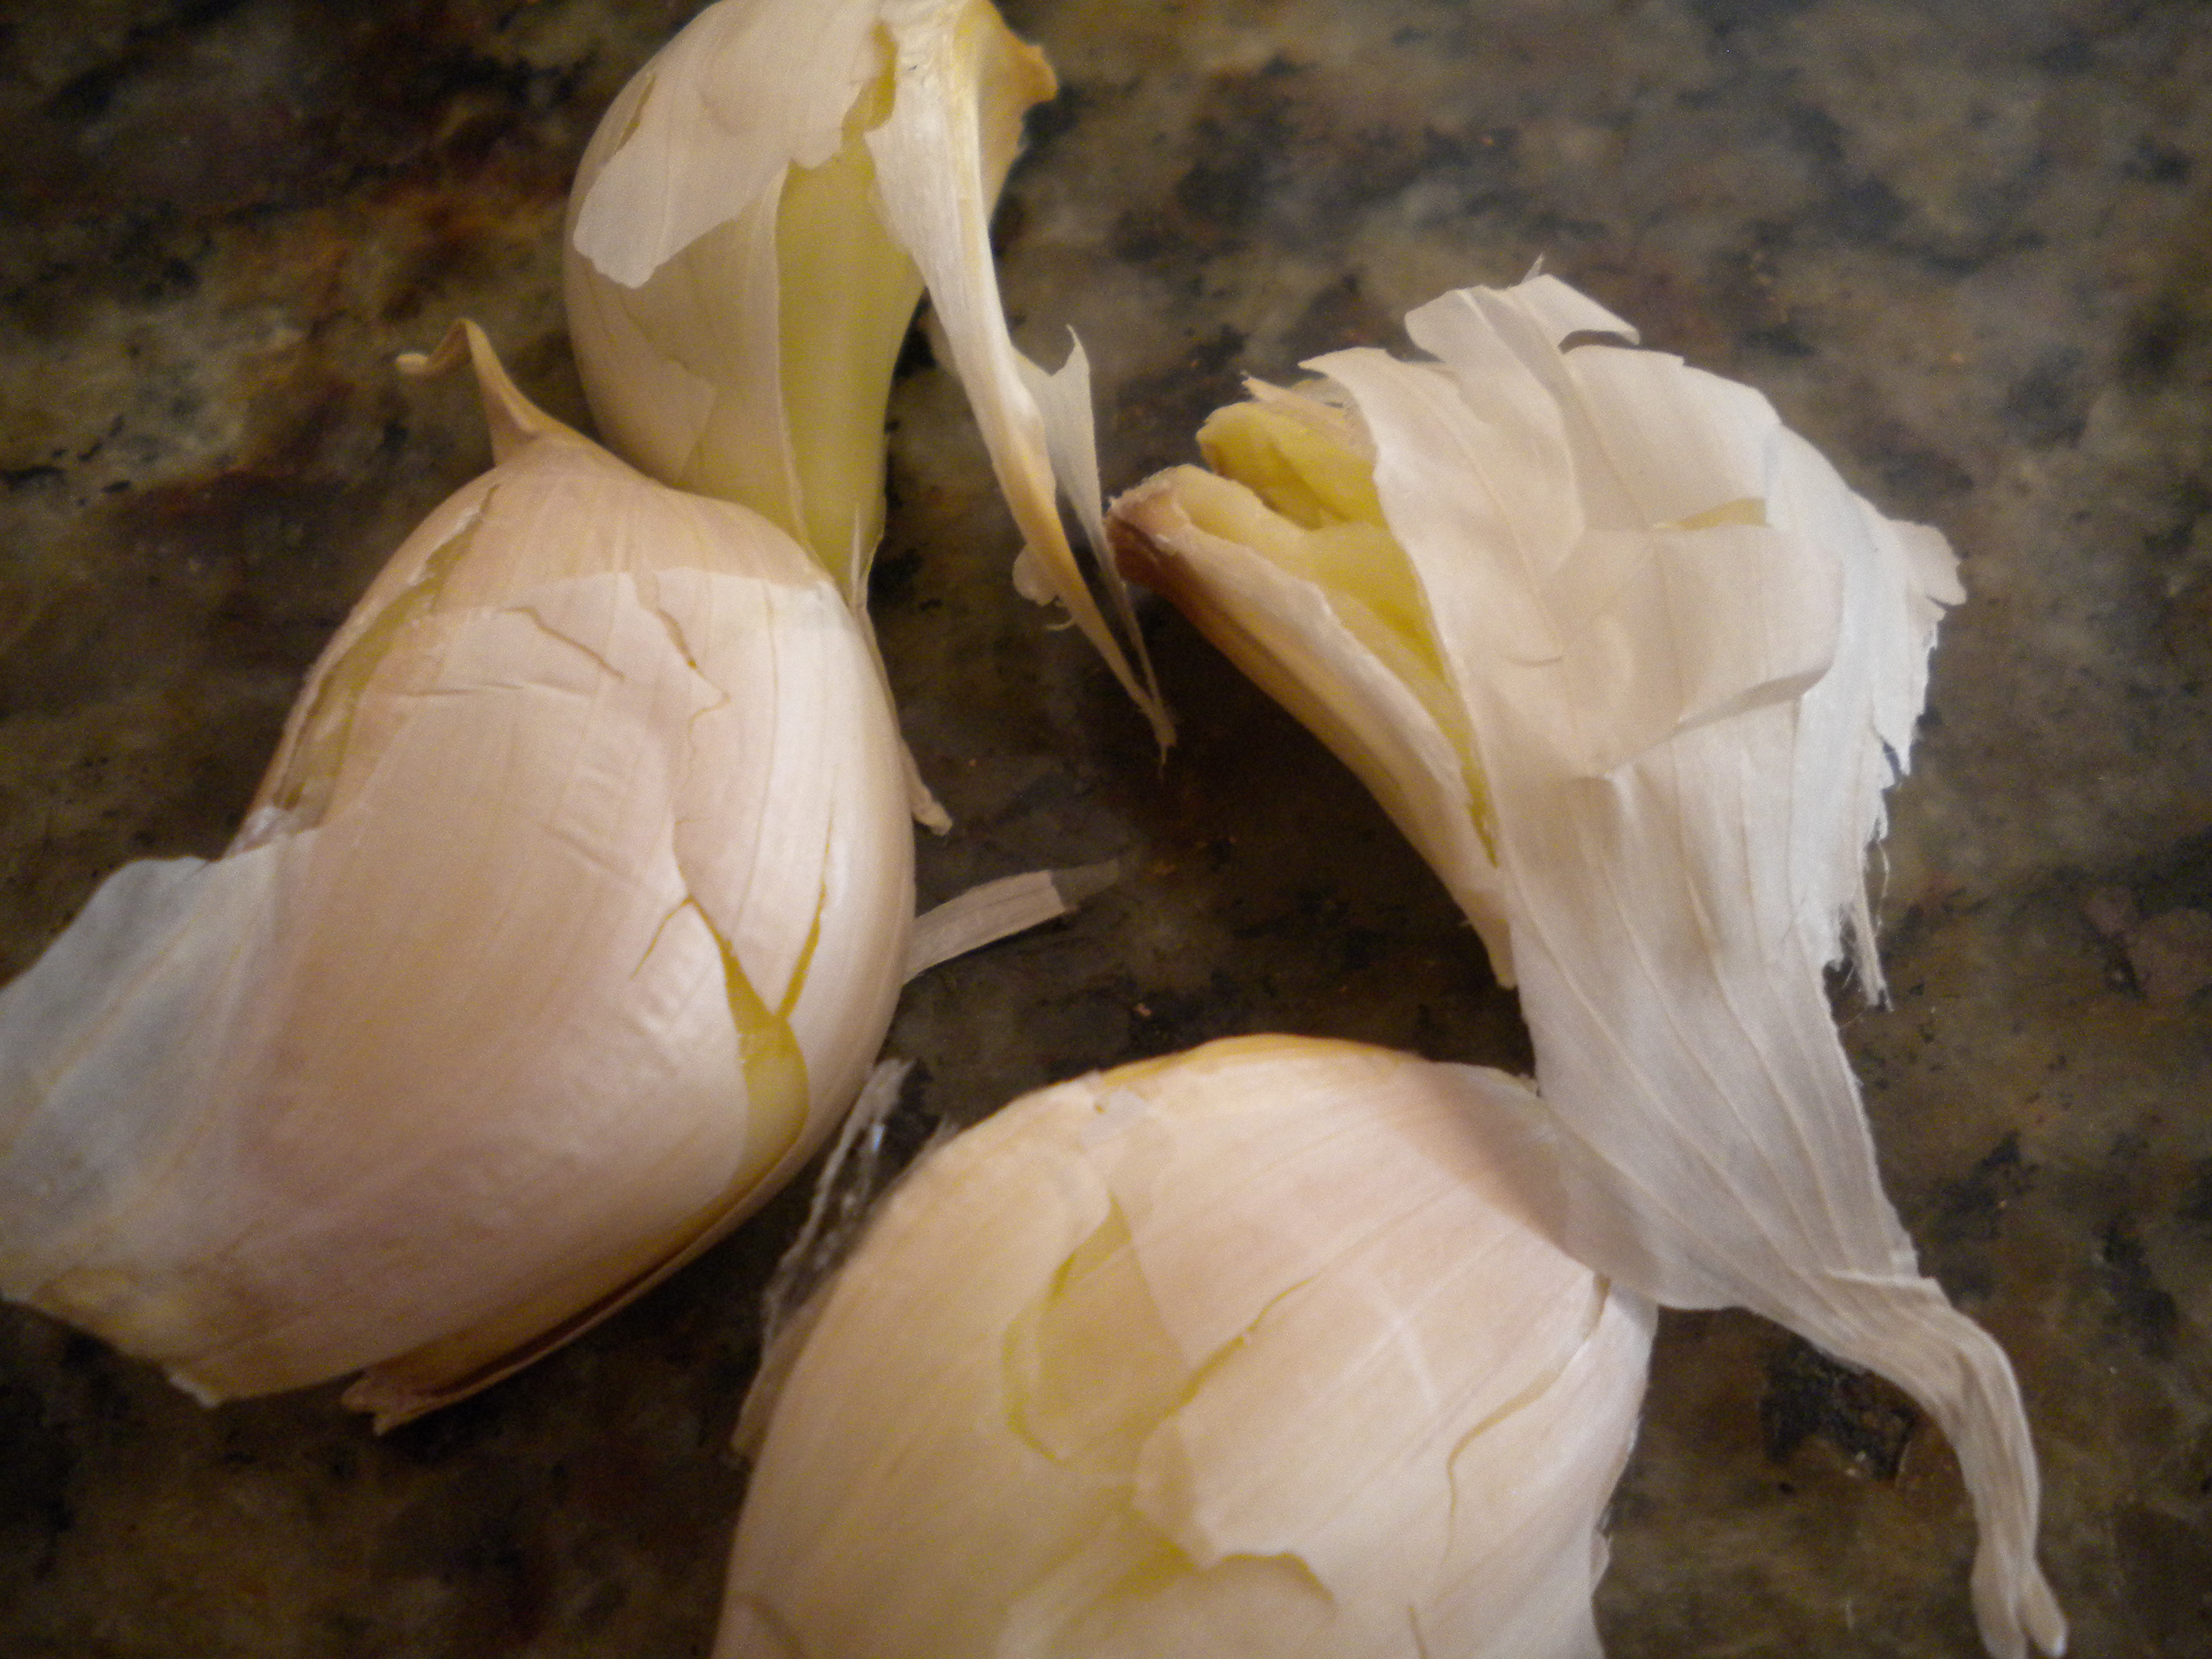
In the photo above, you see Garlic that has been slightly pounded so that the papery skins will come right off. To separate the cloves from the head, just give it a slight whack with your pestle (if you have one) or the bottom of a heavy jar or your rolling pin. The Cloves will instantly split apart. To separate the skin from the cloves, do the same thing. Then you are free to use the Garlic whichever way you please.
You can rub it on the bottom of your salad bowl with a little salt and it will practically melt and season your salad beautifully. In fact, this is the way a true Caesar Salad is made and what would it be without that Garlic!
In the photo above, you see Garlic that has been chopped in a Mini-Mate. This is the easiest way to do it, although many Chefs just prefer to mince it by hand. The Mini-Mate method saves your hands from getting too smelly! If you are going to do a lot of Garlic, this is definitely the way to do it. The chopped Garlic can be Sauteed. Sauteed Garlic goes well with most meats and poultry and even seafood, especially shellfish.
In the photo above, you see Garlic that has been chopped with fresh herbs. Just make sure that your herbs are completely dry after you wash them. Use a clean dish towel or paper towels to dry them. Herbs do not chop well if they are wet.
Add some Saffron or Paprika to your Garlic, Herb Mixture. The Saffro or Paprika becomes a browning agent and gives nice color to your food, especially those that are going to be browned or seared before cooking. In the photo above, not only has Saffron been added to the Garlic herb mixture, but Olive Oil has well. Add a little lemon juice or white wine and you have the perfect marinade for most anything!
In the photo above, is a chicken that has been coated with the Garlic, Herb Marinade. In this photo additional Paprika has been added to the chicken. After it has marinated for a couple of hours (in the refrigerator). If you want to use it sooner, leave it out at room temperature for about half an hour. Then it can be broiled, grilled or baked.
Just remember that Garlic adds wonderful flavor to most food and of course should be used sparingly or with moderation!
Categories: Condiments, Cooking for Everyone, Dinner Ideas, Main, Mexican, National Food Days Tags: Aromatics, Garlic, Herbs, National Food Days, Smelly Rose, Vegetables
MY CULINARY DIARY – Shrimp and Pasta
MY CULINARY DIARY
Sunday, June 24, 2012
Today was a Culinary Half-Marathon. Since we were almost out of bread, I decided to make some Country White Bread. I once got a T-Shirt at one conference or another that had the White Lily Flour Logo on it. I had never actually ever used White Lily because it does come from back East and I have never seen it for sale on the West Coast until about 4 weeks ago when I was browsing through Surfas, a great Restaurant Supply Store in Culver City. There and behold was White Lily Flour! Not being able to resist it I purchased a 5lb. bag of their All-Purpose Flour and their Bread Flour. Today, I decided to try out the Bread Flour in my Bread. It really turned out quite scrumptious.
I made the Dough using the Dough Blade in my Food Processor and then put it in a 2 gallon plastic bag. Before I bagged the Dough I covered it in a thin layer of Olive Oil. This adds flavor and keeps the dough from drying out. I did not use a recipe for the Bread but here are the ingredients I used:
4 cups Bread Flour
1 Tbsp. Dry Active Yeast
1 Tbsp. Malt Powder (Sugar or Honey may be used instead)
1 ½ tsp. Salt (2 tsps. Would have been better)
2 Tbsps. Olive Oil
1 ½ cup Water
If you make this Dough in your Food Processor, use cold water as the heat from the motor of the processor heats up the dough. You do not want the dough to get so hot as to kill the yeast.
You can also make the Dough by hand or in a standing electric mixer.
While the Dough was rising, I took a trip to the market(s) to purchase some other ingredients. My first stop was Sprouts to purchase Shrimp and look for Rennet Tablets and Citric Acid. Monti made Mozzarella Cheese and has inspired to try it too. Looks very simple and fresh Mozzarella is really good. I purchased the Shrimp, 2 boxes of Strawberries which were on sale for a very good price. I found the Citric Acid but not the Rennet. I did find Vanilla Powder though. Vanilla Powder is a good substitute for liquid Vanilla Extract when you do not want to add any more moisture to a baked product, especially ones like Churros or anything fried.
The next stop was Whole Foods to look for the Rennet, but all they had were very expensive Mozzarella making Kits. I did find some nice Mango Bath Salts though which are good for a very relaxing bath.
The next stop was Ralphs where they had Eggs on sale for 88 cents a dozen. (Limit 2 doz.) Since I use a lot of Eggs for baking this was a good deal.
On to home and the rest of my afternoon cooking and baking. Once I put away the groceries, I put the Baking Stone in the bottom of my lower oven and turned the oven on to 500 degrees to heat up the stone. (It takes at least 30 minutes to heat the stone, but 1 hour is even better) Since it was a warm day, I knew that the Bread would rise up fast, once it was shaped. The next thing I did was to put some Cornmeal on my Pizza Peel (which I use to slip the bread onto the stone with) and shape the Bread. I flattened the Dough to get out the Carbon Dioxide build up. You always want to raise your dough at least 2 times, even three to get a great loaf of bread.
Next I shaped it into a rectangle and folded over the top third. After flattening that as much as I could, I then folded over the bottom third and then flattened it again. The loaf was the lifted onto the peel. Realizing that the seam was up and should have been down, I turned over the loaf. That is why when you look at the photos that there is cornmeal on top of the bread as well as the bottom. This actually give some additional texture, taste and crunch to the crust. The top of the loaf was slashed with a Baker’s Blade (Lame); this allows for expansion and better baking.
I covered the loaf with a clean dish towel and then went on to my other tasks of making Strawberry Parfait and Angel Food Cake. The Strawberry Parfait was made with fresh Strawberries and Heavy Cream which was to be whipped. I did not want the Cream to break down, so I measured out 2 teaspoons of Gelatin (Gelatin comes in 1 oz. Packages or 1 lb. Containers) The one ounce package has 2 ½ tsps. In it. I also measured 2 cups of Heavy Cream (Whipping Cream) and poured 2 Tbsps. into a small bowl and then sprinkled the Gelatin over the cold cream. Once the Gelatin softened I placed it in the Microwave to dissolve it. Stir it thoroughly to be sure that all the granules are dissolved. I then poured the Gelatin mixture into the remainder of the Cream and covered it and refrigerated it to be sure it was cold enough to whip without turning into butter.
Next I placed the Strawberries in a Colander and rinsed them with Cold Water. I set them aside to drain.
Next I made my Angel Food Cake. Before starting this though, I made sure the oven rack was at the bottom and that the upper racks were well out of the way. Next I turned the oven to 375 degrees. To make Angel Food Cake, use a tube pan and DO NOT GREASE IT!
I used the White Lily All-Purpose Flour for the Cake which normally calls for Cake Flour. Since the White Lily All-Purpose Flour is lighter than most commercial brands of All-Purpose Flour (you actually have to add 2 Tablespoons to every cup of White Lily Flour to have it equal 1 cup of regular All-Purpose Flour) The White Lily Flour was almost the weight of the Cake Flour.
The reason I decided to make an Angel Food Cake was because I had a large collection of Egg Whites that I had saved from recipes that only called for Yolks. I could have made a larger Angel Food Cake than I did, but two people can only eat so many sweets!
The recipe I used called for:
1 cup Egg Whites (approximately 12)
1 tsp. Cream of Tartar
¼ tsp. Salt
1 ½ cups Granulated Sugar (divided in half)
1 cup Cake Flour
1 tsp. Vanilla
For the complete recipe see: angel-food-cake/
Once the cake is done remove from the oven and turn upside down until completely cool. Run a spatula around the sides of the pan and If your tube pan is a 2 part pan, remove the sides and then run the spatula under the bottom part of the cake. Turn over onto a serving platter.
Angel Food Cake makes a great base for Strawberries and Whipped Cream or for the Strawberry Parfait that I made next.
For the Strawberry Parfait I used:
1 Pint Strawberries
1 Pint Whipping Cream
2 tsps. Gelatin (I think 1 would probably have been enough)
Superfine Sugar
For the complete recipe and directions see: strawberry-parfait/
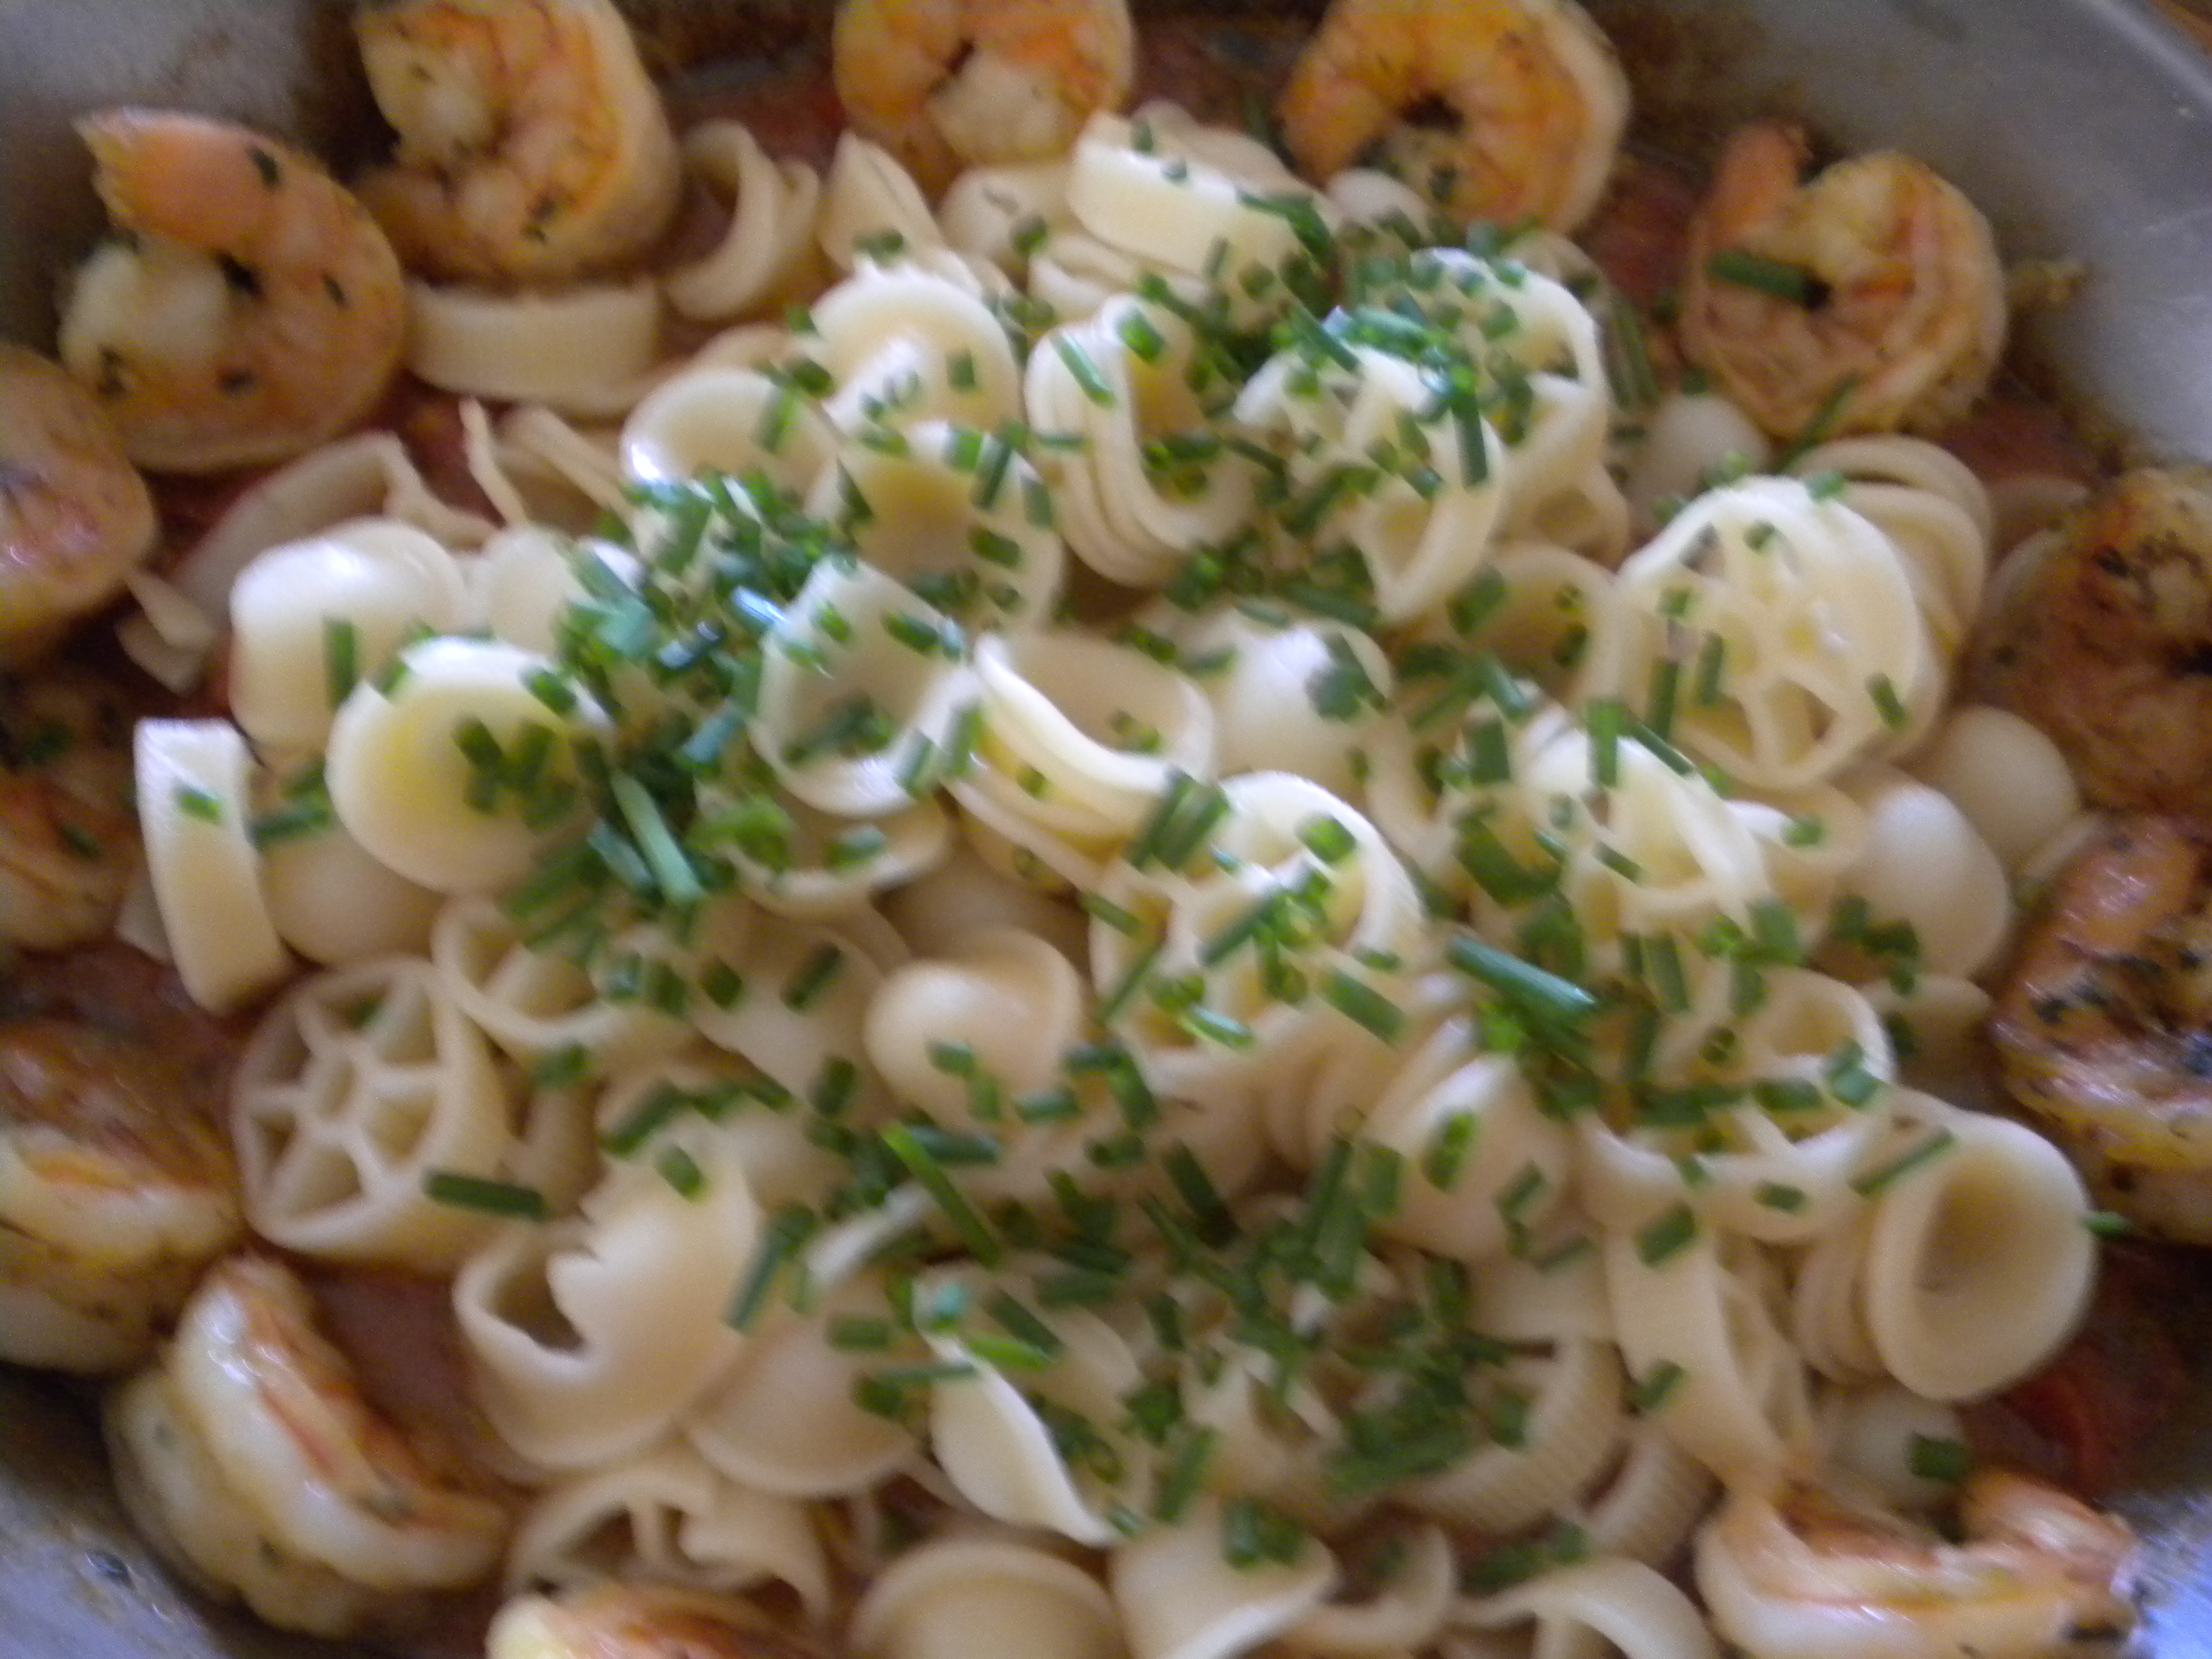
Once the Parfait was done I began preparations for dinner which was Oriechetti (Ear-shape Pasta – the name actually means little ears); there were a few wagon wheels thrown in the the Oriechetti as I wanted to use up the small amount I had) with fresh Tomato and Herb Sauce and sautéed Shrimp. I shelled and deveined the Shrimp and rinsed them with cold water and then blotted them dry with a paper towel. I add some minced Basil mixed with some Himalayan Sea Salt, Olive Oil and Saffron. (The Saffron gives color and is a browning agent – Paprika or Turmeric can be used instead although the Turmeric will add its own flavor) You can also add some Lemon Juice to this mixture, but this time I added Marsala Wine.
The bread was put in the oven before the Cake was put in. As I said it was a very warm day and the loaf rose up quickly. The bread also finished baking before the Cake. When it was done I removed it with my peel and placed it on a rack to cool. Ev couldn’t stand it (the aroma of freshly baked bread is so good!) and he had to have a slice with Butter of course!
Next I washed the Tomatoes (no need to dry) and removed the cores. Next I diced them and minced some fresh Oregano Leaves.
I also minced some Chives but kept them separate as they were to be used for a garnish. Usually I grill the Shrimp (grilling adds flavor and gives more color to the Shrimp) but since I already had several pots and pans on the stove, I decided to sauté them instead in the pan that I was using for the Sauce. Once the Shrimp were sautéed I removed them to a dish and covered them until the sauce was done.
To make the sauce, add a small amount of Olive Oil to the pan and add some diced Onions. Sauté until the Onions start to soften and then add the Tomatoes along with the fresh herbs and 1 tsp. of Sea Salt and some freshly ground Pepper to taste. Cook until the tomatoes are reduced and a sauce start to form. If desired, you can add a little Marsala to the Sauce but be sure to cook it down somewhat.
While I making the Sauce I cooked the Pasta in plenty of boiling salted water. Once it was done, I poured it into a Colander and shook out all the excess water. Once the Sauce was done I put the drained Pasta on top and surrounded it with the Sautéed Shrimp.
In addition to the Shrimp and Pasta we had the freshly baked Bread and some sautéed Spinach to go along with it. All in all it was a delicious meal followed by Angel Food Cake and Strawberry Parfait.
Categories: Baking, Bread, Cooking for Everyone, Dessert Ideas, Dinner Ideas, Fruit, Main, Pasta Tags: Angel Food Cake, Basil, Culinary Diary, Egg Whites, Herbs, Oregano, Parfait, Pasta, Saffron, Shrimp, Strawberries, Tomatoes
NATIONAL LOBSTER DAY
June 15th, 2012 is ‘National Lobster Day’. Lobster without doubt is one of the most expensive items that you will find on a restaurant’s menu or even at the fish market or supermarket. But this wasn’t always the case. In the early days of our couontry’s history, lobster was thought to be garbage or throwout food. The reason for this is that lobster, like most all shell fish or crustaceans are bottom feeders and bottom feeders are thought be the dregs of society or the aquatic world.
When fishermen found lobster caught in their nets, they often left them on the beach for the poor or indigenous to eat. Lobster was food that was left to the lower members of society and indentured servants. Servants often specified in the employment agreements that they would not eat lobster more than twice a week. How many of us would love to eat lobster even twice a month, let alone twice a week! Alas, this attitude towards lobster did not last long and in the mid part of the 19th century lobster became a popular item on the menues of New York and Boston restaurants. With the development of lobster fishing boats, the crustacean became even more popular.
Without a doubt, Maine Lobster is probably one of the favorite and most available here in the United States. However, with the advent of air travel and shipping, lobster from all over the world is available. One can purchase giant lobster tails from Australia, mid-size ones from the Carribean and even smaller ones from ???
One of my favorite lobsters are those found in Rosarita, Baja California. The Mexican variety are smaller than the Maine Lobster, but they are sweet and usually at least two or more are served at a sitting.
One of my favorite ways to prepare lobster is to purchase one tail and cut it up in large bite-sized pieces and serve it in an Alfredo Sauce with Linguini. This way, one lobster tail will easily serve two people. However, we do sometimes just want to savor the lobster meat itself and in this case at least one lobster tail per person is called for. (This is the Carribean variety – one large Australian lobster tail would do for two people, provided they do not have HUGE appetites.
To observe National Lobster Day, here is one of my versions of a Lobster Tail Dinner. For two people, you will need two mid-size lobster tail, two large baked potatoes, fresh chives, fresh herbs such as basil, oregano, chives, etc., unsalted butter and a nice green salad made with artisan greens and dressed with a blue cheese dressing.
Scrub the Potatoes and pierce with a fork; this will prevent them from exploding in the hot oven – just as a precaution, I always make an extra potato and if none explode you can use the extra for home fries for another meal. If you like your potatoes to have a crsipy skin, coat the skin with vegetable or olive oil before placing in the oven. If you do use oil on the skin, be sure and place a piece of foil under the potatoes so the oil does not drip down onto your oven floor and cause smoking. If you are going to have Chives with your Baked Potatoes, prep them now. We have Chives growing in our garden, so I picked them just before using them to preserve the flavor. Wash and dry and then snip. The easiest way to snip them is with a pair of kitchen shears. Before doing so, hold the chives in one hand and cut them in a straight across. This will make it easier to snip the chives evenly.
The next thing to do is to clarify your butter. Take a quarter pound of butter (1 stick) and melt it in a microwave proof bowl or measuring cup. Let it settle so that the milk solids fall to the bottom. (The better the grade of butter, the less milk solids there will be in it) Once the solids fall to the bottom pour off the fat portion through a cheese cloth lined strainer into another bowl.
If you are going to make an herb butter wash and dry your herbs and then mince them either by hand or in a mini-food processor.
Once the Butter has settled and is clear, you can add the Herbs to the Butter; set it aside until ready to serve. When ready to serve, you can just re-heat it until melted. (About 30 seconds or less in a microwave oven)
Next, prepare your salad and refrigerate until serving time. Make the Salad Dressing – in this case ours was Bleu Cheese. Bleu Cheese can be purchased in small portions in the Cheese Section in your supermarket or you can go to a speciality store. For the complete recipe please see bleu-cheese-dressing/
Since I was serving Mushrooms with the Lobster, the next thing I did was prepare the mushrooms. Wipe the mushrooms with a damp paper towel. (Since mushrooms act like sponges and soak up water, it is best to avoid washing them if possible – I don’t often follow this advice as some mushrooms also pick up a lot of the growing compound and just have to be washed) If you do wash your mushrooms, be sure to blot them dry really well with a paper towel. I quartered the Mushrooms and then sauteed them in Olive Oil with 2 cloves of minced Garlic. When they were done, I shut off the heat and set them aside. Just before serving, I reheated them for a short time.
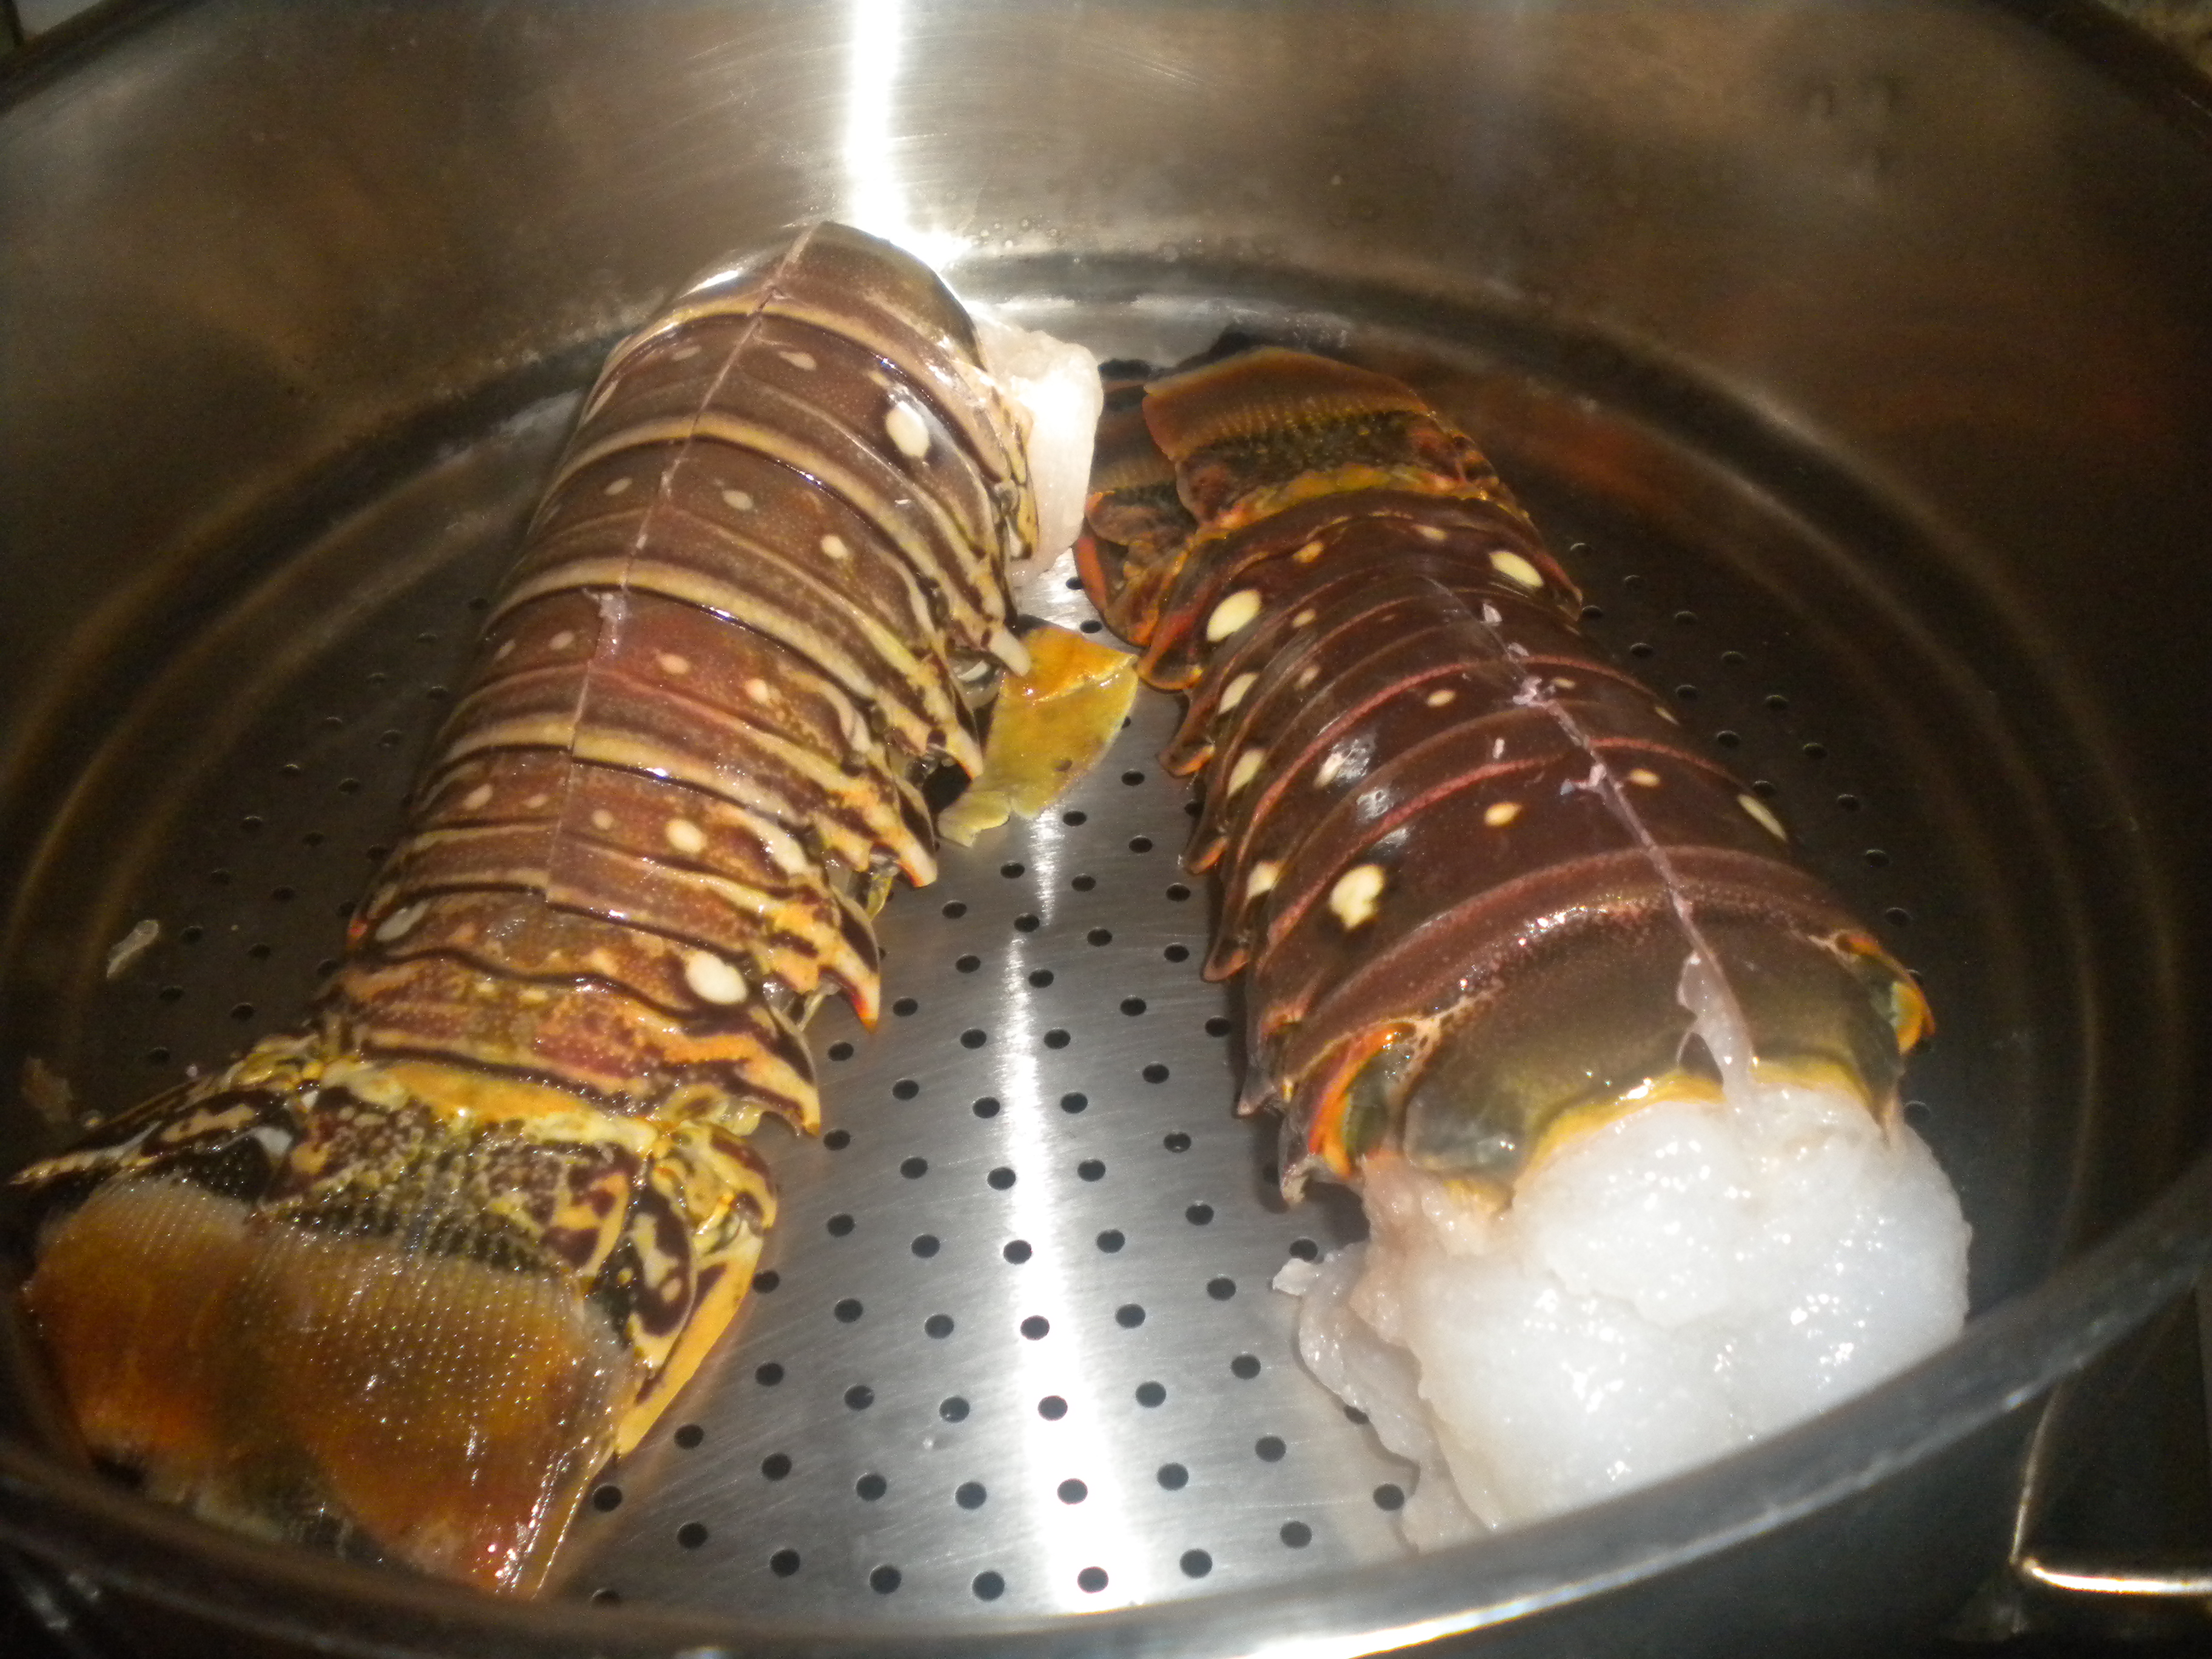
The next item on the agenda was to prepare the Lobster. We had two tail which I decided to steam first before broiling. When you broil them you are never sure when they are done – you don’t want your lobster to be over-cooked and when broiling for the whole time, sometimes the tops get charred.
I split the tail down the back of the shells. This can be done with a cleaver, a sharp knife or a pair of kitchen shears. Then I placed them in my steamer – steaming takes only 5-10 minutes depending on the size of the tail. Just before serving I placed them under the broiler and broiled them for about five minutes.
While the lobster were broiling, we started on our Salad and I microwaved the butter, just to warm it up. This took about 15 seconds.
The main course was the Lobster, Baked Potato with Butter, Sour Cream and Chives and the Caramelized Mushrooms. These are all some of my favorite foods. Even though the Carribbean Lobster Tail, was ample in size, I still could have eaten more. I just love lobster! In any form!
Categories: Condiments, Dinner Ideas, Main, National Food Days Tags: Bleu Cheese, Chives, Drawn Butter, Dressing, Herbs, lobster, National Food Days, Potatoes, Salad, Sour Cream
PIZZA TONIGHT!
It is Pizza Time Again! Last time it was Pita Pizza to use up the extra pita bread we had in the refrigerator. This time it is traditional pizza to use up the fresh tomatoes that won’t last much longer without being cooked.
Some of you may think that making your own pizza is very time consuming and too much work, however, it can be made rather simply and in a short amount of time. If you make your dough from scratch, you can figure on about an hour and a half of preparation time including the time needed for the dough to rise. So if dinner is planned for 6 PM you would probably want to start by 4 PM with the dough preparation. (The rising time for the dough depends on the air temperature surrounding it)
You can also purchase readymade dough from stores such as Trader Joe’s, Fresh & Easy or your local Italian deli. I find that making the dough is so simple and tastes so good (when you make your own) that I always make my own dough. What happens though when you are going to spend most of the afternoon out and will not be home until an hour before dinner is to be served? Here is my solution:
- Make the Dough ahead, allow it to raise and then refrigerate it or you can let it rise in the refrigerator.
- Prepare all your toppings ahead and refrigerate.
- If you bake your pizza on a stone place the stone on the lowest shelf of your oven and set it for delay (if your oven has that option) to go on an hour before you get home.
- If your oven does not have the delay feature, then bake your pizza in a good quality black surface retains more heat and makes a crispier crust) on the lowest shelf of your oven.
- When you get home, finish the preparation and bake your pizza.
The pizza I made for dinner this evening was made as follows:
- Dough was made earlier in the day in my food processor with the plastic dough blade.
- Dough was placed in a greased bowl and refrigerated.
- Vegetables and herbs were washed and put in a colander to drain.
- Husband removed dough from refrigerator an hour before I got home, but if no one is there to do it for you, just take it out when you get home and microwave for no longer than one minute. This will warm it up sufficiently for it to be shaped.
- Upon arriving home, I cored and seeded the tomatoes and then sliced them into the desired pieces. (These were Romas and I ended up julienning them.
- Sliced the Mushrooms, Bell Peppers and Olives in the food processor.
- This time I used fresh Mozzarella which needs to be sliced by hand.
- Sliced the salami pieces in half.
- Sprayed the pan and shaped the Dough.
- Minced the herbs (basil and oregano) in the food processor with the metal chopping blade.
- Combined the herbs with Olive Oil and spread them over the dough.
- Sprinkled parmesan cheese over the herbs.
- Added the sliced Mozzarella and then the tomatoes.
- Ground Sea Salt and Fresh Pepper over the tomatoes and then added the salami.
- Baked for 15 minutes in an oven preheated to 500 degrees and then added the remaining vegetables. This prevents too much liquid from leaching out of the vegetables and making your pizza soggy.
- Baked for an additional 5 minutes, removed from the oven and allowed the pizza to set for 5 minutes.
- Transferred to the peel and brought to the table. Dinner is ready!
Postscript: In the photos there is a piece missing from one edge of the pizza; the dough didn’t quite stretch this far & I eventually gave up trying to force it. Doesn’t change the taste, only the aesthetics.
Categories: Baking, Cooking for Everyone, Dinner Ideas Tags: Fresh Mozzarella, Herbs, Mushrooms, Pizza, Tomatoes