TEEN/PRETEEN WESTERN CULINARY CAMP AT LET’S GET COOKIN’
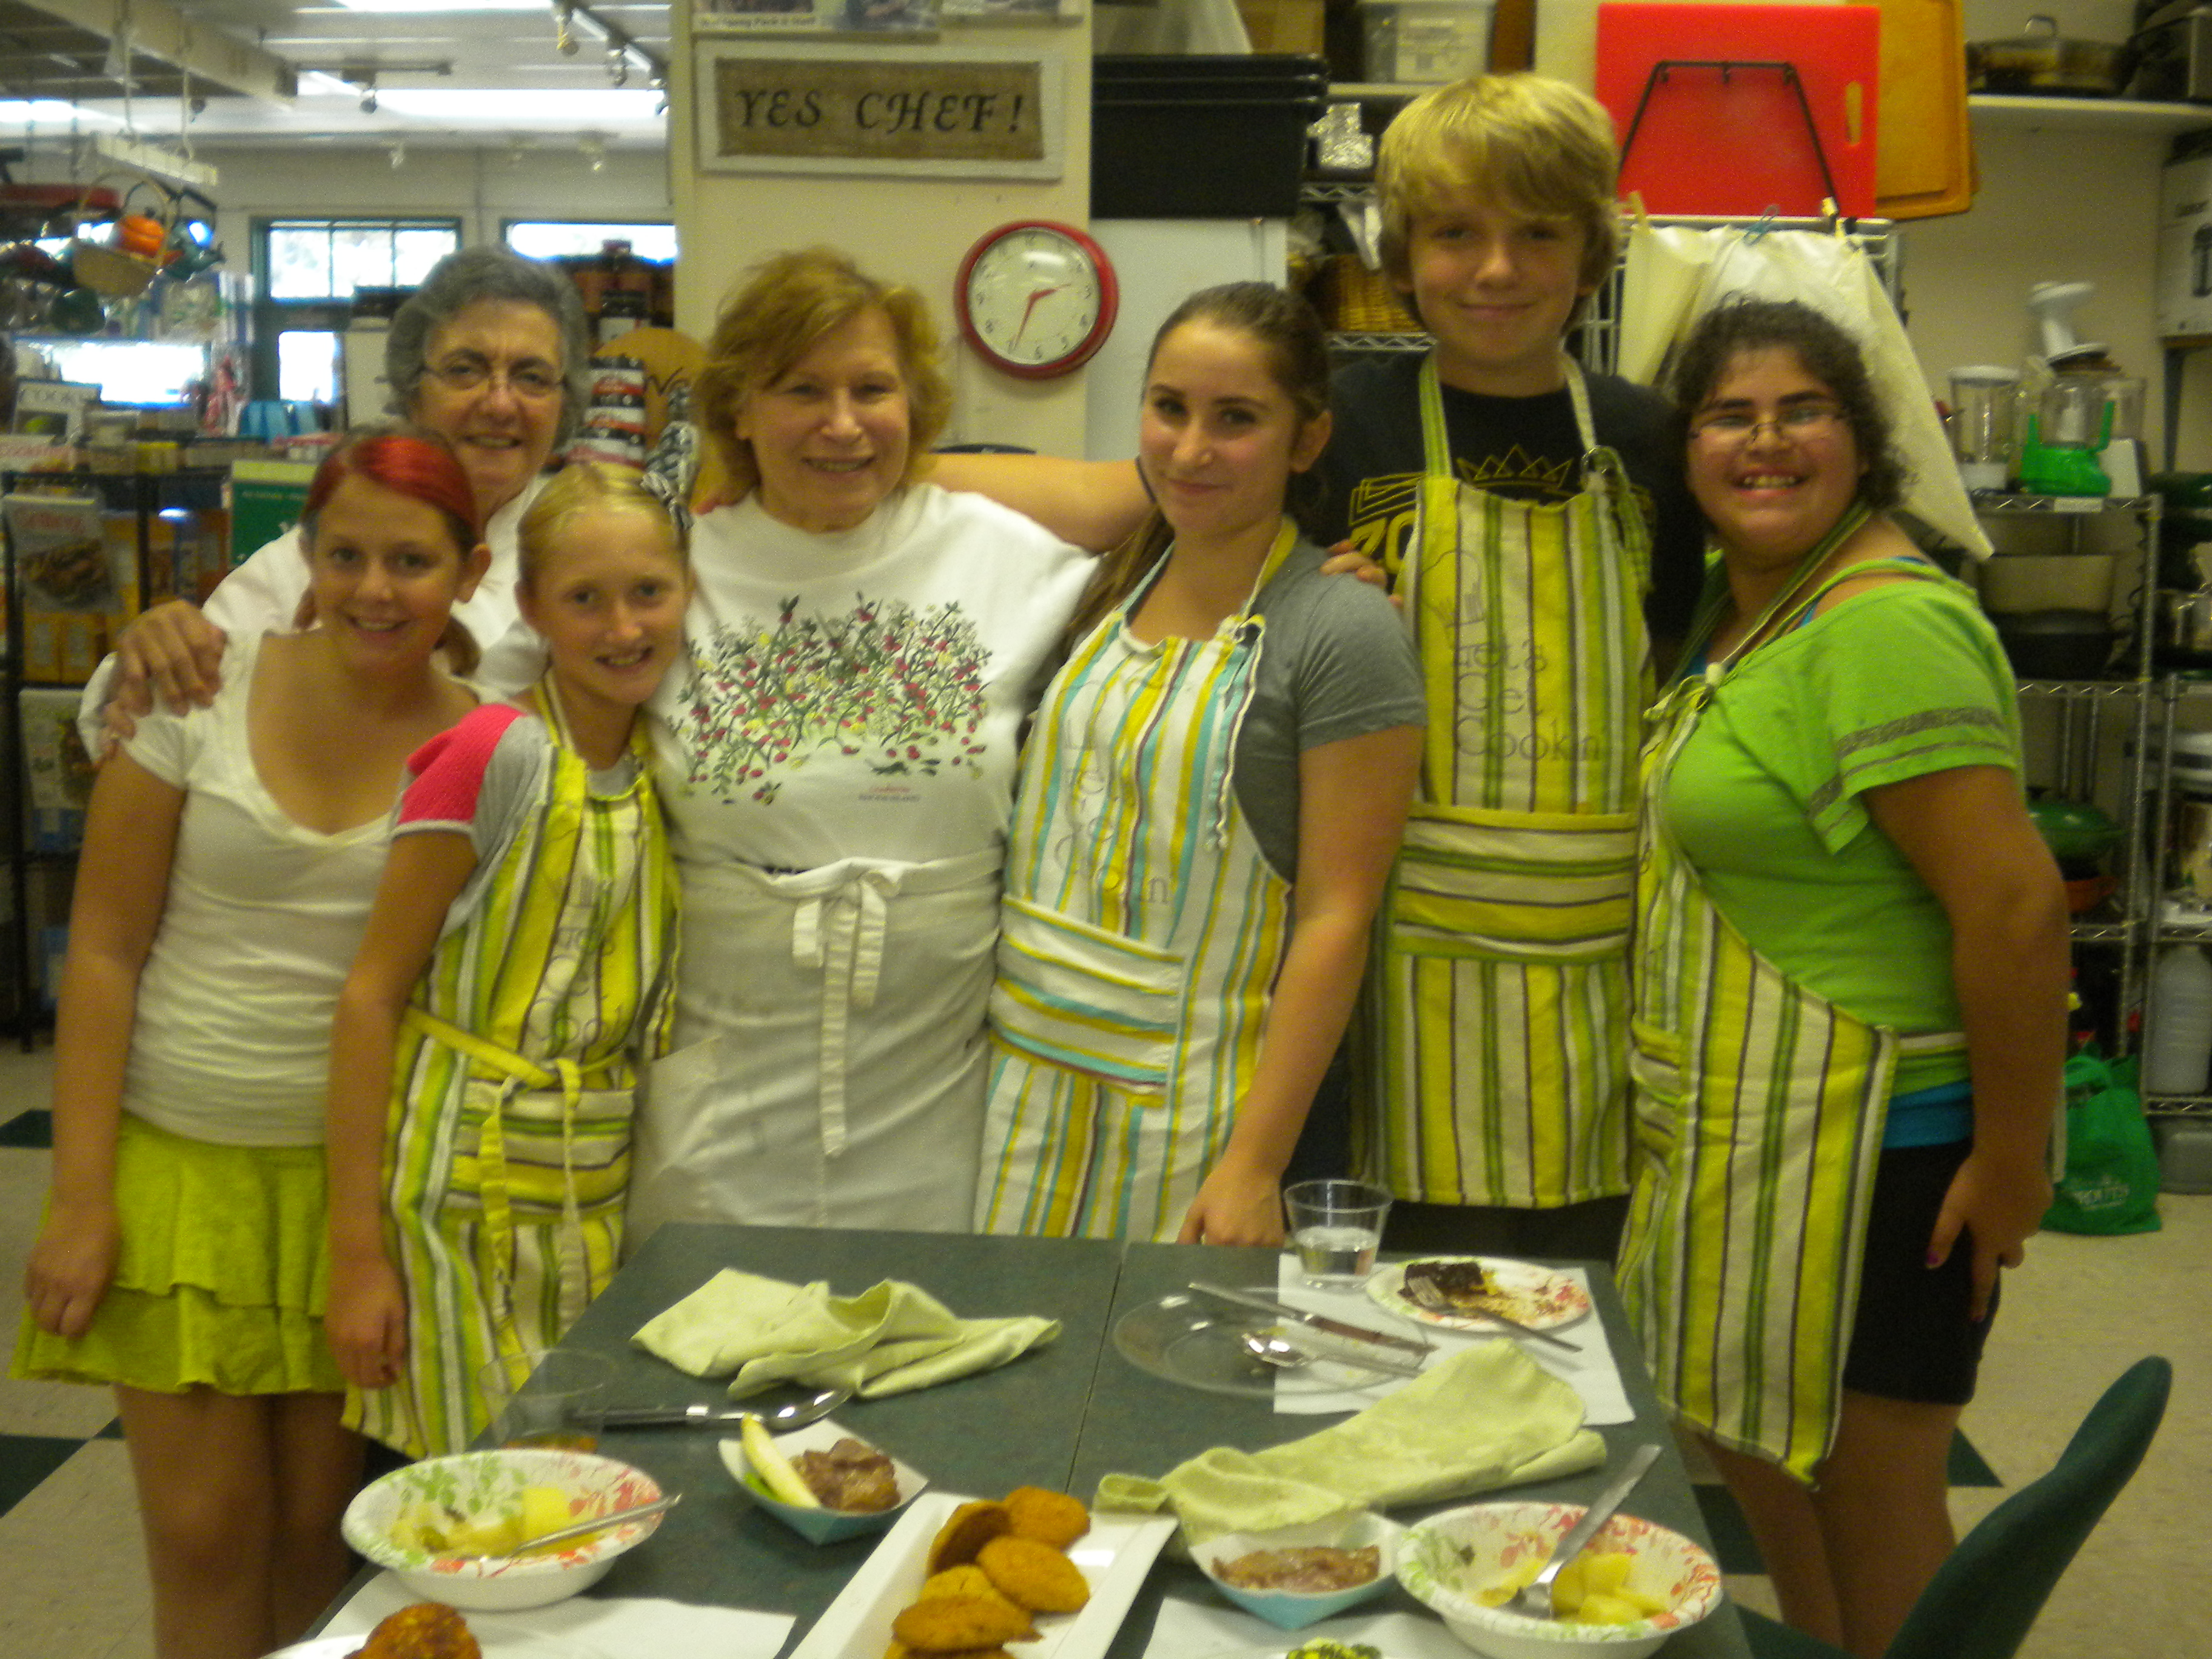
The week of August 13th – 17th was the Teen/Preteen Western Culinary Camp at Let’s Get Cookin’ in Westlake Village. During the week, we traced the evolution of Western Cuisine from its birthplace in the Middle East and followed the trail to Greece, Italy, France and then across the Atlantic to the New England States in America.
Day One – Middle East
Lavash -Flat Bread
Spinach Borani – Spinach & Yogurt Dip
Israeli Chopped Salad
Israeli Couscous
Chicken Tangine
Egyptian Bread Pudding
Cardamom Cookies & Pomegranate Blast
Paige making Israeli Couscous
On Emma’s plate is Israeli Couscous & Lavash. In the small cups are Israeli Chopped Salad, Spinach Borani & Pomegranate Blast.
Egyptian Bread Pudding – contains Baked Puff Pastry, a variety of nuts and Coconut sweetened condensed milk. The ingredients were combined and then baked before being served.
Day Two – Greece
Pita Bread
Mediterranean Vegetable Salad
Beef & Macaroni Pie
Lemon Rice Pilaf
Pineapple Baklava
Filling for Baklava
Emma T, Paige, Emma M & Sheema
Day Three – Italy
Antipasto
Stuffed Shells with Marinara Sauce
Chicken Picatta
Fruit Lasagna
Italian Sodas
Chicken Picatta – Lemon flavored dish
Day Four – France
Coquille St. Jacque (Scallops in White Butter Sauce)
French Onion Soup
Baguettes
Butter Lettuce Salad
Boeuf Burgundy
Haricot Verte (French Green Beans)
Strawberry Napoleons
Elizabeth adding Pastry Cream that was forgotten
Day Five – New England
Rhode Island Clam Chowder
Stuffed Eggs Florentine
Roasted Asparagus
Lamb Carbonnade
Corn Fritters
Pumpkin Biscuits
Sally Lunn Bread
Boston Cream Pie
Additional Photos
Sheema, Emma T & Piper —->
PRETEEN/TEEN INTERNATIONAL BAKING CAMP PHOTOS
DAY ONE – French & Italian Bread
COUNTRY FRENCH BREAD ————–>
We also made French Baguettes, an Italian Country Corn Loaf and a French Corn Loaf in addition to Quick Chocolate Bread from France.

Lunch – Cold Cuts were served with the Bread the Student made as well as Vegetable sides. The beverage was Italian Sodas.
DAY TWO – Scandinavian Cookies
Krumkake is a Norwegian Waffle-like Cookie similar to an Italian Pizzelle but the Iron is much thinner, thereby producing a thinner cookie.
Fatigman are also Norwegian in origin. They are a fried cookie – the name translates to Poorman’s Cookie, but the ingredients are certainly not those of a poor man. They are rich in butter, eggs and cream.
DAY THREE –Austrian, Russian & German Pastries
DAY FOUR – South American Savories & Sweets
Tristan, Jeanette, Megan & Grace with
Empanadas they made
DAY FIVE – United States
Kevin sugaring the Beignets —–>
Additional Photos
Categories: Baking, Bread, Cooking for Kids, Main, Pastry, Pre-Teen Classes Tags: Apples, Austria, Bread, Cookies, Eggs, Flour, France, Germany, International Baking, Italy, Pastry, Russia, Scandinavia, So. America, United States
PEAR PUFFS
Along with a productive Apple and Peach tree we also have an Asian Pear tree. The pear tree is not quite as productive as the other trees and the pears for the most part don’t get really big, however, they are sweet and flavorful. This year I tried out a new way to conceal and bake them in puff pastry. My usual method is to make turnovers, but my mind was leaning towards baked pears, much like baked apples.
Since the pears have thin skin, I decided to leave the skin on. After washing the pears, I quartered and cored them and then cut the larger pieces in half lengthwise. Then I tossed them with some lemon juice and added some brown sugar, cinnamon, about ¼ cup flour. I gently tossed them all together and then proceeded to prepare the puff pastry.
The puff pastry I use is a commercial brand which is sold in 15 lb. boxes of 20 large sheets each. Remove the sheets you are going to use and place them on a pastry board to thaw. Return the box to the freezer. This size only works if you have an upright freezer that can hold large items. Smaller quantities of puff pastry can be purchased in the freezer section of your local market. Unfortunately, this type is usually sold folded and it is recommended that you thaw it overnight in the refrigerator. You must be careful with the folds, because sometimes they tend to tear.
Another pastry suggestion is to make your own using a quick puff pastry dough or regular pie crust. (Recipe for Quick Puff Pastry is at http://www.sylveeeskitchen.com/recipes/baked-goods/rough-puff-pastry/ The puff pastry is the best tasting though. Whichever type of dough you use, cut them into equal squares. I cut the commercial puff pastry into 5” squares.
Once the dough thaws then it is time to place the prepared pears on the pastry. I put several slices of the pears in the middle and then brought up the corners to the center. You want to pinch the points together. When the pastry bakes, the pinched points will separate. Pinching them together keeps them from separating too much, thereby preventing the filling from spilling out.
Puff pastry needs to be baked at high temperatures (400 degrees F.) in order for the laminated layers of dough to puff up. Baking them at low temperatures will result in hard over-baked tough pastry. Baking them at high temperatures will results in light, puffy and tasty pastry. So preheat your oven and allow it to come to temperature before baking. For a shiny glaze on your pastry, brush with a beaten egg and sprinkle with a little Demarara sugar (also sometimes sold as raw sugar, although it is not really raw)
If you only have one pan of pastry, bake on the middle shelf. If you have two pans, adjust the racks to be at the second and fourth positions. Bake for at least 20 minutes or until a medium golden brown. Do not open the oven during the baking process or the pastry may not puff up. At the end of the 20 minute baking period it will then be safe to open your oven. If you want the pastry to be darker, leave them in for another 5 minutes or until the desired color is reached.
Your resulting pastries will be like baked pears in light, puffy, flaky blankets. If you have too many to serve at one sitting, the unbaked pastries can be frozen. To freeze them, place them on a parchment or silpat® covered baking sheet and cover with plastic wrap and then with foil. Place in the freezer until frozen solid. Once they are frozen, they can be removed from the baking sheet and placed in plastic bags. The frozen puffs can be baked right from the freezer in your preheated oven.
Next time I make these, I will write down the quantities so that there will be exact recipe. For whomever wants to make them now, you could use the filling portion from a pear or apple pie recipe.
Categories: Baking, Dessert Ideas, Food as Gifts, Fruit, Main Tags: Dessert Ideas, Fall Harvest, Fruit, Pastry, Pears, Puff Pastry
SFOGLIATELLI – FIRST TRY
Chef Tim and I are going to make Sfogliatelli tomorrow night with his Professional Class in Westlake Village, CA. When we made plans to make these, neither one of us had ever made them. This was to be a first for both of us, however I decided that it might be prudent if at least one of us had tried it out before the class so I decided to do so. The dough which is made simply from flour, salt and water should be made about two hours ahead of time. The instructions I had said to run the dough through the widest opening of a pasta roller for about 12 – 15 passes. I decided that making the dough in the food processor and running it for 2 minutes instead of the usual 1 minute that the food processor recommends would do the trick. I think it did. Once the dough is made flatten it into a round disk and wrap it in plastic wrap and refrigerate for at least 2 hours.
While the dough is refrigerating, you can make the filling which consists of cooked Semolina (this creates a thick custard that will not run during baking) ricotta cheese, sugar, egg yolks, vanilla, cinnamon and candied orange peel. This is then put into a shallow dish (I used a glass pie plate) and refrigerated until set.
When the dough is firm enough to roll, remove it from the refrigerator, unwrap and flour generously. Then cut it into four pieces. Keep three of the pieces refrigerated while you are rolling out the first piece. The best way to do this is with a pasta roller – running it through every other setting twice. Start with the widest setting, run the dough through twice, then skip to the 3rd one and then run it through twice again. Once you get to the last setting the dough should be thin enough to make the sfogliatelli. Once all the pieces are rolled, then take softened or melted butter and cover the first piece of dough with a thin layer of the butter.
Starting at the narrow end, tightly roll the dough into a cylinder. Brush the next piece with butter and place the first roll on top and then roll it up in the new piece of dough. Continue in this manner until all the dough is used up. Wrap in plastic wrap and refrigerate for at least 2 hours or overnight.
Now you are ready to make the sfogliatelli (clam shells). The cylinder of dough is cut into half inch pieces and then each piece is flattened and then stretched to for a cone. The cone is filled with the custard mixture and then placed on a parchment covered baking sheet. The sfogliatelli are baked at 400 degrees for 20-25 minutes or until a deep golden color. The shells are supposed to be brushed with more butter before and during the baking process, but I find that they end up being too greasy with the addition of more butter. There is definitely enough butter that is put between the layers of dough.
The resulting pastry is crispy, buttery and the filling is quite good. A delicious pastry, but alas, filled with many calories. The photos below depictthe different steps in the making of sfogliatelli. I will take more photos tomorrow and we will see if the second try comes out any different than the first one. See the next post for the remaining pictures from this article.
Categories: Baking, Italian, Main, Pasta Tags: baking, custard, flaky pastry, Pastry, sfogliatelle