Posts tagged "Puff Pastry"

ADVENTURES IN CHEESE MAKING – RICOTTA AGAIN

This time I decided to make a batch of Ricotta using Rennet Tablets. It was my understanding that a quarter of a Rennet Tablet would be sufficient to curdle two quarts of milk.  Unfortunately, this did not happen.  When I used the Lemon Juice the heated Milk curdled within about 2 minutes.  With the Rennet, I cooked and stirred with the Rennet added (after the milk came to a boil) for about 10 minutes.  Getting frustrated I added Lemon Juice and it still did not look curdled so I added the rest of the Rennet Tablet.  It finally curdled but did not yield as much Cheese as the Lemon Juice alone did and it was much looser and did not hold its shape.  Fortunately I used the Cheese in Sweet Cheese Turnovers so the thickness did not matter as much.  To add body to the Cheese I also used about half a carton of Mascarpone (thick Italian Cream Cheese).  Next time I will go back to the Lemon Juice.   

To make the Turnovers I placed the drained Ricotta in a medium-sized mixing bowl and added half a carton of Mascarpone, (about 4 oz.) along with 1 Egg, 2 Tablespoons Granulated Sugar (this should be to your taste) and some Vanilla. A pinch or two of ground Cinnamon may also be added if desired.   Combine the mixture and refrigerate until ready to use.

For the Turnovers I used commercial Puff Pastry but you can use Pie Crust or any other type of Dough that you prefer.

Have a small bowl of cool water at hand to help seal the pastry edges along with a fork to crimp them.

Lay out the Pastry on a cutting board and cut into 6″ squares.  If needed you can use a clean ruler to measure.  I usually just eye-ball it.  Use a long knife or Pizza Wheel.  Keep your eye on the end point and you will end up cutting a straight line.  If you try to guide the knife or wheel, it is likely that your pieces will end up crooked.  (I learned this little trick from my Mother who used to make all our clothes – when she cut out fabric she always said, keep your eye on the place where you want to end – this will guide your hand  and keep it straight)  It works every time!

Pastry Squares Pastry Squares

Arrange the squares so that they are facing you as a diamond.  Place a scoop of the filling on each square.  (I used a #30 food scoop – about 1 1/2 Tbsps.) The filling should be placed just below the mid-point which will give you enough room to fold over the pastry and seal the edges without the filling oozing out the sides.

Sweet Cheese Turnovers - Filling Added Sweet Cheese Turnovers – Filling Added

Using your clean finger or a pastry brush lightly coat the edges of two adjacent sides with the water;  fold over into a triangle and then crimp with the fork.

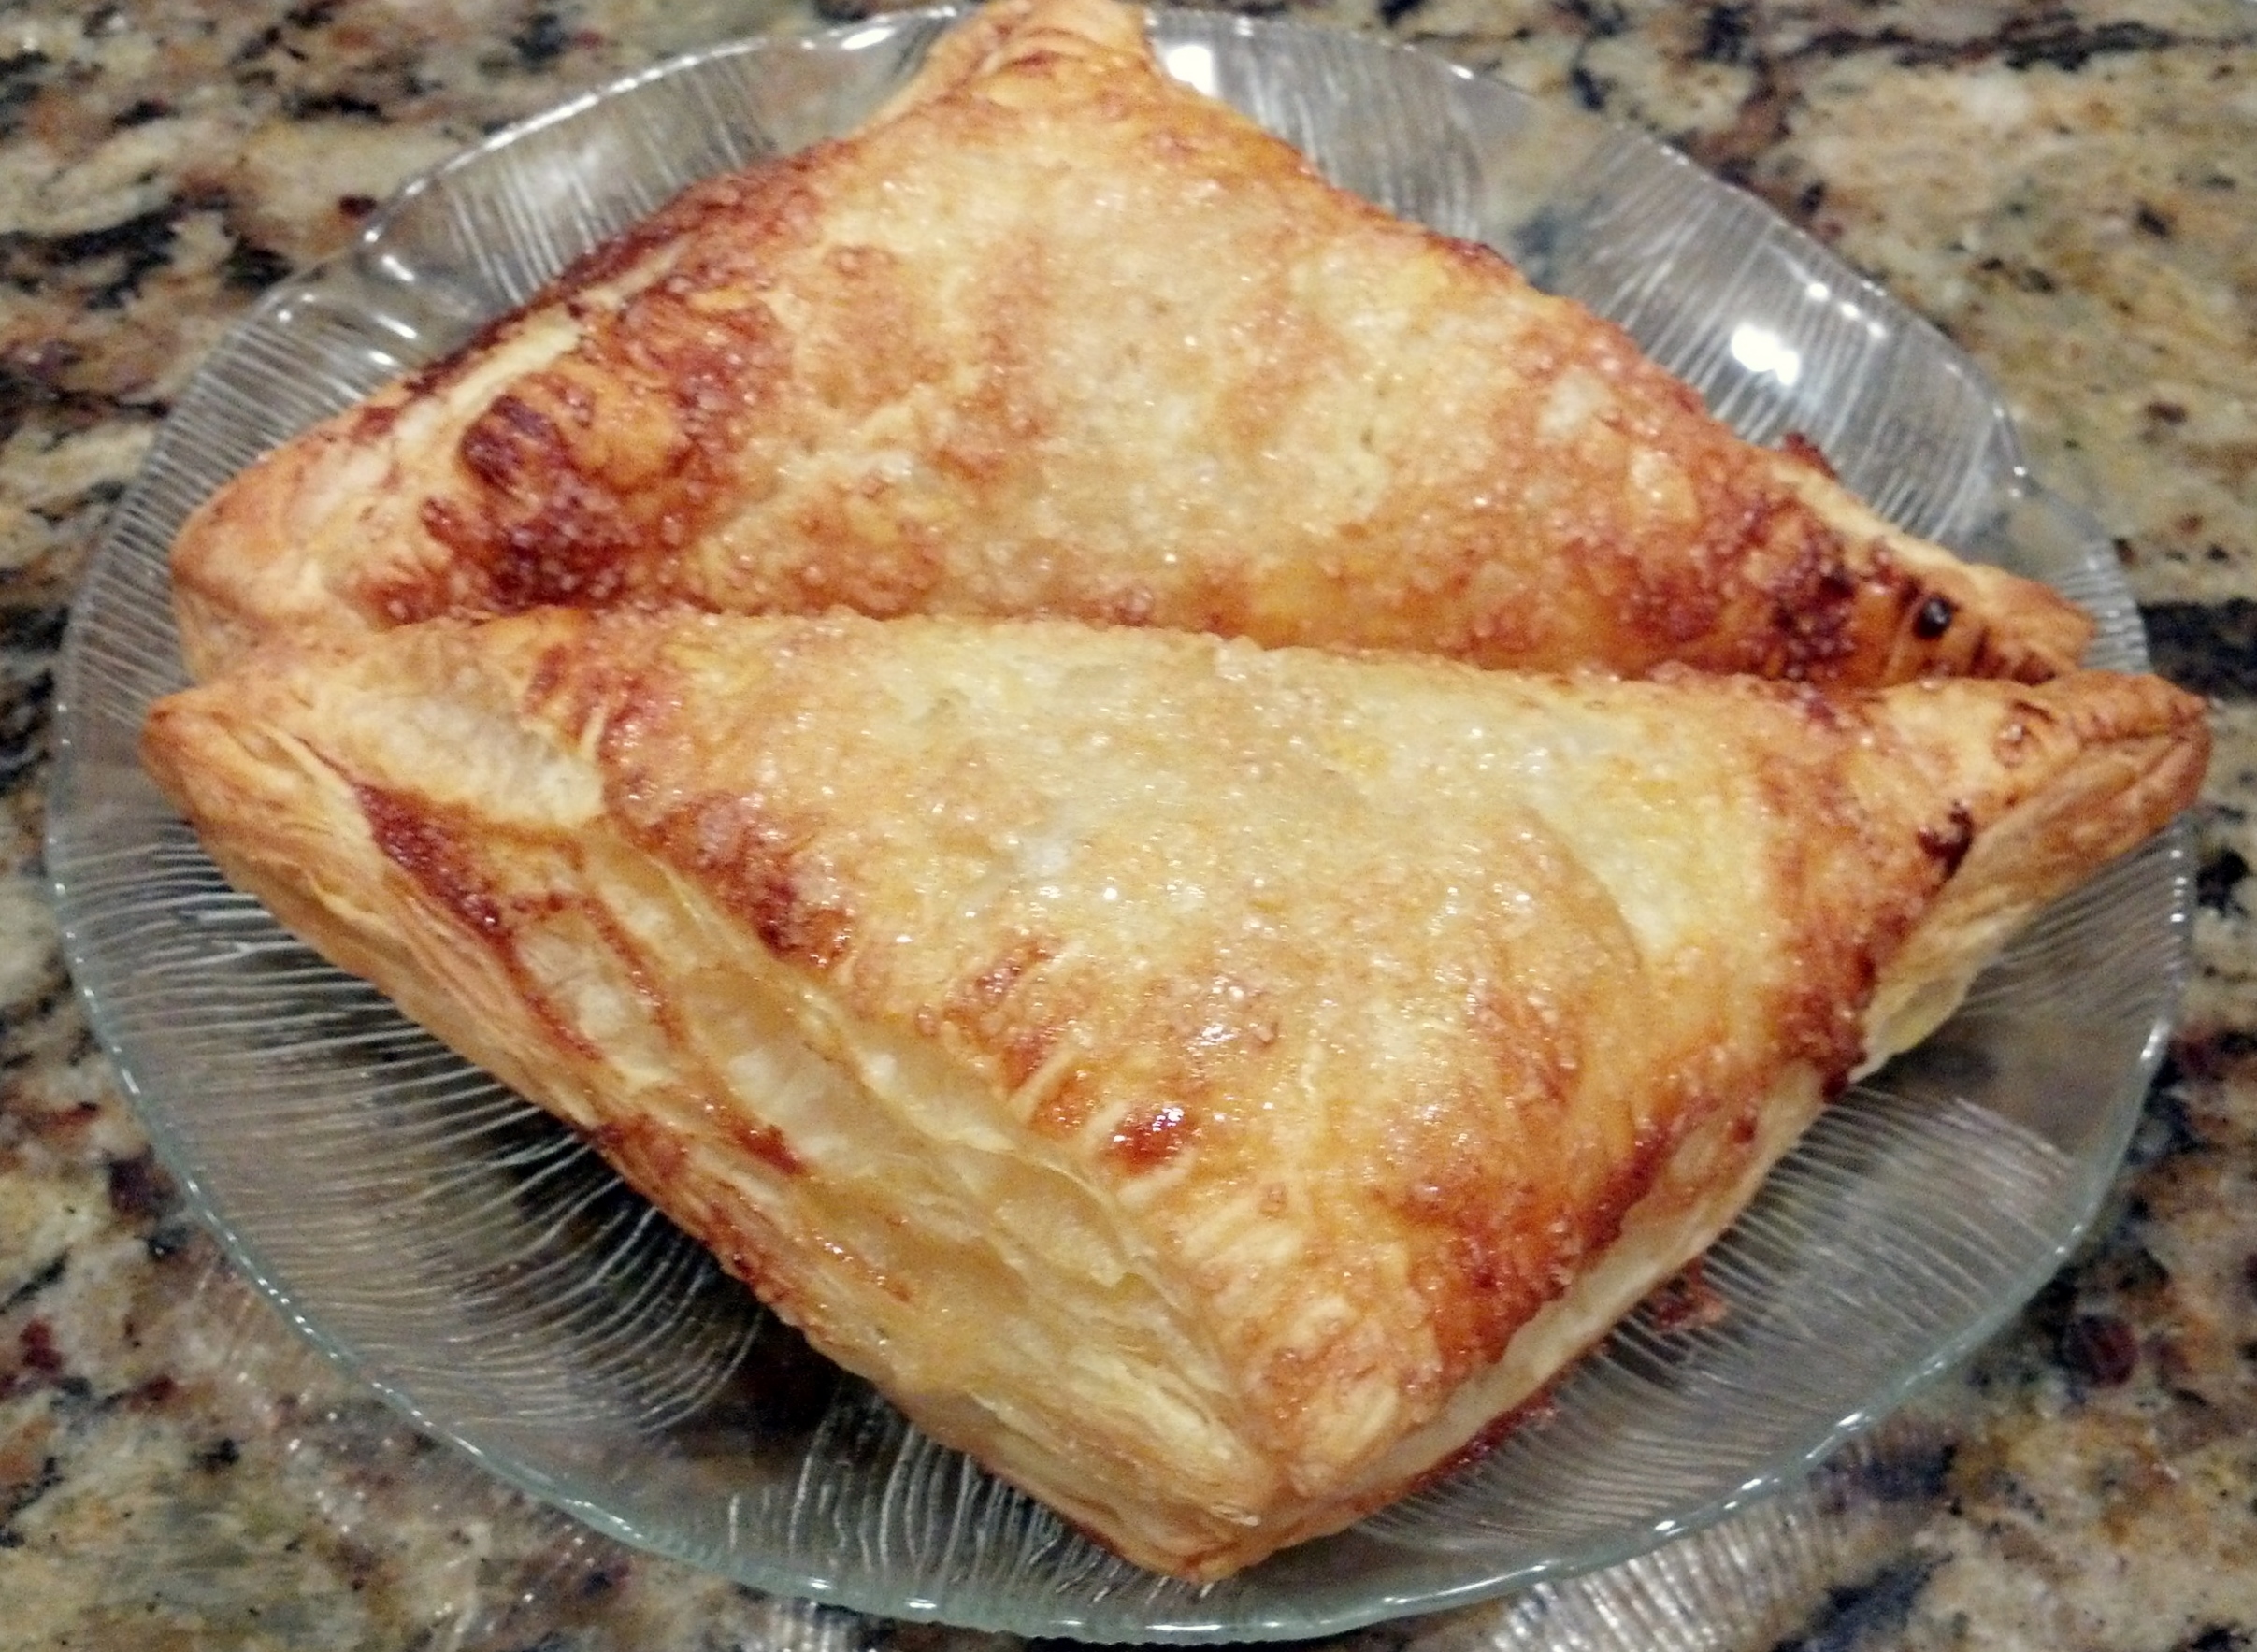
If you plan on baking the Turnovers right away preheat your oven to 400 degrees.  Line a baking sheet with parchment.  Place the Turnovers on the lined baking sheet with at least 2 inches between each turnovers on all sides.  Even though there is no leavening agent as such in Puff Pastry, the layers formed by the Butter will puff up tremendously.  Once the baking pan is full brush with beaten egg and sprinkle with Turbinado Sugar.  Bake in your preheated oven for 20 minutes (DO NOT OPEN THE DOOR UNTIL THE 20 MINUTES ARE UP).  The Turnovers should be a golden brown when completely baked – if after 20 minutes they are still too pale then bake for another 5 minutes or until golden brown.  The Baked Turnovers are the Feature Photo above.

If you plan on freezing all or part of the Turnovers before baking them you can place them as close together on the sheet that you can as long as they don’t touch each other.  Once they are frozen wrap them in plastic wrap or the parchment and place in a freezer bag.  You can remove and bake as many or as few at a time as you need.

Sweet Cheese Turnovers  for freezing Sweet Cheese Turnovers for freezing
Digg This
Reddit This
Stumble Now!
Buzz This
Vote on DZone
Share on Facebook
Bookmark this on Delicious
Kick It on DotNetKicks.com
Shout it
Share on LinkedIn
Bookmark this on Technorati
Post on Twitter
Google Buzz (aka. Google Reader)

Be the first to comment - What do you think?
Posted by sylveee - 2014/09/30 at 4:24 PM

Categories: Baking, Breakfast Ideas, Cheese, Dairy, Dessert Ideas, Main, Pastry   Tags: , , , , ,

PEAR PUFFS

Pear Puffs

Along with a productive Apple and Peach tree we also have an Asian Pear tree.  The pear tree is not quite as productive as the other trees and the pears for the most part don’t get really big, however, they are sweet and flavorful.  This year I tried out a new way to conceal and bake them in puff pastry.  My usual method is to make turnovers, but my mind was leaning towards baked pears, much like baked apples.

Since the pears have thin skin, I decided to leave the skin on.  After washing the pears, I quartered and cored them and then cut the larger pieces in half lengthwise.  Then I tossed them with some lemon juice and added some brown sugar, cinnamon, about ¼ cup flour.  I gently tossed them all together and then proceeded to prepare the puff pastry.


Sliced and seasoned pears


The puff pastry I use is a commercial brand which is sold in 15 lb. boxes of 20 large sheets each.  Remove the sheets you are going to use and place them on a pastry board to thaw.  Return the box to the freezer.  This size only works if you have an upright freezer that can hold large items.  Smaller quantities of puff pastry can be purchased in the freezer section of your local market.  Unfortunately, this type is usually sold folded and it is recommended that you thaw it overnight in the refrigerator.  You must be careful with the folds, because sometimes they tend to tear.

Another pastry suggestion is to make your own using a quick puff pastry dough or regular pie crust.  (Recipe for Quick Puff Pastry is at http://www.sylveeeskitchen.com/recipes/baked-goods/rough-puff-pastry/  The puff pastry is the best tasting though.  Whichever type of dough you use, cut them into equal squares.  I cut the commercial puff pastry into 5” squares.

Puff Pastry sheets cut into 5″ squares


Once the dough thaws then it is time to place the prepared pears on the pastry.  I put several slices of the pears in the middle and then brought up the corners to the center.  You want to pinch the points together.  When the pastry bakes, the pinched points will separate.  Pinching them together keeps them from separating too much, thereby preventing the filling from spilling out.


Points Pinched together in the middle

Puff pastry needs to be baked at high temperatures (400 degrees F.) in order for the laminated layers of dough to puff up.  Baking them at low temperatures will result in hard over-baked tough pastry.  Baking them at high temperatures will results in light, puffy and tasty pastry.  So preheat your oven and allow it to come to temperature before baking.  For a shiny glaze on your pastry, brush with a beaten egg and sprinkle with a little Demarara sugar (also sometimes sold as raw sugar, although it is not really raw)

If you only have one pan of pastry,  bake on the middle shelf.  If you have two pans, adjust the racks to be at the second and fourth positions.  Bake for at least 20 minutes or until a medium golden brown.  Do not open the oven during the baking process or the pastry may not puff up.  At the end of the 20 minute baking period it will then be safe to open your oven.  If you want the pastry to be darker, leave them in for another 5 minutes or until the desired color is reached.


Baked Pear Puffs

Your resulting pastries will be like baked pears in light, puffy, flaky blankets.  If you have too many to serve at one sitting, the unbaked pastries can be frozen.  To freeze them, place them on a parchment or silpat® covered baking sheet and cover with plastic wrap and then with foil.  Place in the freezer until frozen solid. Once they are frozen, they can be removed from the baking sheet and placed in plastic bags.  The frozen puffs can be baked right from the freezer in your preheated oven.

Next time I make these, I will write down the quantities so that there will be exact recipe.  For whomever wants to make them now, you could use the filling portion from a pear or apple pie recipe.

Digg This
Reddit This
Stumble Now!
Buzz This
Vote on DZone
Share on Facebook
Bookmark this on Delicious
Kick It on DotNetKicks.com
Shout it
Share on LinkedIn
Bookmark this on Technorati
Post on Twitter
Google Buzz (aka. Google Reader)

Be the first to comment - What do you think?
Posted by sylveee - 2011/09/27 at 4:31 PM

Categories: Baking, Dessert Ideas, Food as Gifts, Fruit, Main   Tags: , , , , ,