PEAR PUFFS
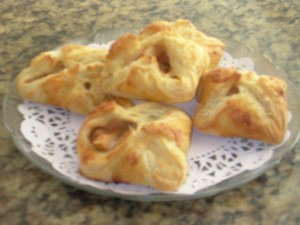
Along with a productive Apple and Peach tree we also have an Asian Pear tree. The pear tree is not quite as productive as the other trees and the pears for the most part don’t get really big, however, they are sweet and flavorful. This year I tried out a new way to conceal and bake them in puff pastry. My usual method is to make turnovers, but my mind was leaning towards baked pears, much like baked apples.
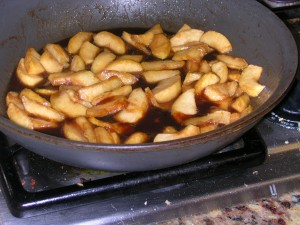
Since the pears have thin skin, I decided to leave the skin on. After washing the pears, I quartered and cored them and then cut the larger pieces in half lengthwise. Then I tossed them with some lemon juice and added some brown sugar, cinnamon, about ¼ cup flour. I gently tossed them all together and then proceeded to prepare the puff pastry.
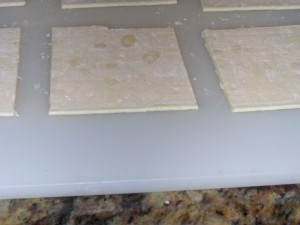
The puff pastry I use is a commercial brand which is sold in 15 lb. boxes of 20 large sheets each. Remove the sheets you are going to use and place them on a pastry board to thaw. Return the box to the freezer. This size only works if you have an upright freezer that can hold large items. Smaller quantities of puff pastry can be purchased in the freezer section of your local market. Unfortunately, this type is usually sold folded and it is recommended that you thaw it overnight in the refrigerator. You must be careful with the folds, because sometimes they tend to tear.
Another pastry suggestion is to make your own using a quick puff pastry dough or regular pie crust. (Recipe for Quick Puff Pastry is at https://www.sylveeeskitchen.com/recipes/baked-goods/rough-puff-pastry/ The puff pastry is the best tasting though. Whichever type of dough you use, cut them into equal squares. I cut the commercial puff pastry into 5” squares.
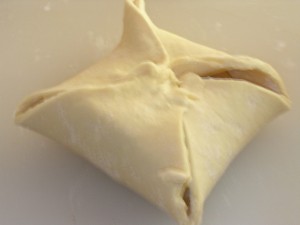
Once the dough thaws then it is time to place the prepared pears on the pastry. I put several slices of the pears in the middle and then brought up the corners to the center. You want to pinch the points together. When the pastry bakes, the pinched points will separate. Pinching them together keeps them from separating too much, thereby preventing the filling from spilling out.
Puff pastry needs to be baked at high temperatures (400 degrees F.) in order for the laminated layers of dough to puff up. Baking them at low temperatures will result in hard over-baked tough pastry. Baking them at high temperatures will results in light, puffy and tasty pastry. So preheat your oven and allow it to come to temperature before baking. For a shiny glaze on your pastry, brush with a beaten egg and sprinkle with a little Demarara sugar (also sometimes sold as raw sugar, although it is not really raw)
If you only have one pan of pastry, bake on the middle shelf. If you have two pans, adjust the racks to be at the second and fourth positions. Bake for at least 20 minutes or until a medium golden brown. Do not open the oven during the baking process or the pastry may not puff up. At the end of the 20 minute baking period it will then be safe to open your oven. If you want the pastry to be darker, leave them in for another 5 minutes or until the desired color is reached.
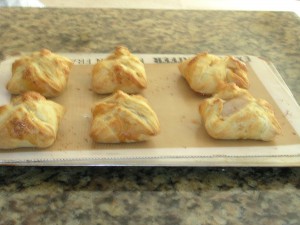
Your resulting pastries will be like baked pears in light, puffy, flaky blankets. If you have too many to serve at one sitting, the unbaked pastries can be frozen. To freeze them, place them on a parchment or silpat® covered baking sheet and cover with plastic wrap and then with foil. Place in the freezer until frozen solid. Once they are frozen, they can be removed from the baking sheet and placed in plastic bags. The frozen puffs can be baked right from the freezer in your preheated oven.
Next time I make these, I will write down the quantities so that there will be exact recipe. For whomever wants to make them now, you could use the filling portion from a pear or apple pie recipe.