NATIONAL WHITE CHOCOLATE DAY
Sunday, September 23 is ‘National White Chocolate Day’. Even though there are probably many, many Chocolate Lovers in this country and around the World, White Chocolate is probably not considered to even be in the Chocolate Category.
Even though White Chocolate is made from ingredients derived from Chocolate, it cannot actually be considered ‘Chocolate’. It is a combination of Cocoa Butter, Milk Solids, Milk Fat and Sugar. What White Chocolate is missing as compared to ‘real’ Chocolate are the Cocoa solids which are separated out during the processing of the Cocoa Bean. In Dark and Milk Chocolates the Milk Solids are recombined with the other ingredients. Therefore, ‘White Chocolate’ is lighter in color (actually a creamy ivory color) and has a much milder taste than Chocolate. If you are a real Chocolate Lover, you probably won’t like White Chocolate but for those of us who prefer the lighter and milder taste, White Chocolate is the perfect thing.
White Chocolate is used in baking and candy making and in creamy desserts. Some of my favorite items made with White Chocolate are:
White Chocolate Cheesecake with a Raspberry Sauce.
White Chocolate Chip Cookies
Blondie Brownies
White Chocolate Covered Strawberries white-chocolate-covered-strawberries/
White Chocolate Buttercream Frosting white-chocolate-butter-cream-frosting/
White Chocolate Rice Krispy Candies white-chocolate-rice-krispy-candies/
White Chocolate Cheesecake makes an elegant dessert, especially with the Berry Sauce served with it. White Chocolate Chip Cookies are a nice variation on Chocolate Chip Cookies as are the Blondie Brownies.
White Chocolate Covered Strawberries are delicious, especially in the Spring when Strawberries are at their best. It is also nice to dip the Strawberries in dark Chocolate on one side and the White Chocolate on the other side or to just stripe the dipped berries with the opposing color. Whichever way you do it, the Berries will be delicious.
White Chocolate Buttercream frosting provides a nice contrast to a Dark Chocolate Cake.
And White Chocolate Rice Krispy Squares takes everyone’s favorite treat one step ahead.
Categories: Baking, Cooking for Everyone, Dessert Ideas, Food as Gifts, Main, National Food Days Tags: Blondies, Cheesecake, Chocolate, Cookies, Dark Chocolate, Desserts, Strawberries, White Chocolate
MY CULINARY DIARY – Shrimp and Pasta
MY CULINARY DIARY
Sunday, June 24, 2012
Today was a Culinary Half-Marathon. Since we were almost out of bread, I decided to make some Country White Bread. I once got a T-Shirt at one conference or another that had the White Lily Flour Logo on it. I had never actually ever used White Lily because it does come from back East and I have never seen it for sale on the West Coast until about 4 weeks ago when I was browsing through Surfas, a great Restaurant Supply Store in Culver City. There and behold was White Lily Flour! Not being able to resist it I purchased a 5lb. bag of their All-Purpose Flour and their Bread Flour. Today, I decided to try out the Bread Flour in my Bread. It really turned out quite scrumptious.
I made the Dough using the Dough Blade in my Food Processor and then put it in a 2 gallon plastic bag. Before I bagged the Dough I covered it in a thin layer of Olive Oil. This adds flavor and keeps the dough from drying out. I did not use a recipe for the Bread but here are the ingredients I used:
4 cups Bread Flour
1 Tbsp. Dry Active Yeast
1 Tbsp. Malt Powder (Sugar or Honey may be used instead)
1 ½ tsp. Salt (2 tsps. Would have been better)
2 Tbsps. Olive Oil
1 ½ cup Water
If you make this Dough in your Food Processor, use cold water as the heat from the motor of the processor heats up the dough. You do not want the dough to get so hot as to kill the yeast.
You can also make the Dough by hand or in a standing electric mixer.
While the Dough was rising, I took a trip to the market(s) to purchase some other ingredients. My first stop was Sprouts to purchase Shrimp and look for Rennet Tablets and Citric Acid. Monti made Mozzarella Cheese and has inspired to try it too. Looks very simple and fresh Mozzarella is really good. I purchased the Shrimp, 2 boxes of Strawberries which were on sale for a very good price. I found the Citric Acid but not the Rennet. I did find Vanilla Powder though. Vanilla Powder is a good substitute for liquid Vanilla Extract when you do not want to add any more moisture to a baked product, especially ones like Churros or anything fried.
The next stop was Whole Foods to look for the Rennet, but all they had were very expensive Mozzarella making Kits. I did find some nice Mango Bath Salts though which are good for a very relaxing bath.
The next stop was Ralphs where they had Eggs on sale for 88 cents a dozen. (Limit 2 doz.) Since I use a lot of Eggs for baking this was a good deal.
On to home and the rest of my afternoon cooking and baking. Once I put away the groceries, I put the Baking Stone in the bottom of my lower oven and turned the oven on to 500 degrees to heat up the stone. (It takes at least 30 minutes to heat the stone, but 1 hour is even better) Since it was a warm day, I knew that the Bread would rise up fast, once it was shaped. The next thing I did was to put some Cornmeal on my Pizza Peel (which I use to slip the bread onto the stone with) and shape the Bread. I flattened the Dough to get out the Carbon Dioxide build up. You always want to raise your dough at least 2 times, even three to get a great loaf of bread.
Next I shaped it into a rectangle and folded over the top third. After flattening that as much as I could, I then folded over the bottom third and then flattened it again. The loaf was the lifted onto the peel. Realizing that the seam was up and should have been down, I turned over the loaf. That is why when you look at the photos that there is cornmeal on top of the bread as well as the bottom. This actually give some additional texture, taste and crunch to the crust. The top of the loaf was slashed with a Baker’s Blade (Lame); this allows for expansion and better baking.
I covered the loaf with a clean dish towel and then went on to my other tasks of making Strawberry Parfait and Angel Food Cake. The Strawberry Parfait was made with fresh Strawberries and Heavy Cream which was to be whipped. I did not want the Cream to break down, so I measured out 2 teaspoons of Gelatin (Gelatin comes in 1 oz. Packages or 1 lb. Containers) The one ounce package has 2 ½ tsps. In it. I also measured 2 cups of Heavy Cream (Whipping Cream) and poured 2 Tbsps. into a small bowl and then sprinkled the Gelatin over the cold cream. Once the Gelatin softened I placed it in the Microwave to dissolve it. Stir it thoroughly to be sure that all the granules are dissolved. I then poured the Gelatin mixture into the remainder of the Cream and covered it and refrigerated it to be sure it was cold enough to whip without turning into butter.
Next I placed the Strawberries in a Colander and rinsed them with Cold Water. I set them aside to drain.
Next I made my Angel Food Cake. Before starting this though, I made sure the oven rack was at the bottom and that the upper racks were well out of the way. Next I turned the oven to 375 degrees. To make Angel Food Cake, use a tube pan and DO NOT GREASE IT!
I used the White Lily All-Purpose Flour for the Cake which normally calls for Cake Flour. Since the White Lily All-Purpose Flour is lighter than most commercial brands of All-Purpose Flour (you actually have to add 2 Tablespoons to every cup of White Lily Flour to have it equal 1 cup of regular All-Purpose Flour) The White Lily Flour was almost the weight of the Cake Flour.
The reason I decided to make an Angel Food Cake was because I had a large collection of Egg Whites that I had saved from recipes that only called for Yolks. I could have made a larger Angel Food Cake than I did, but two people can only eat so many sweets!
The recipe I used called for:
1 cup Egg Whites (approximately 12)
1 tsp. Cream of Tartar
¼ tsp. Salt
1 ½ cups Granulated Sugar (divided in half)
1 cup Cake Flour
1 tsp. Vanilla
For the complete recipe see: angel-food-cake/
Once the cake is done remove from the oven and turn upside down until completely cool. Run a spatula around the sides of the pan and If your tube pan is a 2 part pan, remove the sides and then run the spatula under the bottom part of the cake. Turn over onto a serving platter.
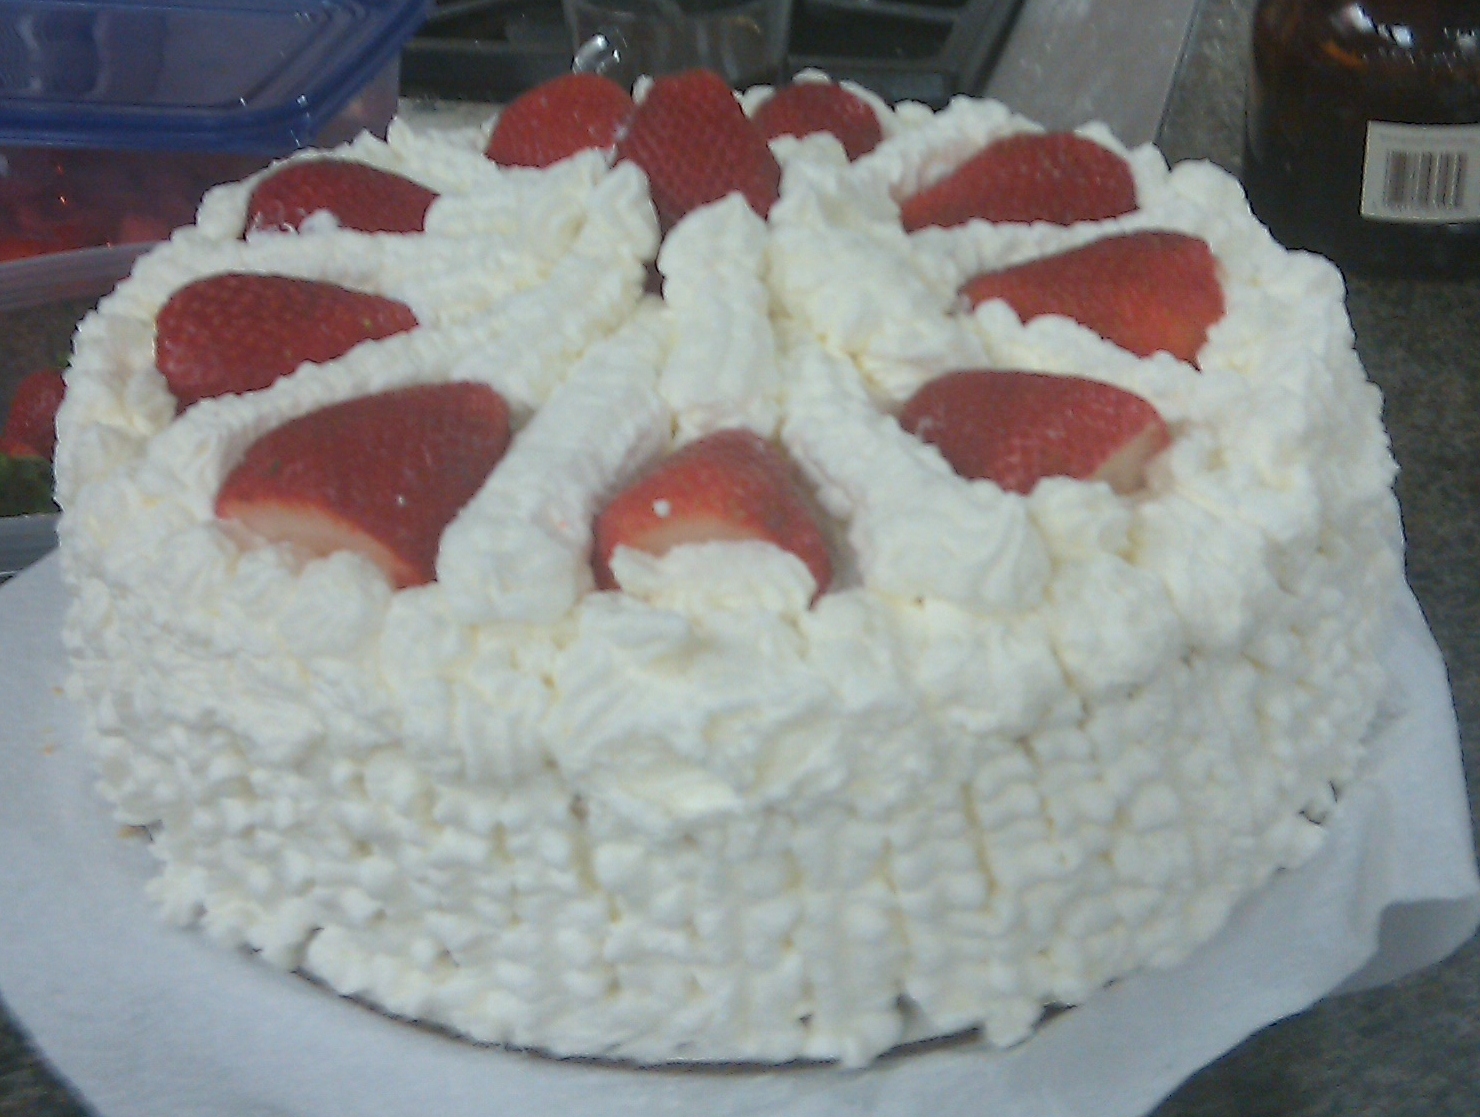
Angel Food Cake makes a great base for Strawberries and Whipped Cream or for the Strawberry Parfait that I made next.
For the Strawberry Parfait I used:
1 Pint Strawberries
1 Pint Whipping Cream
2 tsps. Gelatin (I think 1 would probably have been enough)
Superfine Sugar
For the complete recipe and directions see: strawberry-parfait/
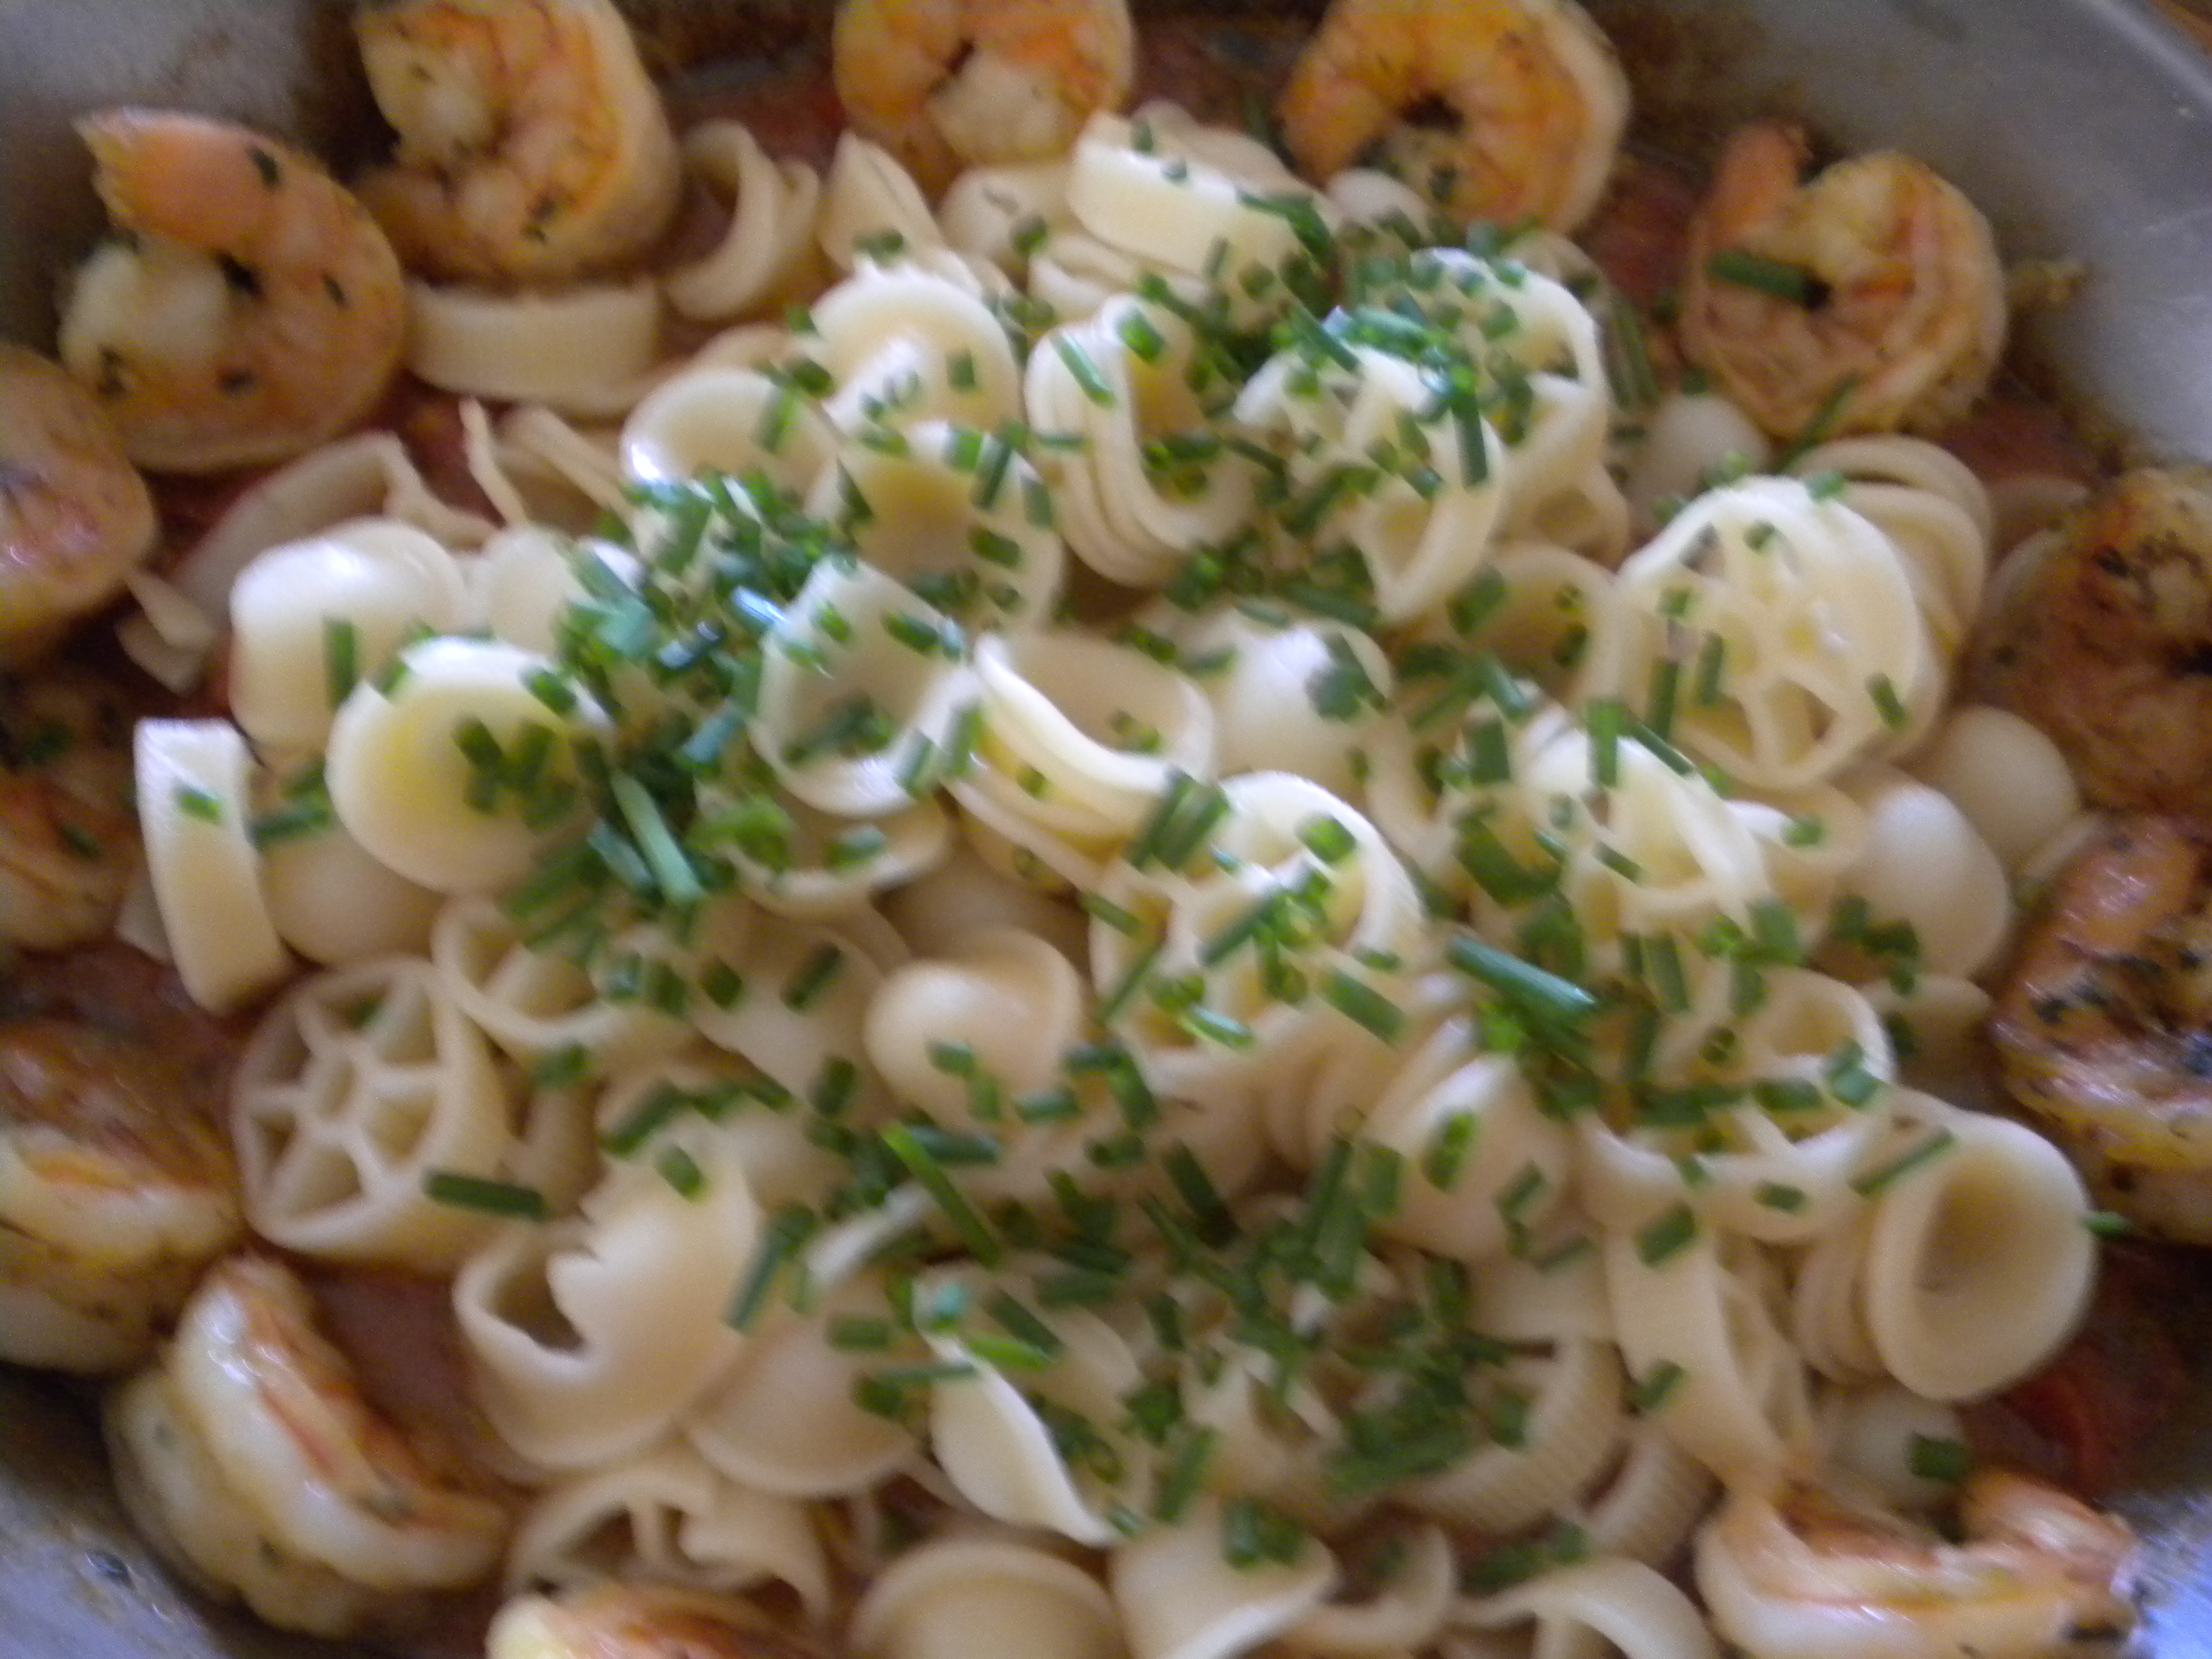
Once the Parfait was done I began preparations for dinner which was Oriechetti (Ear-shape Pasta – the name actually means little ears); there were a few wagon wheels thrown in the the Oriechetti as I wanted to use up the small amount I had) with fresh Tomato and Herb Sauce and sautéed Shrimp. I shelled and deveined the Shrimp and rinsed them with cold water and then blotted them dry with a paper towel. I add some minced Basil mixed with some Himalayan Sea Salt, Olive Oil and Saffron. (The Saffron gives color and is a browning agent – Paprika or Turmeric can be used instead although the Turmeric will add its own flavor) You can also add some Lemon Juice to this mixture, but this time I added Marsala Wine.
The bread was put in the oven before the Cake was put in. As I said it was a very warm day and the loaf rose up quickly. The bread also finished baking before the Cake. When it was done I removed it with my peel and placed it on a rack to cool. Ev couldn’t stand it (the aroma of freshly baked bread is so good!) and he had to have a slice with Butter of course!
Next I washed the Tomatoes (no need to dry) and removed the cores. Next I diced them and minced some fresh Oregano Leaves.
I also minced some Chives but kept them separate as they were to be used for a garnish. Usually I grill the Shrimp (grilling adds flavor and gives more color to the Shrimp) but since I already had several pots and pans on the stove, I decided to sauté them instead in the pan that I was using for the Sauce. Once the Shrimp were sautéed I removed them to a dish and covered them until the sauce was done.
To make the sauce, add a small amount of Olive Oil to the pan and add some diced Onions. Sauté until the Onions start to soften and then add the Tomatoes along with the fresh herbs and 1 tsp. of Sea Salt and some freshly ground Pepper to taste. Cook until the tomatoes are reduced and a sauce start to form. If desired, you can add a little Marsala to the Sauce but be sure to cook it down somewhat.
While I making the Sauce I cooked the Pasta in plenty of boiling salted water. Once it was done, I poured it into a Colander and shook out all the excess water. Once the Sauce was done I put the drained Pasta on top and surrounded it with the Sautéed Shrimp.
In addition to the Shrimp and Pasta we had the freshly baked Bread and some sautéed Spinach to go along with it. All in all it was a delicious meal followed by Angel Food Cake and Strawberry Parfait.
Categories: Baking, Bread, Cooking for Everyone, Dessert Ideas, Dinner Ideas, Fruit, Main, Pasta Tags: Angel Food Cake, Basil, Culinary Diary, Egg Whites, Herbs, Oregano, Parfait, Pasta, Saffron, Shrimp, Strawberries, Tomatoes
PICK STRAWBERRIES DAY
May 20th
Strawberry season in Southern California is year round, but the peak of the season with the best tasting strawberries available is mid to late Spring. That being said, it is probably not coincidental that the Strawberry Festival in Oxnard is taking place this weekend. Oxnard is the chief growing area in Southern California (at least in close proximity to the Los Angeles Basin) and their annual Strawberry Festival is happening, starting at 8:30 Saturday (May 19th) morning. The festival closes at 6 PM and will re-open on Sunday. There will be lots of booths featuring food made with Strawberries. There will of course, be other booths with crafts and different types of food.
If you want to go out and pick your strawberries there are many places available. Just travel north on the 101 and keep your eye out for produce stands once you get past Camarillo. If you prefer your strawberries already picked, you can pick and choose from several varieties that the various growers will have available. My favorite is the ‘Seascape’ which to me tastes the closest to the wild strawberries that I had in France a number of years ago. The wild variety that I had were much smaller than any that we get here, but boy were they tasty!
There are varieties of strawberries that are almost white in the middle and then there are those varieties that are red throughout. In my opinion, the sweetest berries are those that are completely red, inside and out. Some of the varieties that are available now are the Gaviota, Seascape, Camarosa, Ventana and Albion.
Strawberries are great just to eat out of hand, but they are also wonderful in desserts and as a breakfast food with dry or cooked cereal. Strawberries are used to make ice cream, milk shakes, pies, turnovers, jams and jellies, pancake syrup and everyone’s favorite, strawberry shortcake. A favorite at Valentine’s Day is to use the extra large strawberries with the stem still on to dip in melted chocolate.
For Breakfast try Strawberry Belgian Waffles. strawberry-belgian-waffles/
A great item for your Cheese Tray would be Strawberry Brie. Just bring the Brie to room temperature and cover with the Strawberry Sauce (Belgian Strawberry Waffle Recipe)
The recipe Strawberry Chantilly Cream strawberry-chantilly-crepe-filling/ may be used as a dessert or as a filling for crepes which would be good either for dessert or breakfast.
For the Crepe Shell Recipe see deserts/sweet-crepe-shells/
A good item for a ‘Do-It-Yourself Dessert Bar would be Chocolate Covered Strawberries. chocolate-covered-strawberries/
For a really scrumptious dessert try my Strawberry Marshmallow Cream Pie. But be prepared to take some time making this one! strawberry-marshmallow-cream-pie/
Go pick some strawberries today and try some of the recipes in this blog. Happy Strawberry Picking and/or Eating!
For more about strawberries please see my ezine article at http://ezinearticles.com/?Strawberries,-Springtime-Delight&id=6017170
Categories: Breakfast Ideas, Cooking for Everyone, Dessert Ideas, Fruit, Lunch Ideas, National Food Days Tags: baking, Dessert Ideas, Fruit, Pick Strawberries, Strawberries
STRAWBERRIES – HOMEMADE JAM
If you are lucky enough to live in Southern California, you are probably aware that Strawberry Season lasts all year. I used to look forward to late January & February when the first Strawberries began to ripen. We don’t have to do that anymore as there is always one type of strawberry or another that is in season at any time of the year.
One of the largest growing areas is Oxnard which is just north of the San Fernando and Conejo Valleys. Growing up in the San Fernando Valley there were always plenty of places where you could purchase fresh strawberries, but unfortunately most of the fields are gone and replaced with buildings. Fortunately, Oxnard and surrounding countryside still have a reasonable amount of farmland.For fresh strawberries, you usually don’t have to go out to the fields to purchase them. You can still find a truck sitting on a street corner or in front of a busy place such as the post office from which you can purchase them. Also, fortunately, there are many farmers markets at which strawberries can also be purchased. While wandering through one of these markets, I came across a grower who was selling his berries for only $2.00 a basket. I couldn’t resist (and they were sweet too!), so I purchased a 3 pack. I love strawberry jam and I figured why not make some from the berries that I had purchased.
Jam can be made in two ways. One, you can purchase pectin and follow the directions in the package (using pectin requires double the sugar but produces more jam) or you make it the traditional way. Pectin is a starch found in fruit before it fully ripens. The starch turns to sugar as the fruit ripens. When making jams and jellies without pectin, it is best to use fruit that is not fully ripened as the pectin content will be higher and the jam or jelly will be more likely to set up.
The advantage of using commercial pectin products is that you can use fully ripened fruit thus getting more fruit flavor. The disadvantage is that you use twice the sugar, so the advantage of having more fruit flavor is offset by the fact that you have more sugar than fruit in your product.My preference is making jams and jellies the old-fashioned way without the use of commercial pectin. It does take longer and can be trickier to know when to stop cooking so that you have jam or jelly and not syrup or fruit leather. A thermometer helps in this case, although there are tests that you can do if you don’t have a thermometer. If you do have a jelly thermometer, the temperature for properly set jelly is 218 degrees if you are at or about 1000 feet above sea level. If you are at sea level the temperature would be 2 degrees higher. The higher you go above sea level, the lower the temperature would be. This is because air pressure is different at different altitudes. The higher the altitude the lower the air pressure. The lower the altitude, the greater the air pressure.
Another method for determining the gelling point of jam or jelly is called the sheeting test. Dip a clean metal spoon in the cooking jelly and hold it about 12 inches from the surface. If the jam or jelly runs off easily, it is not done. If two drops form, it is not done. If two drops form and then pull together before dripping off the spoon, then the jam or jelly is of the right consistency.
To make Strawberry Jam the rule of thumb directions follow. The first thing is to make sure you have clean containers to ladle the jam or jelly into. Wash your jars, lids and seals in hot soapy water and rinse thoroughly or run through the dishwasher. Place the jars in a kettle of water that covers them completely. Place a lid on the kettle and bring to a boil; boil for 10 minutes. Drain the jars, one at a time just before ladling the finished product into it. Place the rings and seals in a saucepan, cover with water, bring to a boil and boil for 3 minutes. Remove from the hot water with tongs, being sure to drip off all the excess water. (If the water is boiling as it should be, the water will actually evaporate off of the lids and seals). Place on the filled jar, making sure the top is clean and seal tightly. Turn the jar over until cool; tighten the lid, label and store in a cool, dry place. Refrigerate after opening. Filled Jars turned upside down to seal – dish of jam
When making jam, you usually want to have equal amounts of fruit and sugar. I didn’t quite follow this rule though when making my jam. After cleaning the fruit (berries should never be washed, just wiped clean with a paper towel – however, I always wash them.) If you do feel like you have to wash them, be sure to blot them dry with a paper towel. I used 4 cups of sliced berries, the theory being that there are gaps between the slices of berries and unless you crush them, you are not going to have a full 3 cups if you only measure 3 cups. I used 3 cups of granulated sugar and the juice of half a lemon.
(Its always good to have some acid) To avoid having the jam foam ( which you would have to skim off), once the fruit mixture starts bubbling, put a teaspoon of butter into the pan with the berries and sugar.
Combine your fruit, sugar, lemon juice in a large saucepan, or copper jam pot, if you have one.
Place over high heat and bring to a boil. You can crush the berries once they start cooking, using a potato masher or you can chop them in your food processor before you start cooking. If you like to have visible pieces of fruit in your jam, do it the first way.
Once the mixture starts boiling, turn the heat down just enough to keep the mixture bubbling, but not burning and add the Butter.
Berries and Sugar liquefy as they cook.
Cook, stirring constantly until the jam tests properly or your thermometer reads the correct temperature. (See the fourth and fifth paragraphs above), you can ladle the jam into the sterilized container and seal with the sterilized lids and rings. Turn upside down (the hot jam will ensure that the lids seal) until cool. Tighten the lids, label and store in a cool, dry place. Once a jar of jam is opened, store any unused portions in the refrigerator. Sugar is a common preservative and the jam will last indefinitely in the refrigerator. If it starts crystallizing, though, it is best to throw it out as it will not taste good. (You can tell if it is Crystallized by the formation of sugar crystals on the sides of the jar)
Other fruit jams can be made in the same way as the Strawberry Jam.
It is always best to make your jams and jellies in small amounts – it takes less time and is easier to handle.Try it some time and enjoy the flavor of homemade jam, jellies or preserves. Filled Jars turned upside down to seal – dish of jam
Jellies are made using the juice of fruit. The fruit first has to be crushed or pureed in the food processor and then strained through cheesecloth. You definitely get more fruit flavor by making jam rather than jelly.
Categories: Condiments, Food as Gifts, Fruit, Main Tags: Fruit, Gift Giving, Jam, Jelly, Strawberries
CULINARY MAKEOVERS #1 – STRAWBERRY CREAM PIE
How many times have you tried out a new recipe or simply an old one that did not turn out right? Did you eat it anyways, toss it or try to create something new out of it? There are times when mistakes cannot be remedied, but most of the time, if you just think creatively, a new dish can be created. Let’s take the old phrase “Necessity is the Mother of Invention” and turn it into something new. How about “Creations born of mistakes”?
A recipe gone wrong need not be the only way that one dish can be turned into another. This series will deal with foods that you can create from leftovers, overabundance and mistakes. We are going to start with a Strawberry Marshmallow Cream Pie. Everyone loves Cream Pie and almost everyone loves Strawberries. Since it is almost always Strawberry Time in Southern California there are always vendors parked on the street, in front of the Post Office, in front of other stores, etc. Having purchased several boxes and having more than we could eat before they would go bad, I decided to make Strawberry Marshmallows with them. The reason I decided on Marshmallows is that #1 – I love Marshmallows! And there is nothing like homemade marshmallows. They taste nothing like the commercially made ones. They are light and fluffy and you can make them any flavor that you want. Plus I had an abundance of Egg Whites left over from making cakes that used only the yolks.
Not having made Strawberry Marshmallows before, I didn’t want to increase thegelatin in the recipe before I tried it out as it was, except for the addition of the Strawberries. Of course, the Strawberries, once they were pureed, increased the liquid content of the Marshmallow mixture and consequently, the marshmallows did not set up completely. But once having tasted the concoction with a spoon, there was no way we could let it go to waste. Therefore, I came up with the idea for a Strawberry Marshmallow Cream Pie. The crust is made from pulverized Vanilla Wafers with the addition of a small amount of butter. I made a Vanilla Pastry Cream to go in the bottom of the pie and then added sliced Strawberries to that.
When I started to spoon out the Marshmallow mixture, I realized that it was so airy that by the time I got it into the pie shell on top of the pastry cream, that it would not hold its shape. To remedy that situation I whipped up a cup and a half of whipping cream and folded the marshmallow mixture into the whipped cream and then layered that mixture onto the pastry cream. To finish the pie, I placed some sliced strawberries around the edges (small whole ones or halves would be more elegant) and then made some chocolate curls for the top and placed a whole strawberry in the middle. Voila! We now have a delicious and beautiful spring or summer dessert.
I still have Egg Whites and will make another batch of Marshmallows, although not strawberry this time, because by the time we eat the pie we will have tired of strawberries for a while. Look in your refrigerator and try to figure out what you can do with the leftover food in there. You will be surprised at what you may come up with!
For the recipe for this pie please go to strawberry-marshmallow-cream-pie/. The Pie recipe and the Pastry Cream recipe will be there.
Categories: Cooking for Everyone, Dessert Ideas, Food as Gifts, Holiday Ideas, Lunch Ideas Tags: Culinry Remedies, Dessert Ideas, Gift Giving, Marshmallows, Strawberries