ADVENTURES IN CHEESE MAKING – CHEESE BLINTZ
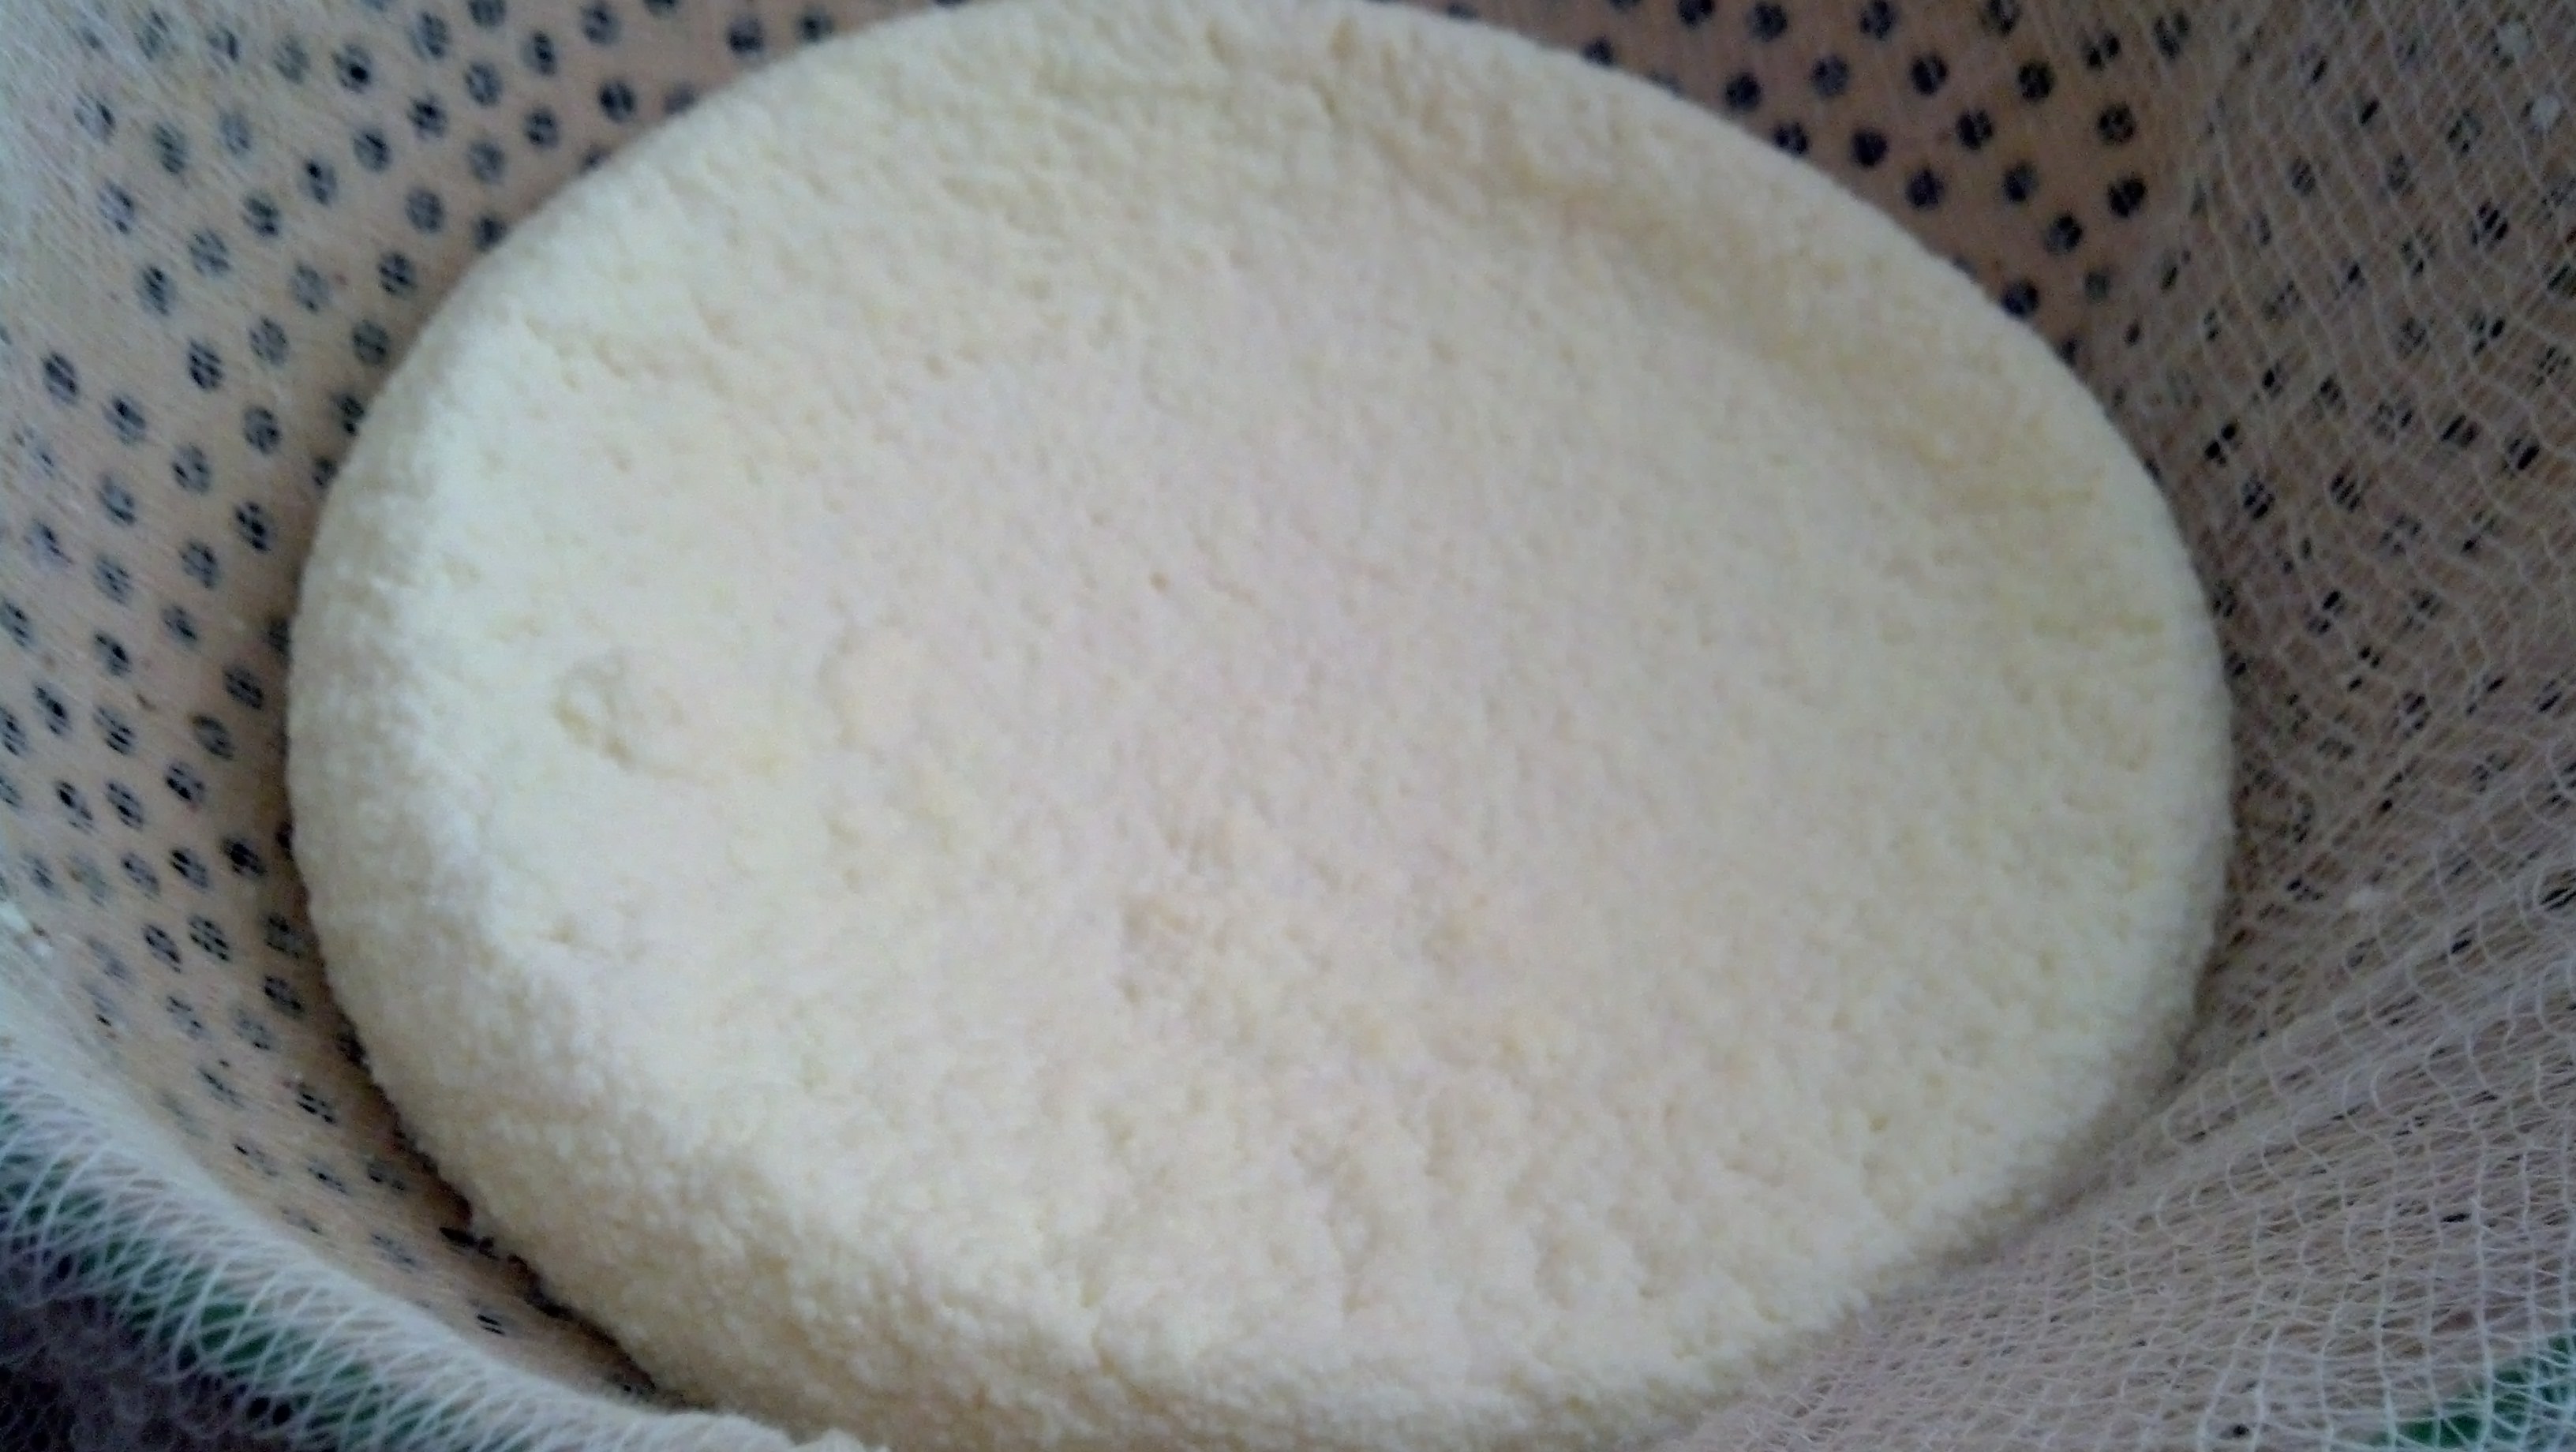
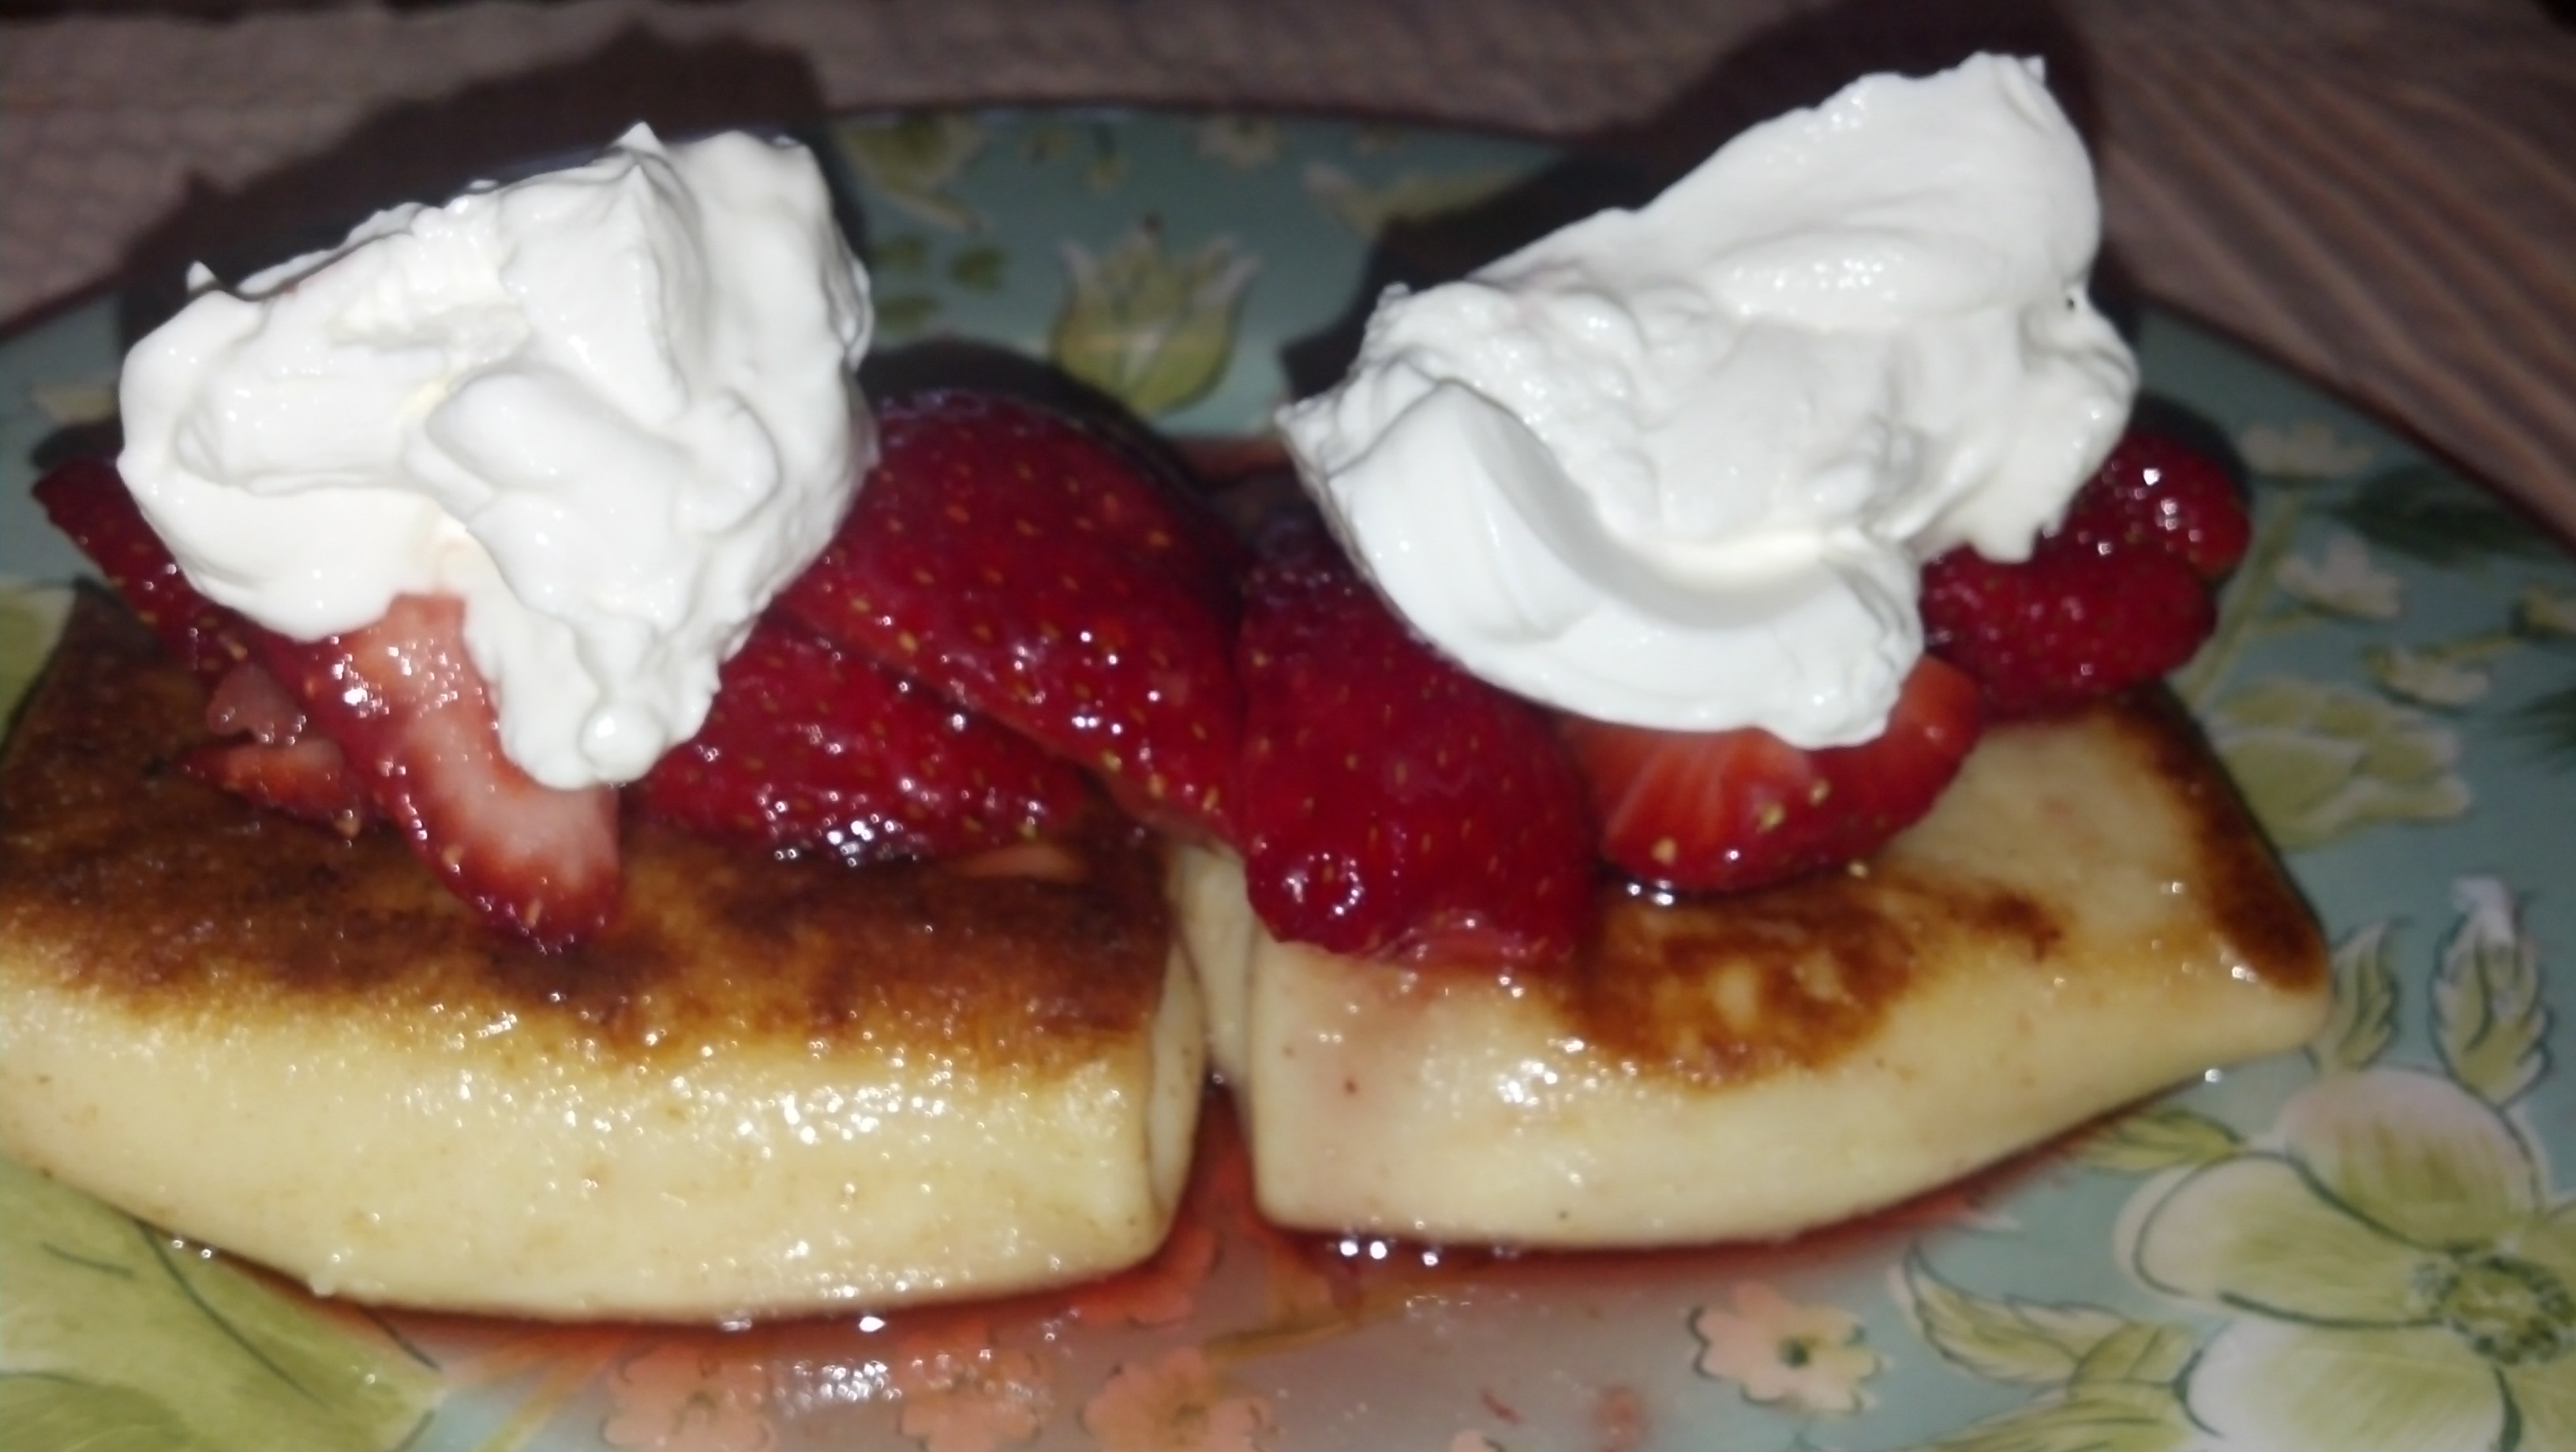
Now that I had a batch of fresh homemade Ricotta Cheese the next step was to make something with it. I decided to make a batch of Cheese Blintz to serve for Sunday Brunch with fresh Strawberries. The crepes for the Blintz are easiest to work with if the Batter is made at least 1 hour ahead of time and then allowed to rest in the refrigerator. If you try to make the Crepes right after making the Batter there will be too much air in the batter for the pancakes to form properly. Now as far as I am concerned, the thinner the crepes the better, but of course you do need to have them thick enough to hold the filling without tearing. You can use the Sweet Crepe Batter Recipe under the Recipe/Dessert Section of this Blog. deserts/sweet-crepe-shells/ Just reduce the Sugar in the recipe from 1 Tbsp. to 1 tsp.
I made the Crepe Batter with the residual Whey from the production of the Ricotta. This reduces the waste that normally would result from making the Cheese. To make the Crepes, the Filling and the topping just follow the procedure below.
#1 – Make the Batter and refrigerate for at least one hour.
#2 – Rinse, dry, slice and sugar the Berries. If using Blackberries, Boysenberries or Raspberries eliminate the slicing procedure. Place the Berries in a bowl and squeeze the juice of 1/2 of a lime (for every pint of berries) over the Berries and then toss with 1/4 cup of Superfine Sugar. Taste and add more Lime Juice and/or Sugar as desired.
#3 – Make the Cheese Filling for the Blintz. /deserts/cheese-filling/
4. Make the Crepes –
Heat the crepe pan until a drop of water splashed on it sizzles; melt the Butter and stir into the Batter.
- Use approximately ¼ cup of Batter (the exact amount depends on the size of the pan)
- While you are pouring in the Batter, tilt the pan with your other hand to cover the bottom of the pan.
- When the edges begin to dry and bubbles appear on the crepe surface, turn it over with a heat-proof spatula and cook a few seconds more on the turned side. (Cook one side to a light brown and the other just enough to set the batter. This side should still be almost white when you remove it from the pan.)
- You will be browning the Blintz in Butter before serving them so you do not want the second side to be cooked too long.
5. Filling the Blintz –
- Lay the Crepe Shells on a flat plate or work surface
- Place a scoop of the Cheese Filling in the middle
- Fold in the sides and then fold over the top and bottom. You should have a square package.
6. To Serve –
- Melt enough Butter to make a thin sizzling layer in the bottom of a medium to large frying pan. When the Butter starts to sizzle add the Blintz, leaving about 1/4 – 1/2″ between each one.
- When the bottoms brown gently turn and cook the other side.
- Serve while hot with the sliced Strawberries and Sour Cream or Whipped Cream as a Garnish.
Categories: Breakfast Ideas, Cheese, Cooking for Everyone, Cooking for Kids, Dairy, Dessert Ideas, Lunch Ideas, Main Tags: Cheese, Children's Cooking, cooking with children, Dessert Ideas, Eggs, Fruit
ADVENTURES IN CHEESE MAKING
One of my sons who lives in a country where Cheese is not a commonly found product has experimented with making his own. His adventures have inspired me to try my hand at Cheese Making even though Cheese is readily available where we live. So the first Cheese that I tried making is Ricotta. Ricotta or Cottage Cheese is probably the simplest of all Cheese to make. It took about an hour and a quarter and that includes draining time.
The products you need are readily available at your local grocer and you probably have the cooking vessels and containers that you need at home. Listed below are the groceries that you need and the equipment you should have.
Let’s start with the Equipment so that when you go out to buy the groceries, if you don’t have all the equipment, you can purchase it at the same time you purchase your groceries.
5-6 Quart Cooking Vessel
Large Colander or Sieve (Strainer)
Cheese Cloth
5-6 Quart Bowl
The Groceries that you will need are:
1/2 Gallon of Milk (preferably from a local dairy and is not over-pastureized
1 cup of Heavy Cream
1/2 tsp. Salt
3 Tbsps. Lemon Juice
Start by combining the Milk, Cream and Salt in your large cooking vessel. Place it over high heat and bring to a rapid boil, stirring continuously to prevent burning.
Once the mixture comes to a rapid boil, stir in the Lemon Juice, lower the heat and cook (again stirring continuously until the mixture curdles completely. (About 2 minutes)
Remove from the heat and pour into the Cheese Cloth lined colander. Allow to drain for one hour.
Wrap in the Cheese Cloth and plastic wrap and refrigerate until ready to use. This Cheese will keep for only 2 days, so plan on using it as quickly as you can.
You can see that the drained Cheese has taken on the shape of the colander and is formed into a perfectly round parcel. This is not so important with Ricotta Cheese as it usually gets mixed with other ingredients to form a filling for Ravioli, Lasagna or Blilntz, but if you are making semi-hard or hard cheeses this is a bonus.
After the Ricotta had completely drained I had about a quart of the residual whey (the portion of milk that does not form the curd) Some people feed this to their chickens ( if you have them), their cats or dogs (again if you have them). I no longer have pets but I did find uses for the Whey. I made a loaf of Wheat Bread with some of it and used another portion to make Crepe Shells for Blintz which I will show in my next blog.
This was the best Ricotta Cheese I have ever eaten and I usually buy an expensive brand that is made from whole milk and is very good. This at least matched it, but I think it was better. It costs no less to make it at home than it does to buy, but it is good and it is fun.
Check my next blog to see what I did with this Ricotta.
Categories: Baking, Bread, Dairy, Main Tags: Bread, Cheese, cooking with children, Dairy, kids cooking
CULINARY MAKEOVERS – #17: Fried Chicken Fettucinni
Time for another ‘Make-over’. When cooking for two people, it is often difficult to cook just the right amount of food. Especially when making Fried Chicken! Whoever heard of frying just half a Chicken? And who gets what? So, I always make a whole one and use the leftovers for lunches, salads, sandwiches and even a dinner.
This time I made Fettucinni with the Fried Chicken leftovers and Garden Fresh Vegetables. Yes, from our backyard Garden. The Vegetables that came from our yard were Tomatoes, Japanese Eggplant and Basil. The rest of the Vegetables that I used were Onions, Mushrooms, Red Bell Pepper and Garlic.
Start with the Chicken by boning and removing most of the skin. Next slice the Chicken against the grain into bite-sized pieces. Set the Chicken aside and prepare your Vegetables. Wash and dry all the Vegetables before prepping them. Peel and crush or mince the Garlic. Dice the Onion and clean and slice the Mushrooms. Mince the fresh Basil and set aside. The Eggplant I used was Japanese Eggplant and they are slender to begin with so I just sliced them into 1/4″ slices. (Thicker if you prefer) Dice the Tomatoes and Bell Pepper and set aside.
Cook the Pasta in Boiling Salted Water per package directions. (DO NOT OVERCOOK!) Drain in a colander and set aside.
In a saute pan, heat a small amount of Olive Oil and start sauteing the diced Onion, minced Garlic, sliced Mushrooms and sliced Eggplant.
Once the Vegetables have softened add the Chicken Pieces along with the prepared Tomato. Add Salt and Pepper to taste.
Just before serving combine the Cooked Vegetable/Chicken Mixture with the Cooked Pasta. Add the diced Red Bell Pepper and Basil. Serve immediately.
Serve immediately and enjoy!
Categories: Cooking for Everyone, Dinner Ideas, Italian, Leftovers, Main, Pasta Tags: family dinner, Mushrooms, Pasta, Tomatoes, Vegetables
LET’S GET COOKIN’ TEEN BASIC’S CAMP 2014
Here are the photos from Let’s Get Cookin’s Teen Basics Camp held the Week of July 7th, 2014.
Monday, July 7th – BREAKFAST
The Students each made an Omelet for themselves. The rest of the items that were made were: Waffles, Bacon & Sausage, Home Fries, Granola, Breakfast Fruit Shakes and Eggs Benedict.
Home Fries
Tuesday, July 8th – LUNCH
Lunch Items made were: Clam Chowder, Vegetable Soup and Tomato Basil Soup. Salads were Pasta Salad and Grilled Seafood Salad which was made with Grilled Salmon. The students also made Buttermilk Biscuits and Chili Corn Bread to go with the Soups and Salads. Sandwiches were Portobello Mushroom Sliders and Southwest Chicken Wraps. Dessert was Chocolate Brownies.
July 10th – DINNER
Dinner items that were made were: Garlic Dinner Rolls, Baby Lettuce Salad, Caesar Salad, Vegetable Chili, Beef Stroganoff, Chicken Croquettes, Macaroni & Cheese Supreme, Scalloped Potatoes and Strawberry Granita for Dessert. Iced Tea was the Beverage.
July 11th – DESSERT DAY
The Dessert Recipes were chosen from a student request list. The items made were Apple & Berry Pies, Chocolate Chip Cookies, Chocolate Fudge Cupcakes, Coconut Snowballs, Eclairs with Pastry Cream & Vanilla Ice Cream.
July 12th, – MYSTERY BAG DAY
On the final day, each group (4 in all) were given a ‘Mystery Bag’ containing a Protein, a Starch and a Vegetable from which they were to create a meal. The groups were allowed to use whatever they needed from the Pantry and the Refrigerator. The resulting products were quite amazing and delicious.
Group A – were given Beef Steak, Potatoes and Zucchinni. They made Seasoned Grilled Steak which they sliced thinly, Mashed Potatoes and Grilled Zucchini topped with Cheddar Cheese.
Group B was given Chicken Breast, Italian Rice, Snap Peas and Green Asparagus. They made Chicken Parm-Asian, Risotto with Snap Peas and Roasted Asparagus.
Group C was given Pork Tenderloin, Sweet Potatoes, Apricots & Apples. They elected to make Pork Lettuce Wraps with a Fruit Salsa and Sweet Potato Fries.
Group D was given Bowtie Pasta, Fresh Tomatoes, Yellow Squash and Italian Sausage. Included in their Package was Romaine Lettuce, Cucumbers & Carrots. They elected to make Pasta with a Bolognese Sauce and a Green Salad with Vinaigrette & Bruschetta with a Pesto Topping.
Categories: COOKING CLASSES, Cooking for Kids, Main Tags: Children's Cooking, kids cooking, kids recipes, Pasta, Tomatoes, Vegetables