Cookies

CULINARY MAKEOVER #22 – FROM BROWNIES TO FUDGE BROWNIES


 Old Brownies – dried out


For those of you who have been reading my ‘Makeover’ Articles, you probably know by now that I love to recreate new dishes from old leftover (yet viable) ones.  This addiction started when I purchased my first Blender many years ago.  The Blender of course, then advanced to the Food Processor which has been a ‘must have’ in my kitchen almost ever since it hit the U.S. market.

Our household now consists of only two people and our appetites aren’t what they used to be and even if they were, we would be pounds overweight if we consumed everything that I baked (let alone cook) and since I hate to throw away good food (especially when i created it), I have the fun of turning these dishes into new ones.

This weeks was turning my Husband’s Brownies into new Fudge Brownies.  Ev is supposed to watch his sugar content but he still loves his chocolate and has to have his fix every night after dinner (even if it is smaller than what he had been used to in previous years.)  Sometime I manage to remember to divide the batter in half and freeze one and bake the other one.  Of course, this takes smaller pans to do so and it isn’t always feasible.

So I took the leftover Brownies which were dried out but still good and cut them up into small pieces which I then put into the Food Processor with the Chopping Blade.  I pulsed the Brownies pieces until they were broken up into much smaller pieces.  I then turned the Processor on full speed and chopped up the small pieces to resemble a coarse flour or meal.  Next step was to measure the resulting Chocolate Crumb.

The ingredients including the Chocolate Crumb are listed below:

2 cups Brownie Crumbs

1 cup All-Purpose Flour

1/4 cup Cocoa Powder

1/4 cup Sugar

2 Eggs

1 cup Sour Cream (1/2 cup Butter can be used instead)

1 cup Chocolate Chips

1 cup Marshmallows (quartered)


DIRECTIONS ARE AS FOLLOWS:

1.  Return the Chocolate Crumb to the Food Processor.


 Measured Crumbs in Processor


2.  Add the Flower, Cocoa Powder and the Sugar.


Remade Batter 


3.  Pulse, just to combine the ingredients.

4.  Add the Eggs and Sour Cream (or melted or softened Butter) and Pulse, just until the   

     ingredients are combined.

5.  Stir in the Chocolate Chips.

6.  Butter or Spray a 9 x9″ baking dish;  add the quartered Marshmallows to the bottom of the       dish.


Cut Up Marshmallows


7.  Spread the Batter evenly over the Marshmallows.

8.  Bake in a preheat (350 degree) oven for 25-30 minutes or until a cake tester comes out             clean.

9.  The Brownies may be served warm or cooled.  And they are delicious served with Vanilla           Ice Cream.

  Remade Fudge Brownies

Digg This
Reddit This
Stumble Now!
Buzz This
Vote on DZone
Share on Facebook
Bookmark this on Delicious
Kick It on DotNetKicks.com
Shout it
Share on LinkedIn
Bookmark this on Technorati
Post on Twitter
Google Buzz (aka. Google Reader)

Be the first to comment - What do you think?
Posted by sylveee - 2020/07/19 at 4:40 PM

Categories: Cales, Cookies, Cooking for Kids, Culinary Makeovers, Dessert Ideas, Family Fun, Leftovers, Main, Quarantine Cuisine   Tags: , , , , , , ,

OVER THE TOP HALLOWEEN SPOOKY BROWNIES


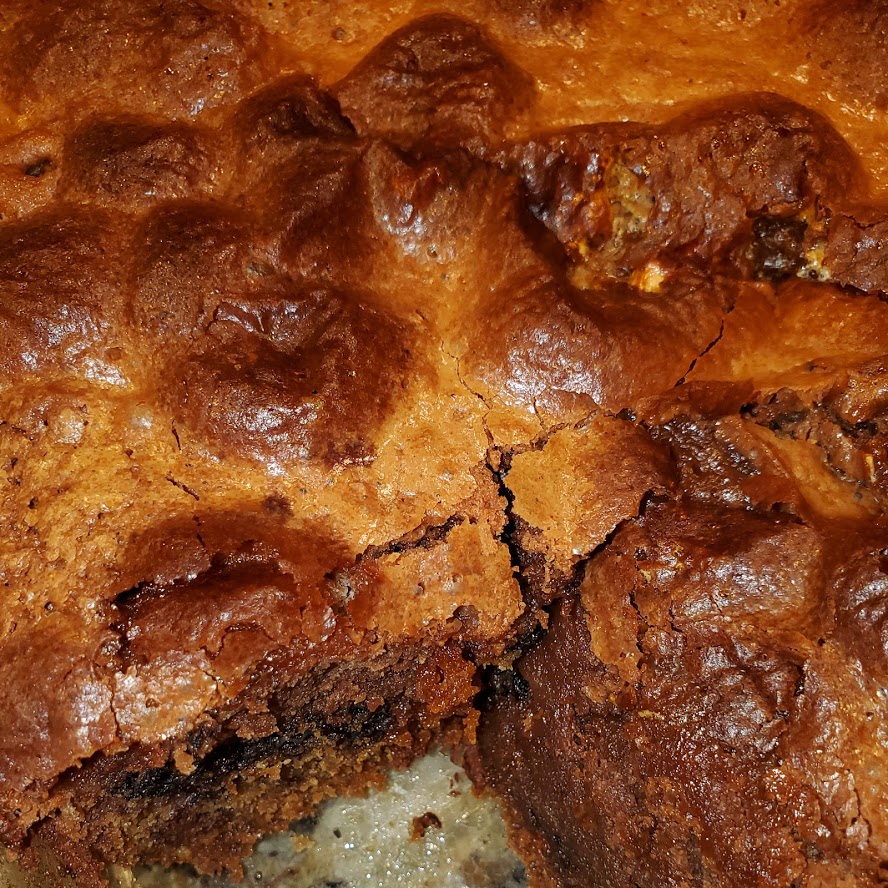
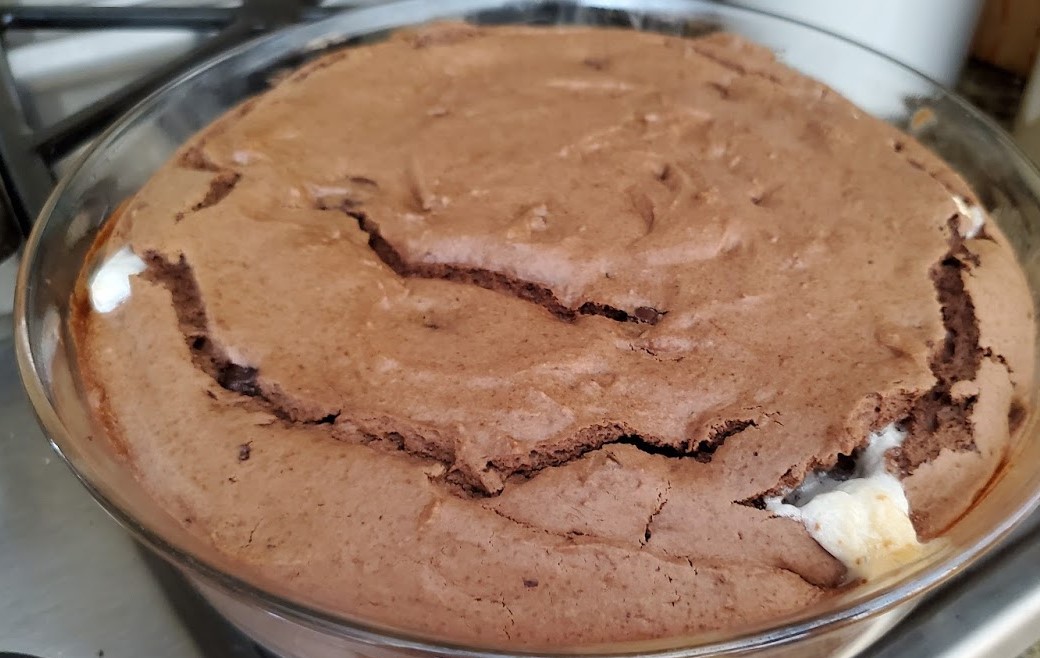
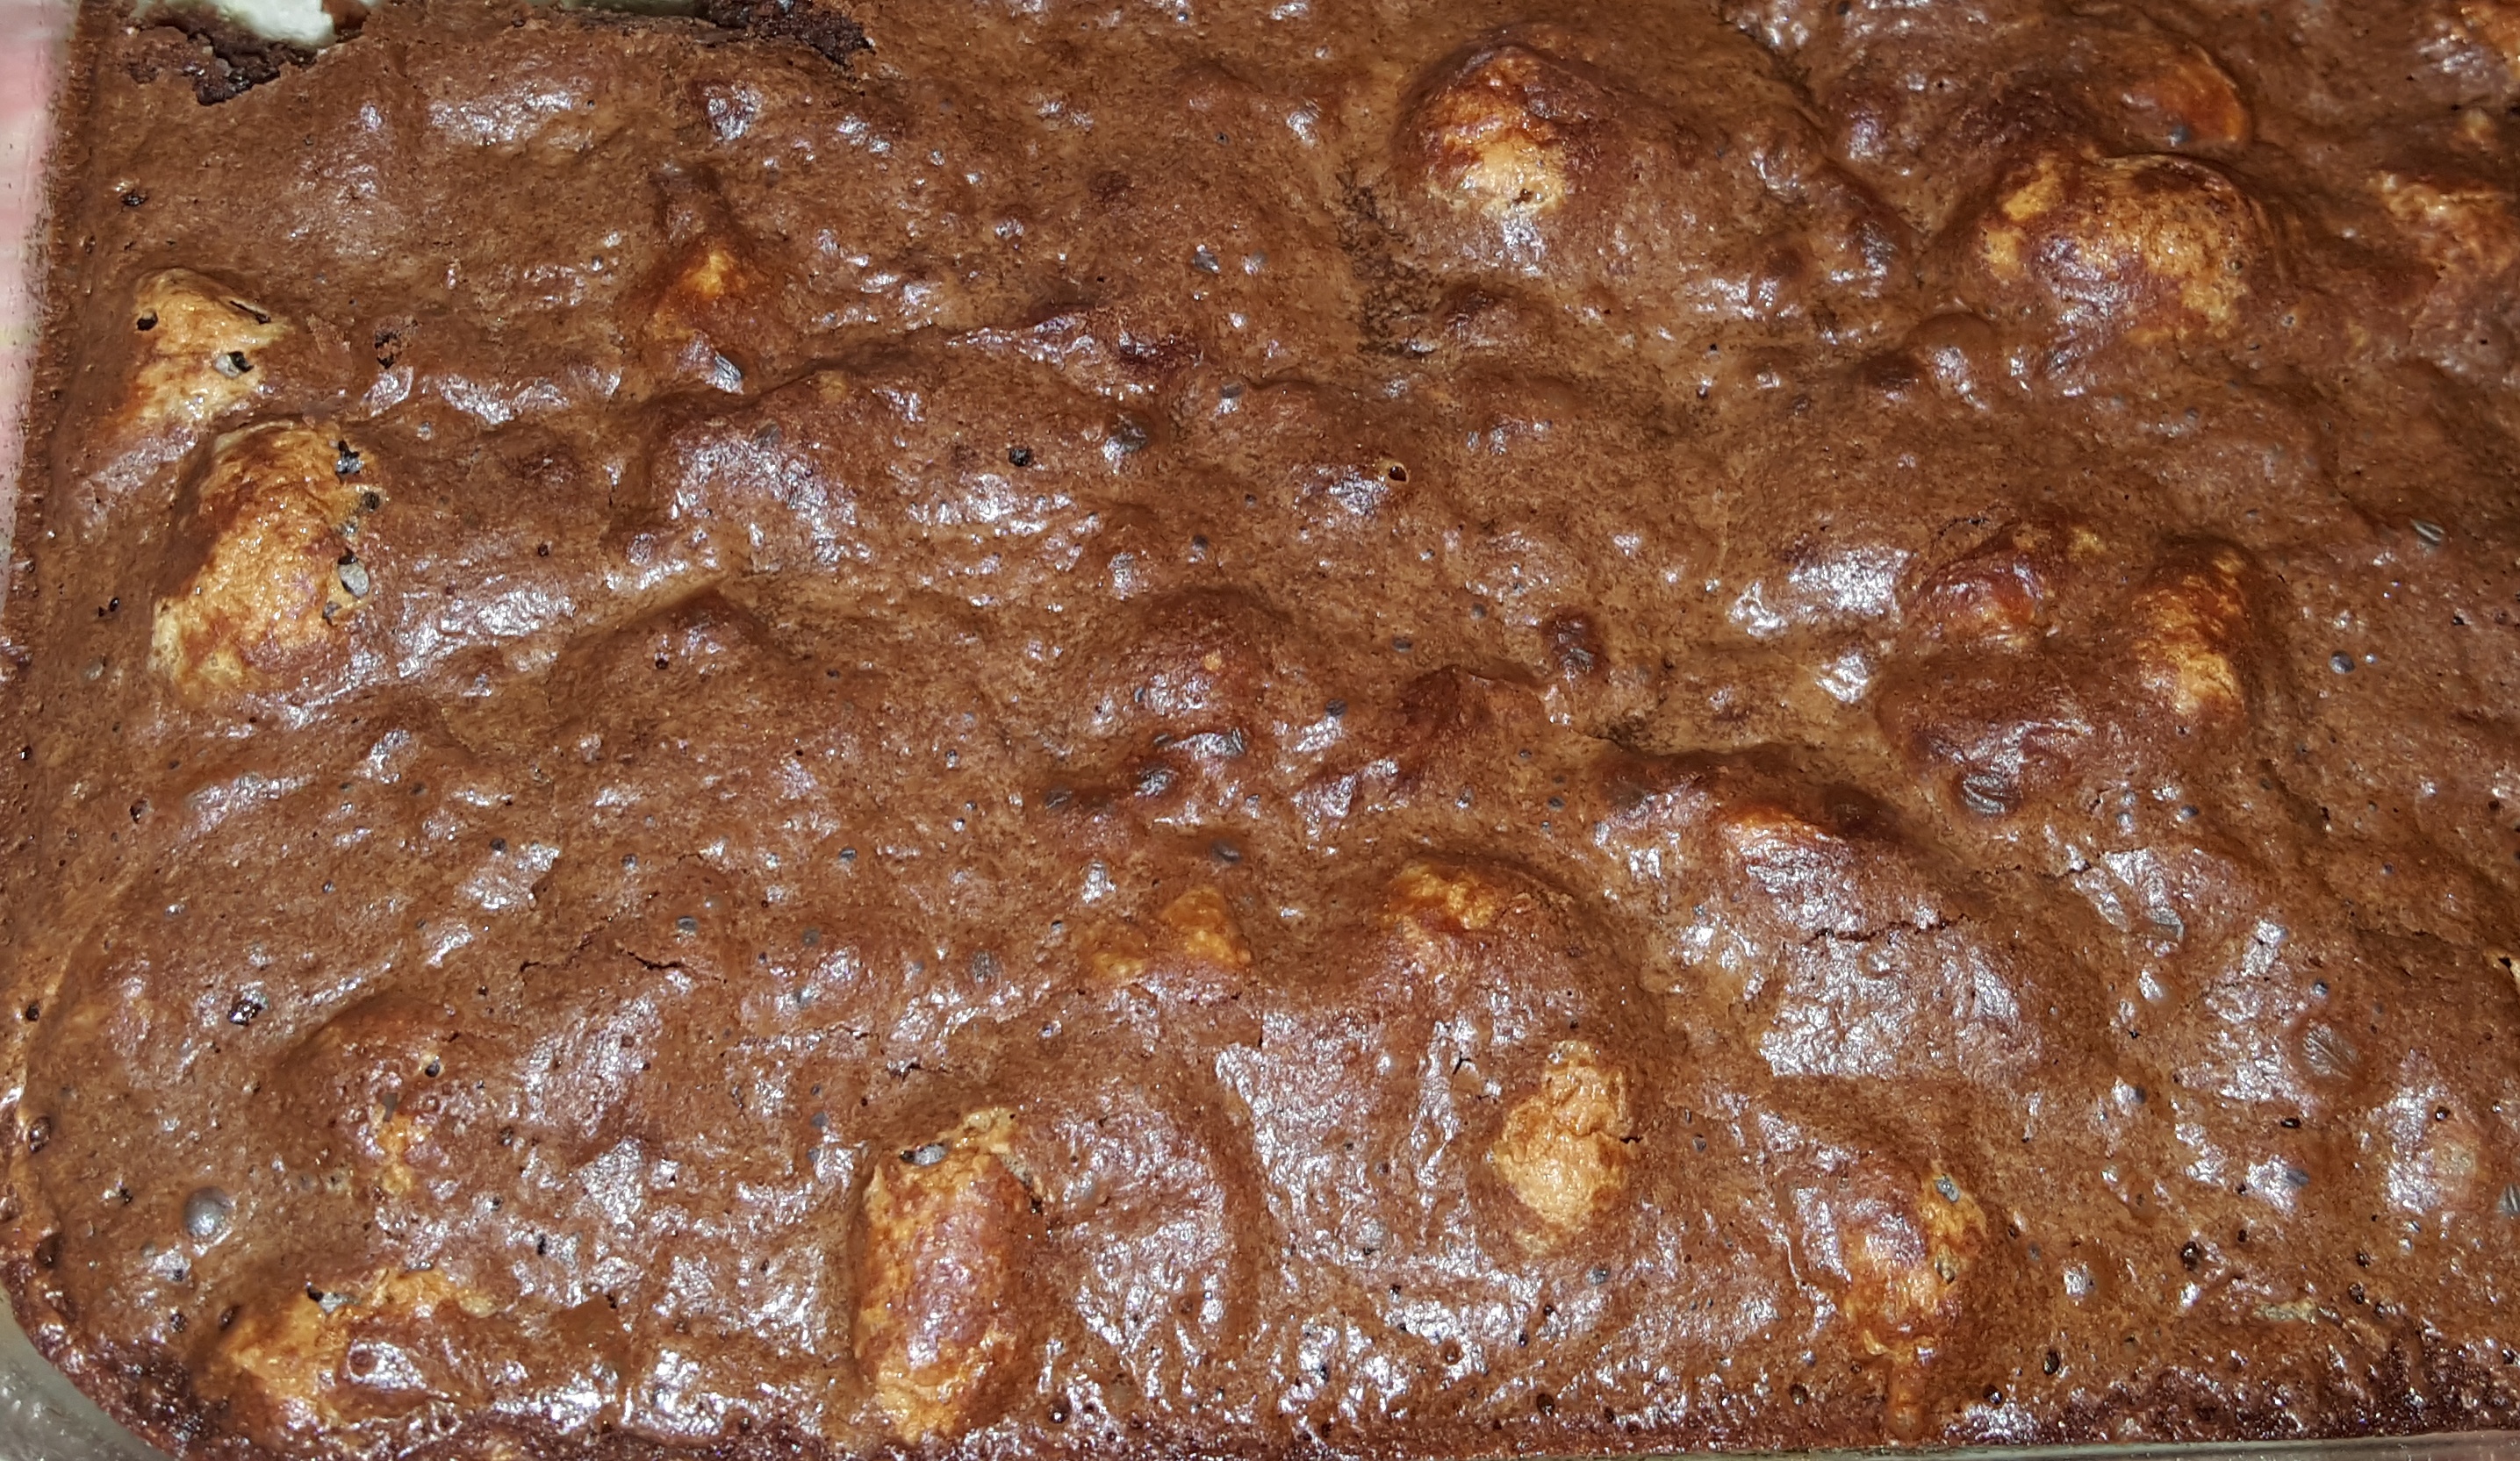
Here is a recipe that is fun to make and delicious to eat and is good for any time of the year – especially for all Chocolate Lovers.  This is a multi-layered Brownie that is composed of a layer of Chocolate Chip Cookie Dough, a layer of Oreos, a layer of Fudge Brownies and interspersed with Caramel Corn and Mini-Marshmallows.  When I made this recipe I used Oreo Thins but soon found out that the White ‘Stuff’ Icing in the middle wasn’t thick enough to show up in the ‘Over the Top Brownies’ when they were cut so we switched to Double Stuff Brownies.


Here is what you will need to make this delectable Chocolate Treat:

1 batch of Chocolate Chip Cookie Dough

16 Double Stuff Oreos

1 Batch of Fudge Brownies

Caramel Corn*

Mini-Marshmallows*


DIRECTIONS:


  1. Make your Chocolate Chip Cookie Dough and spread on the bottom of a greased  9 x 9 x 2 Inch Baking Pan.  (Deeper is fine too)


Chocolate-Chip-Cookie Dough-in-Pan


2.  Layer the Oreos evenly over the Chocolate Chip Cookie Dough.

Oreos Added


3.  Scatter some Candy Corn over the Cookies.  (optional)


Candy Corn on top of Oreos


4.  Next make the Fudge Brownie Batter and spread over the Oreos.


Brownie layer with                  Marshmallows on top


5.  The photo above shows the Mini-Marshmallows scattered over the Brownie Batter.  Before I baked it I had a change of heart and mixed the Marshmallows into the Brownie mixture so they wouldn’t burn.  My student who made this same recipe with me on Saturday decided to put the Candy Corn and the Marshmallows on top during the last 5 minutes of baking.  While this gives a nice browned Marshmallow finish, she did not scatter the marshmallows over the whole dish.  Doing so would have given the whole thing a much nicer appearance.


Mayas Version

Cut Brownies with Oreo Thins


Digg This
Reddit This
Stumble Now!
Buzz This
Vote on DZone
Share on Facebook
Bookmark this on Delicious
Kick It on DotNetKicks.com
Shout it
Share on LinkedIn
Bookmark this on Technorati
Post on Twitter
Google Buzz (aka. Google Reader)

Be the first to comment - What do you think?
Posted by Admin Test - 2019/10/28 at 10:06 PM

Categories: Baking, Cookies, Cooking for Kids, Dessert Ideas, Family Fun, Halloween, Main, Private Cooking Lessons   Tags:

Pumpkin Drop Cookies


One quick and easy baked good for the week of Halloween is Pumpkin Cookies.  These are a drop cookie and easy to whip up, bake and serve.  All you need in addition to the usual baking ingredients is a small can of pumpkin.   Anyone who can read, follow safety procedures and be able to reach the counter can easily make these cookies.


INGREDIENTS:

1 cup Pumpkin Puree                                  1 cup Butter, softened

3 cups All-Purpose Flour                             2 cups Brown Sugar

1 tsp. Salt                                                    ½ tbsp. Vanilla

2 tsps. Baking Powder                                 2 Eggs

1 tsp. ground Cinnamon

¼ tsp. ground Cloves                                  1 cup Seedless Raisins (optional)

¼ tsp. ground Ginger

DIRECTIONS:

  1. Adjust the oven racks to the 2nd and 4th positions and preheat to 375 degrees.
  2. Combine the Flour, Salt, Baking Powder, Cinnamon and Cloves in a medium size bowl. Set aside.
  3. In a large mixing bowl, cream the Butter with the Brown Sugar.
  4. Beat in the Vanilla and Eggs until very well mixed.
  5. Add the Flour mixture and mix thoroughly.
  6. Stir in the Pumpkin Puree and the Raisins.
  7. Drop by the tablespoon (or use a # 60 food scoop) to shape the Cookies.
  8. Place them on a greased cookie sheet, approximately 2 inches apart.
  9. Bake the Cookies for 20-25 minutes or until a deep golden brown.
  10. When the Cookies are done, place the pans on cooling racks; when the Cookies are cool, use a spatula to remove them from the pan.
  11. Store in an airtight container.
Digg This
Reddit This
Stumble Now!
Buzz This
Vote on DZone
Share on Facebook
Bookmark this on Delicious
Kick It on DotNetKicks.com
Shout it
Share on LinkedIn
Bookmark this on Technorati
Post on Twitter
Google Buzz (aka. Google Reader)

Be the first to comment - What do you think?
Posted by Admin Test - 2019/10/27 at 8:03 PM

Categories: Baking, Cookies, Cooking for Everyone, Halloween, Main   Tags: , , ,

CULINARY MAKEOVERS – # 19 – Chocolate Pizzelle Brownies

I love crispy wafer-like cookies and I get them when I make Pizzelles.  Pizzelles are a wafer-like cookie or pastry if you will, made in a flat decorative iron.  They are Italian in origin but are very similar to the Norwegian Krumkake which is also made in a flat decorative iron, though as thin as the Pizzelle is, the Krumkake is even thinner.

The recipe that I have for the Pizzelle is quite large and makes a large quantity.  The reason for the large quantity is that the cookie is so thin that it only take a tablespoon or less for each one – and they are at least 6″ in diameter.  This time that I made them, I made them Chocolate so that both myself and my husband would be able to enjoy the treat.  Ev loves Chocolate and I love anything thin so the Chocolate Pizzelle were perfect. Because the recipe makes such a huge quantity, I only made a half recipe.  (Next time I will make a third recipe)  Since the recipe calls for 6 eggs, dividing it half was pretty simple.  Dividing into thirds will also be simple, but if I make it any smaller, it wouldn’t be worth the trouble to do it.

In addition to loving thin crispy cookies, I also love Marshmallows and if you have ever had homemade Marshmallows, you would never ever eat a commercially manufactured one again.  To most people it would seem that Marshmallows are difficult make, but the opposite is true.  The main ingredients in Marshmallows are Egg Whites (only 2), Sugar and Gelatin.  You can get at least 16 2″square Marshmallows out of one recipe.

Since I like Pizzelle and love Marshmallows, I also made some Chocolate Pizzelle/Marshmallow Treats which were like little sandwiches with Marshmallow in the middle and Chocolate Pizzelle on the outside.  But since we are only a household of two and we don’t have company every week you eventually either get tired of eating the treats that were made or they get stale.  The Pizzelle were still edible after one week but they were getting a little soft and we were ready for something else.

As I said previous;y, Ev, my husband loves Chocolate and I make him a Chocolate Treat every week. Sometimes it is Chocolate Chip Cookies, sometimes it is Brownies and this time it was Pizzelle but as I said, after a week we were getting somewhat tired of the Pizzelle and even the Marshmallows so I decided to reinvent them or create a new treat, thereby coming up with Culinary Makeover #19 which was Chocolate Pizzelle/Marshmallow Brownies.

To make the Brownies, I first pulverized the remaining Pizzelle in the Food Processor and then transferred them to a Dry Measuring Cup (1 cup size)


Pizzelle in Processor

Broken-up Pizzelle in Food Processor Workbowl

Pizzelle Crumbs

                                               Pizzelle Crumbs


Next, I broke up the Pizzelle/Marshmallow Sandwiches and chopped them up.


Pulverizng Marshmallows

                                         Pulverizng Marshmallows


To make the Brownies I used my ‘Go-To’ Brownie recipe for Fudge Brownies.  The only difference was that I had 1 cup of pulverized Brownies.  The 1 cup of Pulverized Brownies replaced one cup of the Flour in the recipe.  So we had 1 cup of Pulverized Brownies and 1/4 cup of All-Purpose Flour.  I also reduced the Sugar to less than 1 cup.


Pizzelle Crumbs and Flour

                                              Pizzelle Crumbs and Flour


After making the Brownie Batter, I folded in the chopped up Marshmallows and baked them as usual.


Folding in Marshmallows

                                       Folding in Marshmallows


The result was a delicious, moist Brownie that had a cake-like texture but was very good and enjoyed by both my husband and myself.

Baked Brownies

                                         Baked Brownies


You can use any kind of stale cookies to make the Brownies – doesn’t have to be Pizzelle and other leftover baked goods can be utilized in the same manner.  Try it yourself and experiment to create totally new delights.  This treat is also good with Ice Cream!

Digg This
Reddit This
Stumble Now!
Buzz This
Vote on DZone
Share on Facebook
Bookmark this on Delicious
Kick It on DotNetKicks.com
Shout it
Share on LinkedIn
Bookmark this on Technorati
Post on Twitter
Google Buzz (aka. Google Reader)

Be the first to comment - What do you think?
Posted by Admin Test - 2016/08/30 at 4:40 PM

Categories: Baking, Baking Tidbits, Cookies, Cooking for Kids, Culinary Makeovers, Dessert Ideas, Leftovers, Main   Tags: , , , , , ,

GINGERBREAD APPLESAUCE CAKE – Culinary Makeovers

Here we go again!  Remember the Gingerbread Waffles made from the leftover pieces of Gingerbread Houses?  Well, with only a 2 person Household, you can only eat Gingerbread Waffles so many days in a row and since I hate to throw good food away, I did it again!  I decided to make cookies with the Waffle Batter and wouldn’t you know, I did not think about putting extra sugar into it – Waffles don’t need a lot of sugar since you usually pour syrup on them or top with sweetened fruit and when we tasted the cookies – uh oh!  They tasted like Gingerbread Biscuits – not very palatable –  so instead of throwing the cookies away, I just dried them out and pulverized them again just like I did with the leftover House pieces.  I then used my Zucchini Bread Recipe as a guide and made a delicious moist Gingerbread Applesauce Cake with Raisins.  This was a delicious and satisfying Breakfast Delight!


So here is how I made the Gingerbread/Applesauce Cake.  The recipe can be adapted for use without the leftover Gingerbread pieces.  Just let me know and I will change it for whoever would like it.


Pictured below are the cookies – i left them uncovered for a couple of hours to dry them out – they were a moist cookies and would have been really good with some sugar and maybe some raisins added to them.


Gingerbread Waffle Cookies

 Gingerbread Waffle Cookies


Place the cookies in your Food Processor and chop them up, using the PULSE BUTTON at first;  once they are broken up, then turn it on and run just until they are a fine crumb – not more than a couple of seconds at a time.


Measure the crumbs – if you do not have 2 cups of crumbs, adjust the other ingredients accordingly


  • Gingerbread Crumbs

     Gingerbread Crumbs

    The remaining ingredients that you are going to need are:


    1 cup All-Purpose Flour

    1/2 tsp. Salt

    1/2 tsp. Baking Soda

    1 tsp. ground Cinnamon

    1/2 tsp. ground Ginger

    1/4 tsp. ground Cloves (optional)

    3 large Eggs

    1/2 cup Butter, melted

    1 tsp. Vanilla

    1 cup Brown Sugar

    1 cup Applesauce

    1/2 cup Raisins


    The Applesauce pictured below was homemade chunky Applesauce


    Applesauce

      Applesauce


    This cake was all made in the Food Processor, but if you don’t have one or prefer not use it, you can do this with a Portable Mixer, Standing Mixer, or even with hand implements.

    Once you have your crumbs, Applesauce and Rasins prepared and measured, begin making your cake.

    • Adjust the oven rack to the middle position and heat to 350 degrees.
    • Butter, or spray an 8 or 9″ round or square pan and set aside.
    • Combine the Flour, Salt, Baking Soda and Spices in a medium size bowl.
    • Place the Eggs in the Food Processor and run until they are well mixed.
    • Add the Brown Sugar, Butter and Vanilla and mix again.
    • Add the Applesauce and Pulse until it is well distributed.
    • Add the Flour Mixture and run until well – mixed.  (DO NOT OVERMIX!)
    • Add the Raisins and pulse, just until they are distributed throughout the batter.
    • Pour the mixture into the prepared pan;  tap lightly to level and then bake for 45 minutes or until a pick inserted in the middle comes out clean.
    • Allow the cake to cool on a wire rack before inverting onto a serving platter.
    Baked Cake

      Baked Cake


    Serve warm or at room temperature with Vanilla Ice Cream or top with a Cream Cheese Frosting.


    Cake Portion with Ice Cream

     Cake Portion with Ice Cream

    Digg This
    Reddit This
    Stumble Now!
    Buzz This
    Vote on DZone
    Share on Facebook
    Bookmark this on Delicious
    Kick It on DotNetKicks.com
    Shout it
    Share on LinkedIn
    Bookmark this on Technorati
    Post on Twitter
    Google Buzz (aka. Google Reader)

    Be the first to comment - What do you think?
    Posted by Admin Test - 2016/01/19 at 9:58 PM

    Categories: Baking, Cookies, Dessert Ideas, GINGERBREAD HOUSES, Main   Tags: , , , , , ,

    GINGERBREAD HOUSE WORKSHOP

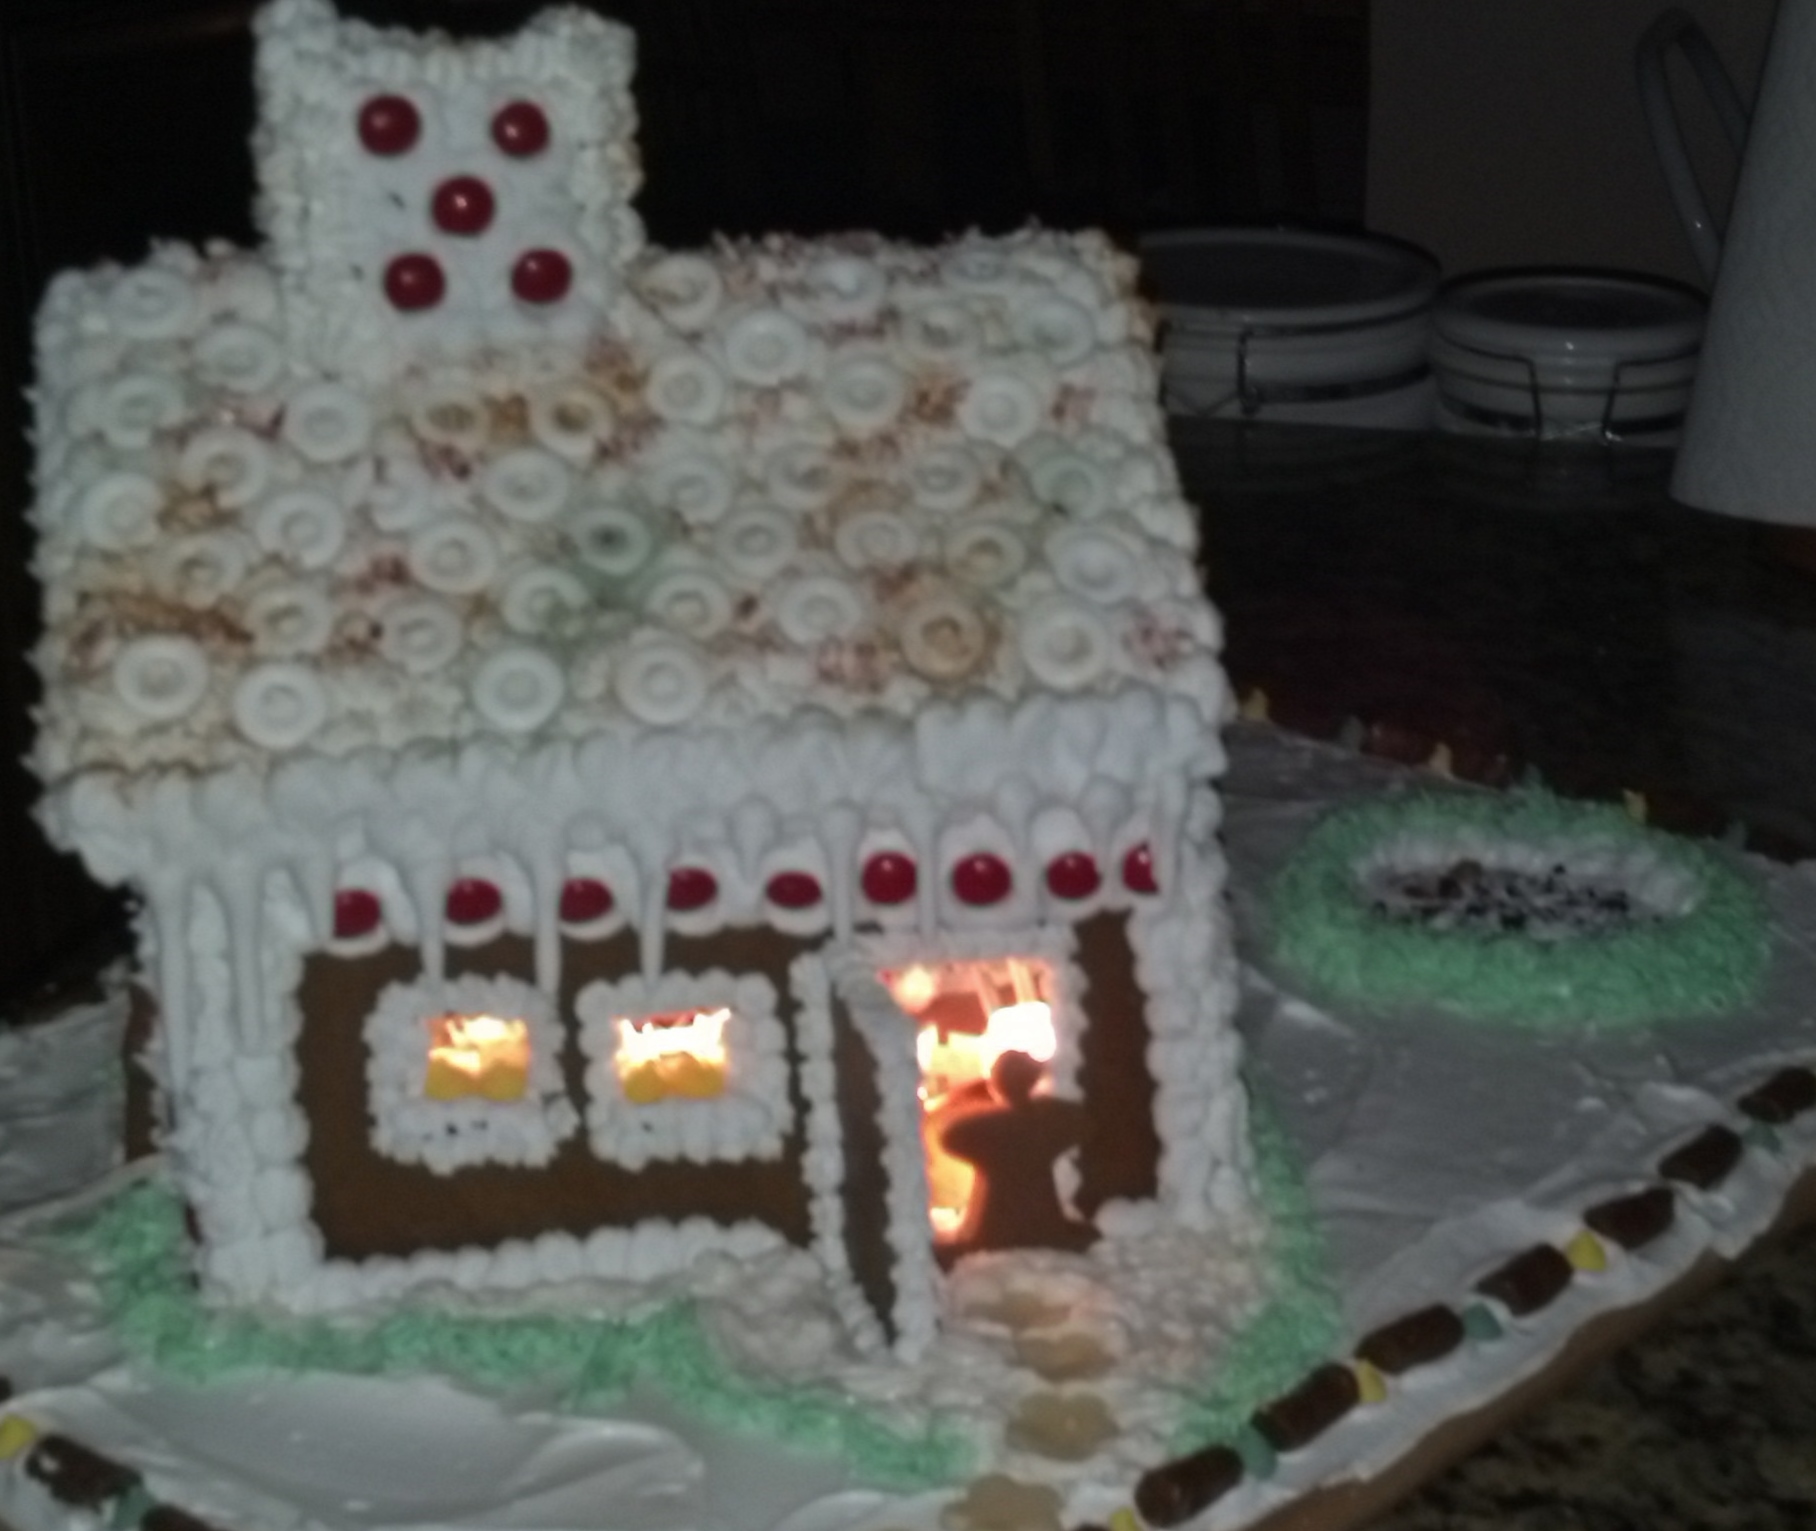
    Saturday, December 6th was my Gingerbread House Workshop at the Academy of Culinary Education in Woodland Hills.  There were 11 attendees.  Each team made one house and the single attendee made her own house.  One team had dough left over so they got to make a smaller version of their house to go along with on their board.  Unfortunately, it seems that all the pictures I took did not come out.  There were several more houses along with these.  Will try to find them and update.

    All in All everyone had a very good time and took home a completed house.  Decorations that were used ranged from M & M’s to Tootsie Rolls, Candy Canes and Nerds, Peppermint Wheels and Licorice Twists.

    Here are pictures of the houses.


    Cee's House

    Cee’s House – Red, White and Green


    Side View

    Side View

    Elliot and Nina with Mother

    Elliot and Nina with Mother

    Solar Star Panels

    Solar Star Panels

    Tootsie Roll House

    Tootsie Roll House

    Tina and Michelles House

    Tina and Michelles House

    Digg This
    Reddit This
    Stumble Now!
    Buzz This
    Vote on DZone
    Share on Facebook
    Bookmark this on Delicious
    Kick It on DotNetKicks.com
    Shout it
    Share on LinkedIn
    Bookmark this on Technorati
    Post on Twitter
    Google Buzz (aka. Google Reader)

    Be the first to comment - What do you think?
    Posted by Admin Test - 2014/12/09 at 12:02 AM

    Categories: Baking, Cookies, COOKING CLASSES, Cooking for Kids, Family Fun, Food as Gifts, Main, Parent Child Classes   Tags: , , , , , , ,