Archive for August, 2012

LEMON JUICE DAY – August 29th – 2012


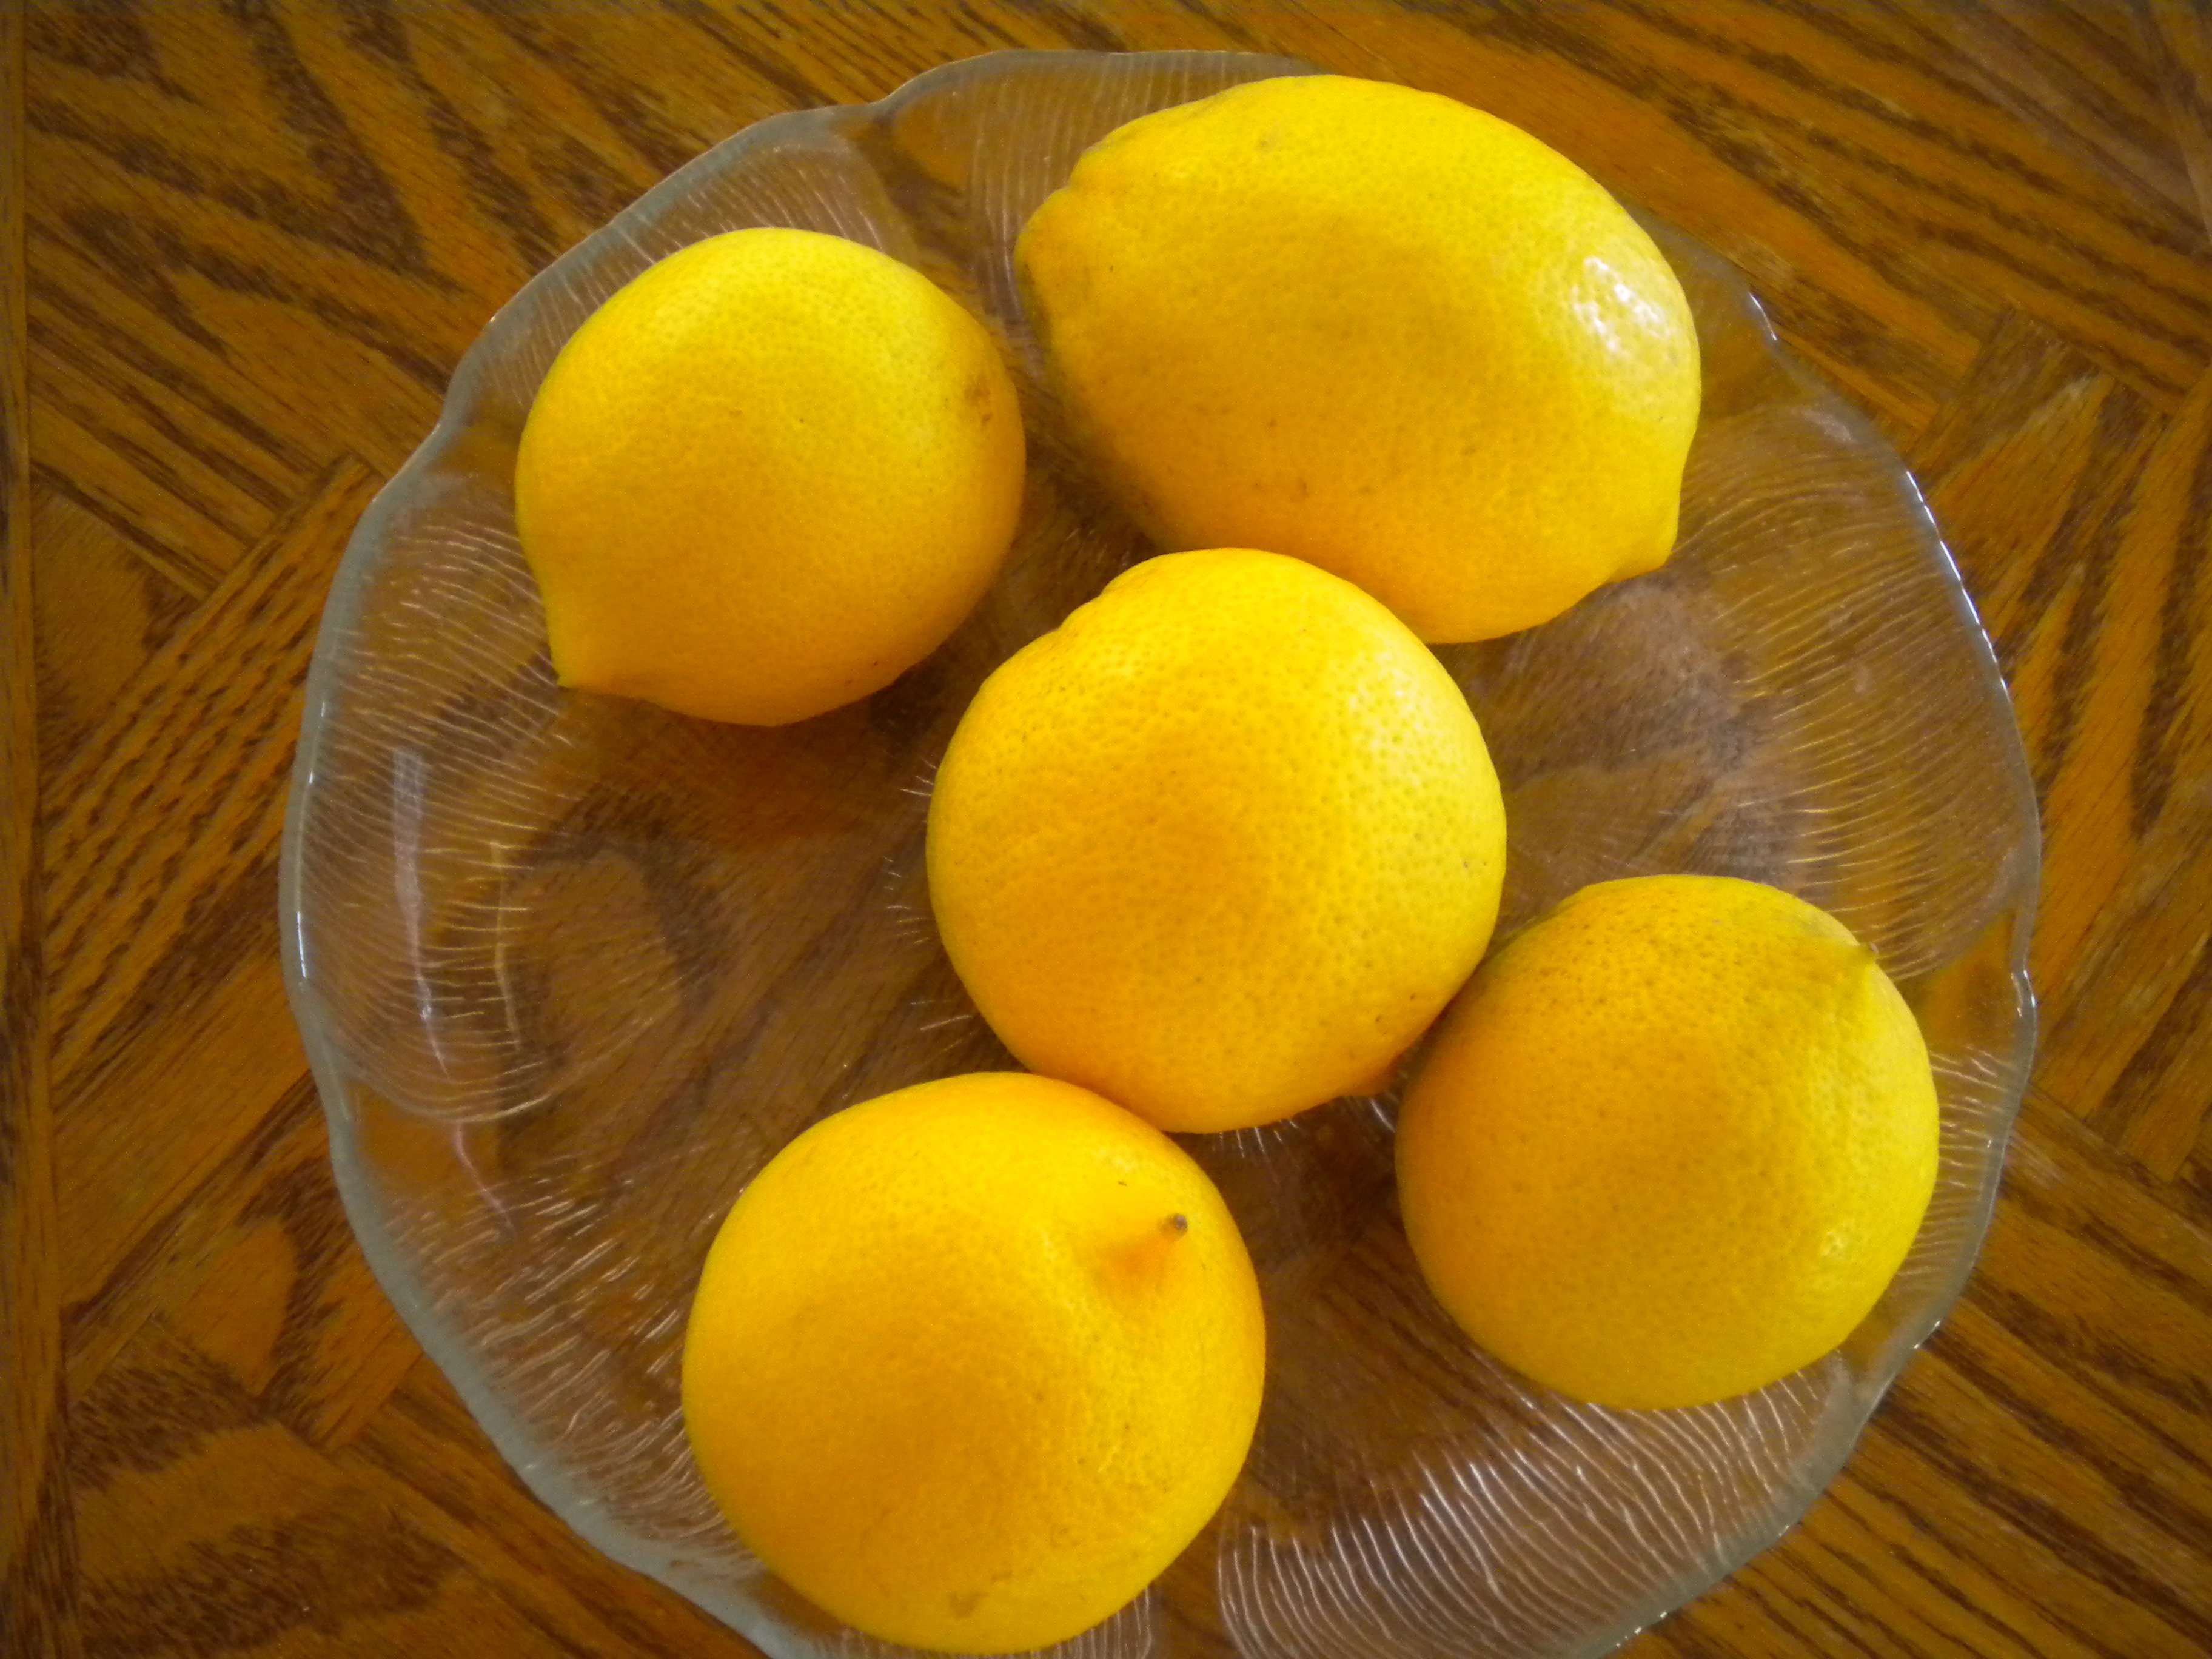
August 29th is ‘Lemon Juice Day’.  How many ways can you think of to use Lemon Juice?  Can you live without Lemon Juice?  Some people do, but I couldn’t.  There are so many ways to use Lemon Juice and it is such a necessity to keep so many foods from oxidizing and turning that ugly dark color that makes food unappetizing to eat.


Lemon Juice is an ‘Anti-oxidant’ – a product that protects the surface of other foods from the oxygen in the atmosphere.  Oxygen reacts with foods like Bananas, Apples and Avocadoes and turns them an ugly dark color and makes the food lose their palatability.

Lemon Juice is also an excellent and necessary ingredient in many baked goods, entrees and beverages.


Entrees that require or are enhanced by the addition of Lemon Juice are:

Veal or Chicken Piccata   chicken-picatta/

 Grilled Shrimp  grilled-shrimp/

Beef, Chicken or Lamb Kabobs

Condiments that use Lemon Juice are:

 Seafood Cocktail Sauce   seafood-cocktail-sauce/

Salsa (Lemon or Lime Juice)

Guacamole (Lemon or Lime Juice)

 Baked goods that use Lemon Juice are:

Lemon Meringue Pie  lemon-meringue-pie/

Lemon Meringue Cookies

Lemon Sugar Cookies

Lemon Pound Cake

Lemon Cream

Lemon Mousse

Beverages that use Lemon Juice are:

Lemon Ade  sparkling-lemonade/

Watermelon Lemonade

Strawberry Lemonade

Iced Tea

 Lemon Juice is also a great flavor enhancement for fruit such as Melons, Berries and Tropical Fruit such as Mangoes and Papaya.  If you have a lemon tree that provides you with an abundance of lemons, squeeze them and freeze the juice in ice cube trays for easy use whenever you need them.


Digg This
Reddit This
Stumble Now!
Buzz This
Vote on DZone
Share on Facebook
Bookmark this on Delicious
Kick It on DotNetKicks.com
Shout it
Share on LinkedIn
Bookmark this on Technorati
Post on Twitter
Google Buzz (aka. Google Reader)

Be the first to comment - What do you think?
Posted by sylveee - 2012/08/28 at 4:54 PM

Categories: Baking, Beverages, Condiments, Dessert Ideas, Dinner Ideas, Main, National Food Days   Tags: , , , , ,

NATIONAL PEACH PIE DAY

Friday, August 24, 2012 is National Peach Pie Day.  You can either go out and purchase one or you can have the fun of making one or more, especially if you still have ripe peaches on your tree.  If you have never made a Peach Pie, follow the recipe at peach-pie/  and make one for yourself and your family.

Peaches are a stone fruit native to China.   The name implies that there is stone inside, but it is indeed a pit, a rather strong hefty pit.  Peaches are related to Almonds and if you closely at the Peach Pit you will see a resemblance to an Almond.  Because of this, adding Almond Extract to your Peach dishes, will enhance the flavor thereof.

There are many types of peaches to choose from, but some are better than others for pie making.  The best type of peaches for making pies and other baked goods are the Freestone.  The freestone peach meat separates much more easily from the pit than the Cling Variety.  Whereas the Freestone Variety is better for baking, the  Cling variety is better for eating out of hand in that they are sweeter than the Freestones.  While you are following the recipe for Peach Pie, you can refer to the photos below for additional help.

 EQUIPMENT NEEDED FOR MAKING A PEACH PIE

Mixing Bowls

Pastry Blender or your 2 table knives or your fingers

Measuring Spoons and Cups

Rolling Pin & Stockinette (The Stockinette is not mandatory but is very helpful)


Dough Scraper (Bench Knife) and Stockinette covered Rolling Pin

Pie Pan

Vegetable Peeler & Paring Knife

Cutting Board

Colander

Saute Pan

Crimping Tool or Fork


Old Fashioned Cutting Tool


INGREDIENTS NEEDED:

All-Purpose or Pastry Flour

Butter or Shortening

Salt

Ice Water

Egg for Egg Wash

Coarse Sugar for the top of the Pie


PROCEDURE:

  • Make your Pie Crust and chill it while you are preparing the filling. basic-pie-crust/
  • After making your dough, flatten it as much as you can and then wrap it in plastic wrap and chill. 
  • The next step is to peel the peaches.  If the peaches are firm, you can peel them with a serrated vegetable peeler.  If they are not firm, follow the directions below:

a.  Bring a 2 quart pot of water to a boil.

        b.  With a small paring knife, make a crosswise slit in the top and bottom of each peach.

        c.  Have a bowl of ice water at hand.

        d. Using a slotted spoon or spider, lower each peach (two or three at a time) into

            the boiling water and allow to stay in the water for at least 1 minutes – this will depend

            on the ripeness of the peach – the riper the peach, the less time it will take for the skin

            to be released.

      e.  Use a slotted spoon to remove the peach from the boiling water and carefully place in

  the ice water – the remove and use your paring knife to slip the skin off the peach.  If

            this is done properly, the skin should come right off.  (Don’t forget – the amount of time in the boiling water will depend on the ripeness of the peach – this is something you will have to determine by yourself – if the peach becomes mushy you will know that the time in the water is too long – if it doesn’t want to come if then it is too short.  Do one peach at a time until yo determine the correct amount of time they will need to remove the skine easily.


  • Once all the Peaches have been peeled, split them in half, remove the pits and then slice them.  It may be easier to quarter them first and then slice the quarters in half.


Peeled Peaches – these Peaches were firm enough to peel with a serrated peeler, thus avoiding the hot water bath.

Sliced Peaches


  • The next step is to put your sliced peaches into a large bowl and toss with the Flour, Cornstarch, Sugar, Spice mixture.

Flour mixture added to the Peaches; be sure to combine well.

  •  If the peaches are very juicy let them sit awhile to drain and then put the drained liquid into a small saucepan and cook over medium/high heat until the liquid reduces by half.  Return the reduced liquid to the peaches.
  • Remove your Dough from the refrigerator and divide in half.  Roll out the first half on a lightly floured board with a rolling pin covered with a stocikinette  (See Illustration above)  Rub Flour into the stockinette before rolling out your dough.
  • When rolling out the Dough, only roll in one direction at a time, starting in the middle.  Roll from the middle to the edge, and do this in all four directions.
  • Once the Dough is large enough to fit into your pan, fold it in half, gently lift it up and place in the pan.  Press down with your fingers to ease into the pan.  Do not stretch or pull – it should just be eased in.


Bottom Crust – let the edges hang over until the filling and top crust are added.

  • Poke the bottom of the crust with a fork in several places to prevent it from breaking when baked.
  • Place the prepared Peaches into the crust.


Peach Filling added to Bottom Crust

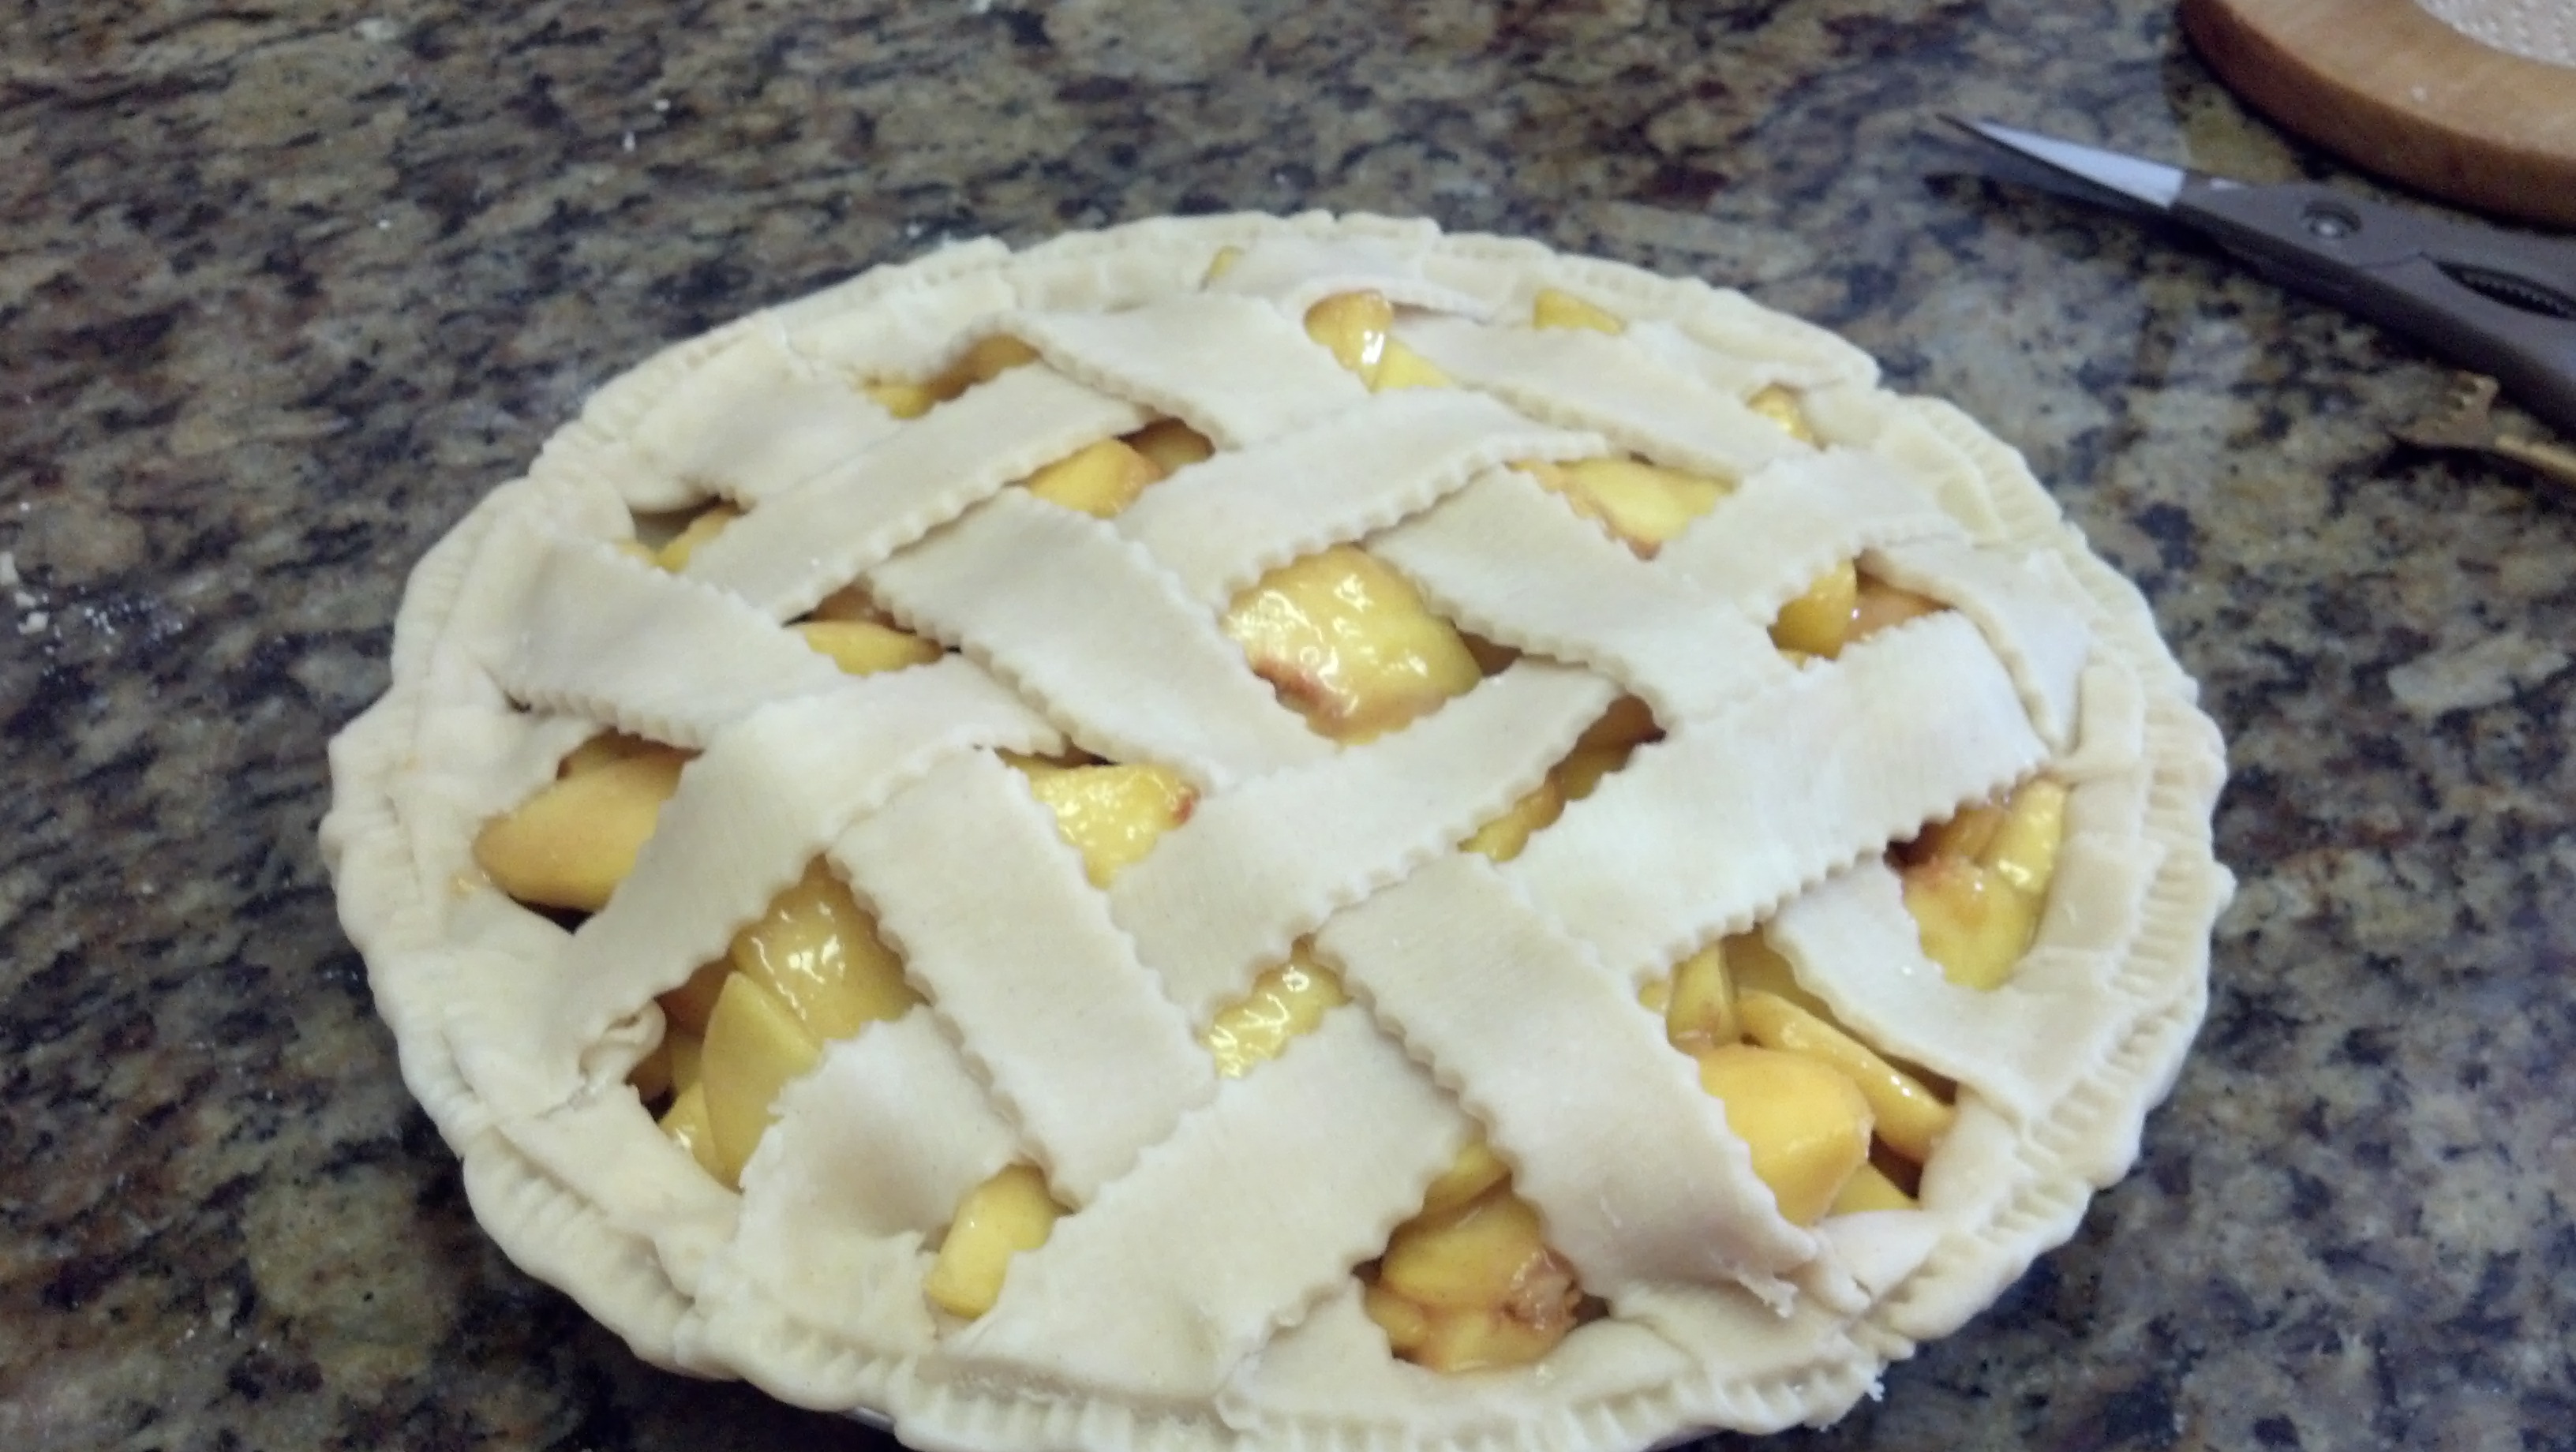
  •  Roll out the second piece of dough and fit onto the top of your peaches.  If desired, you can make a lattice by cutting the dough into 1″ wide strips and weaving them over the Peaches.


Cutting the Dough into Lattice Strips

The First Lattice Strip laid across the center.  Lay the other ones down on either side equidistant from each other and the center stip.

Lattice Laid down about 1″ apart in one direction


Weaving the Lattice as you add the second direction


Lattice Completely added


Lattice Added & Crimped


The next step of course is to bake the pie.  Unfortunately, I forgot to take picture of the baked pie.  It was a Birthday Pie for my oldest son, and once everyone came over, I just forgot about taking more food pictures.  For a photo of a baked pie with a complete top crust, see the peach-pie/ recipe.


Digg This
Reddit This
Stumble Now!
Buzz This
Vote on DZone
Share on Facebook
Bookmark this on Delicious
Kick It on DotNetKicks.com
Shout it
Share on LinkedIn
Bookmark this on Technorati
Post on Twitter
Google Buzz (aka. Google Reader)

Be the first to comment - What do you think?
Posted by sylveee - 2012/08/22 at 7:58 PM

Categories: Baking, Breakfast Ideas, Dessert Ideas, Main, National Food Days, Pastry   Tags: , , , , , , ,

TEEN/PRETEEN WESTERN CULINARY CAMP AT LET’S GET COOKIN’

The week of August 13th – 17th was the Teen/Preteen Western Culinary Camp at Let’s Get Cookin’ in Westlake Village.  During the week, we traced the evolution of Western Cuisine from its birthplace in the Middle East and followed the trail to Greece, Italy, France and then across the Atlantic to the New England States in America.


Day One – Middle East

Lavash -Flat Bread                                                        

Spinach Borani Spinach & Yogurt Dip

Israeli Chopped Salad

Israeli Couscous

Chicken Tangine

Egyptian Bread Pudding

Cardamom Cookies & Pomegranate Blast


Emma & Paige making Lavash

    Paige making Israeli Couscous


Israeli Chopped Salad

Emma Meek – Middle Eastern Lunch

On Emma’s plate is Israeli Couscous & Lavash.  In the small cups are Israeli Chopped Salad, Spinach Borani & Pomegranate Blast.


Egyptian Bread Pudding

Egyptian Bread Pudding – contains Baked Puff Pastry, a variety of nuts and Coconut sweetened condensed milk.  The ingredients were combined and then baked before being served.


Day Two – Greece

Pita Bread

Mediterranean Vegetable Salad

Beef & Macaroni Pie

Lemon Rice Pilaf

Pineapple Baklava


Paige & Emma T. making Pineapple Baklava

                Filling for Baklava

Eating Lunch on Day Two – Macaroni Pie, Vegetable Salad, Rice Pilaff

Emma T, Paige, Emma M & Sheema

Day Three – Italy

Antipasto

Stuffed Shells with Marinara Sauce

Chicken Picatta

Fruit Lasagna

Italian Sodas


Emma T. and Paige dicing Onions for the Chicken Picatta

    Chicken Picatta  – Lemon flavored dish


Emma M. Shredding Cheese for Stuffed Shells

Paige & Emma T. Serving themselves Antipasto


Antipasto with Balsamic Vinaigrette


Fruit Lasagna


Day Four – France

Coquille St. Jacque (Scallops in White Butter Sauce)

French Onion Soup

Baguettes

Butter Lettuce Salad

Boeuf Burgundy

Haricot Verte (French Green Beans)

Strawberry Napoleons

Coquille St. Jacque

Strawberry Napoleon’s for Dessert

Elizabeth adding Pastry Cream that was forgotten

Day Five – New England

Rhode Island Clam Chowder

Stuffed Eggs Florentine

Roasted Asparagus

Lamb Carbonnade

Corn Fritters

Pumpkin Biscuits

Sally Lunn Bread

Boston Cream Pie

Emma T. with Pumpkin Cookies

Paige – just added glaze to Boston Cream Pie


Boston Cream Pie


Additional Photos


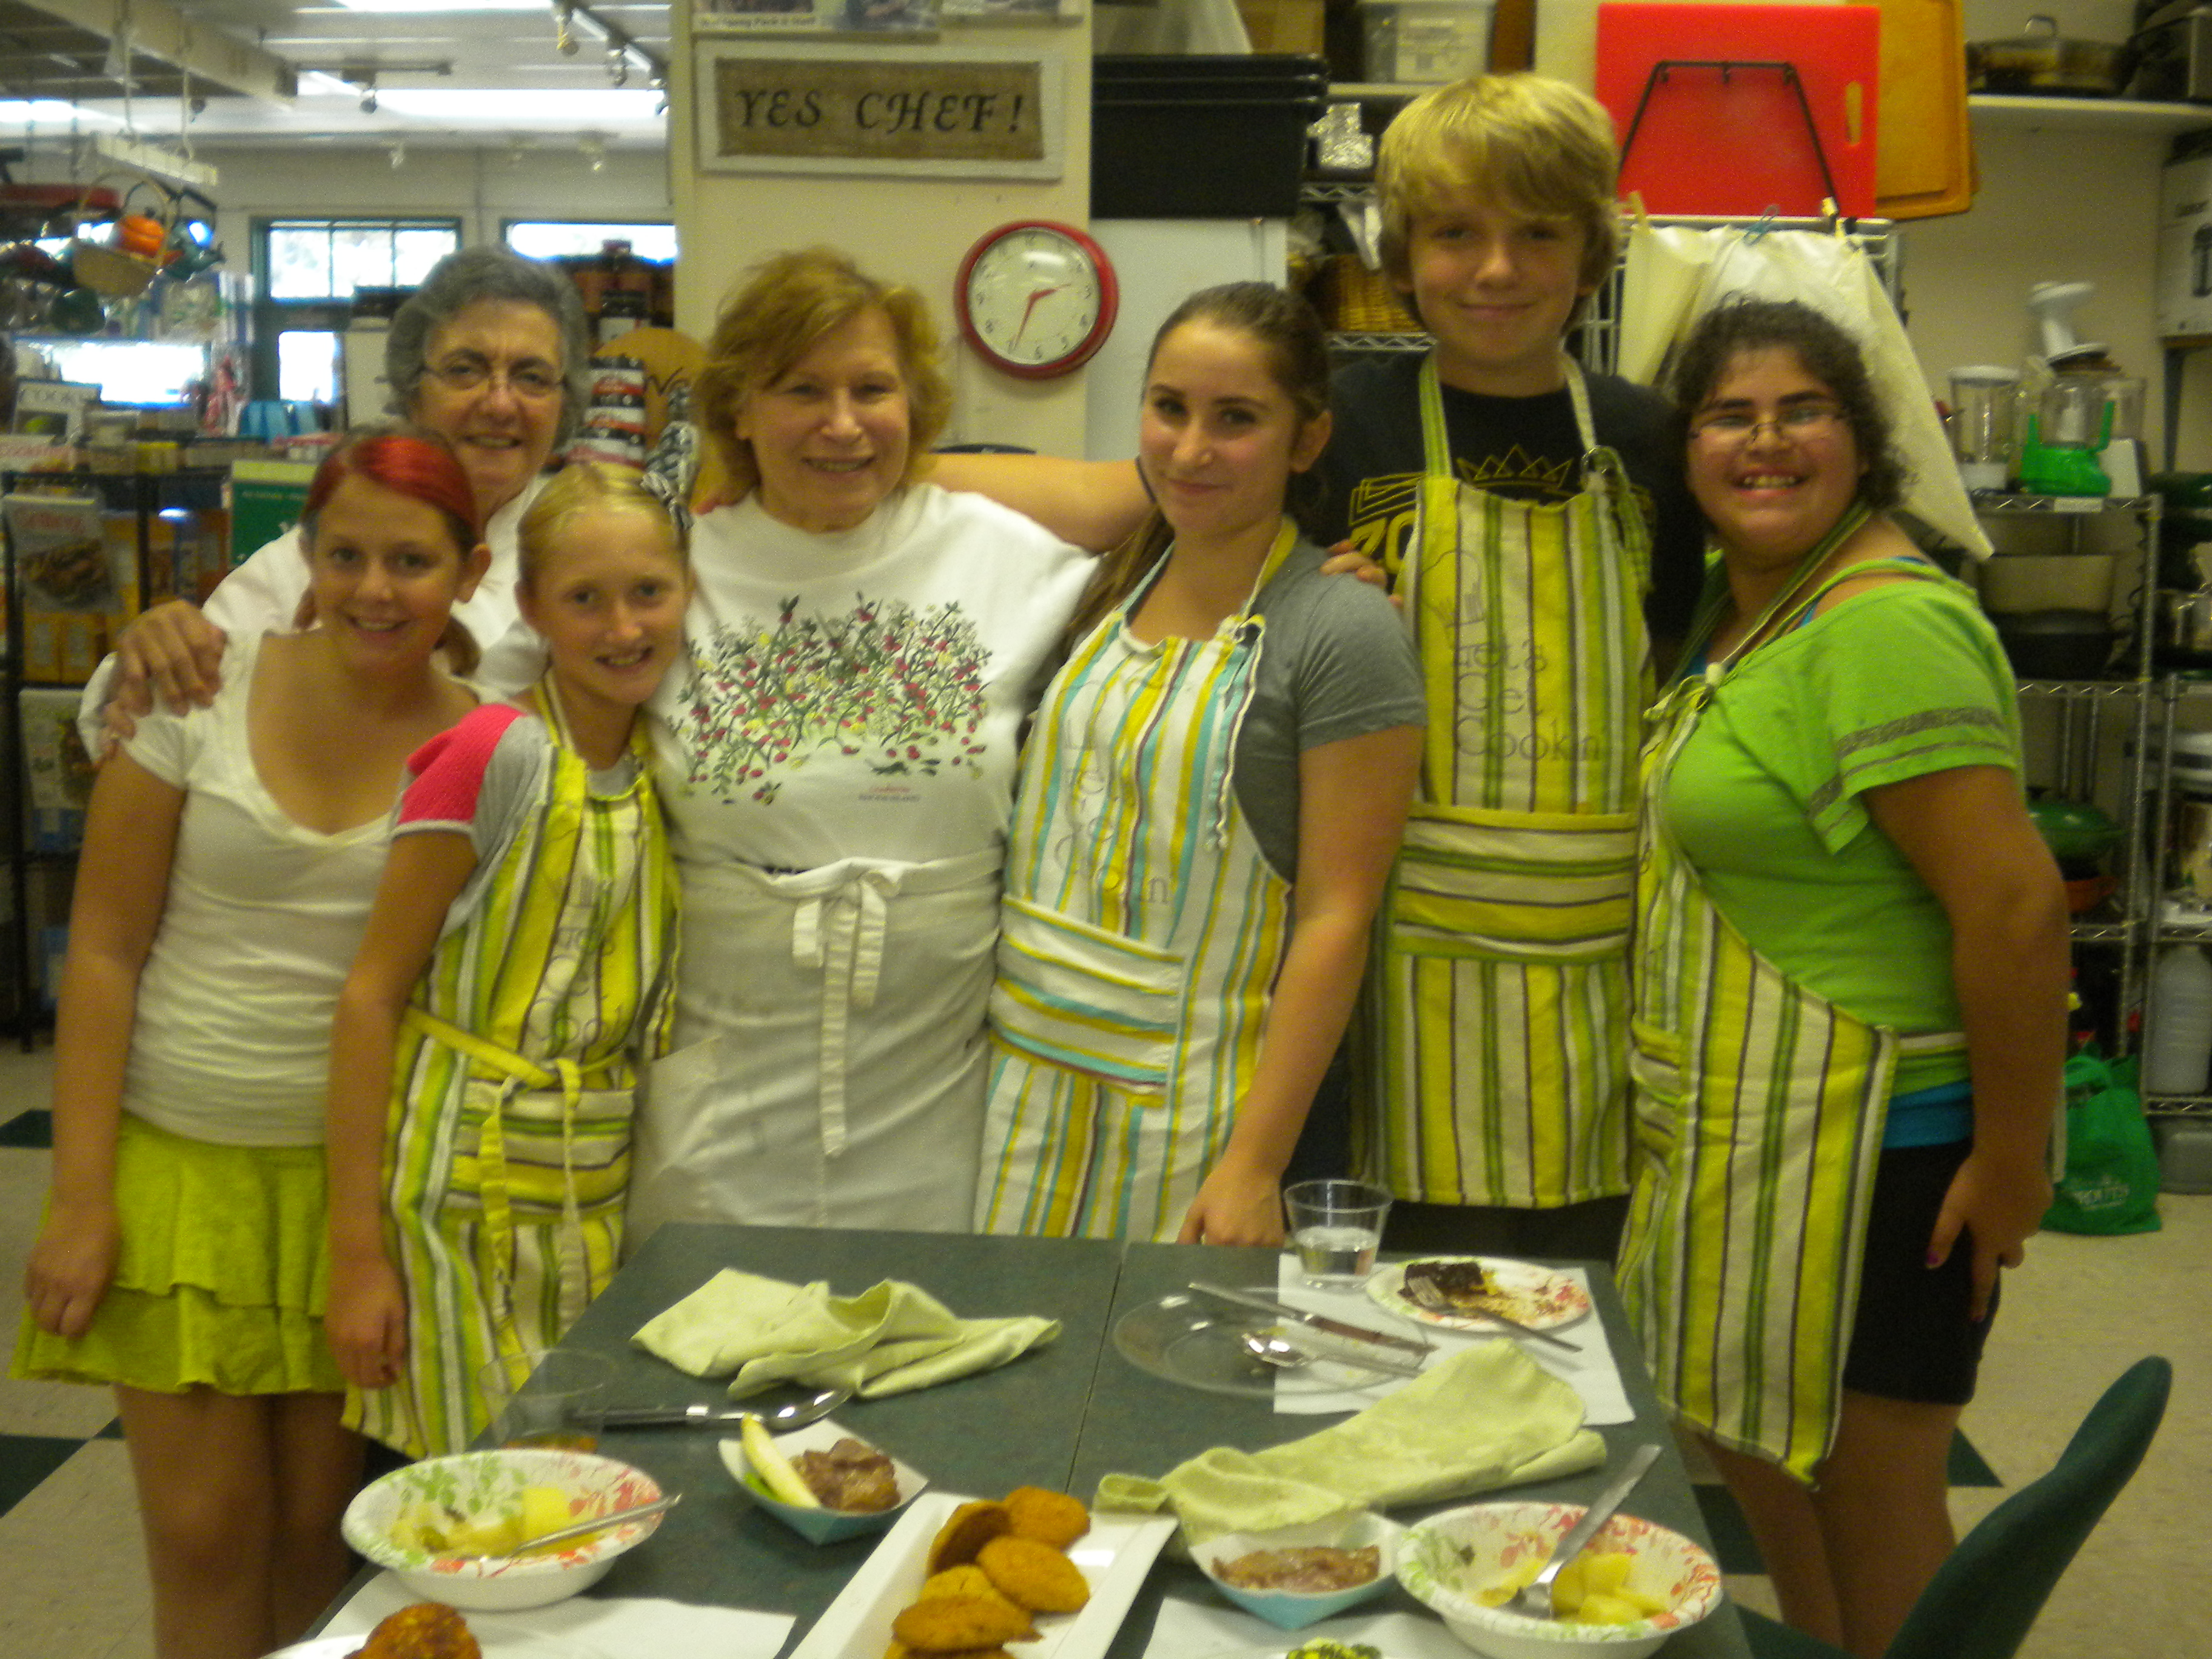
Sheema, Lauren & Aya – Italy


Sheema, Emma T & Piper  —->


Digg This
Reddit This
Stumble Now!
Buzz This
Vote on DZone
Share on Facebook
Bookmark this on Delicious
Kick It on DotNetKicks.com
Shout it
Share on LinkedIn
Bookmark this on Technorati
Post on Twitter
Google Buzz (aka. Google Reader)

Be the first to comment - What do you think?
Posted by sylveee - 2012/08/19 at 4:47 PM

Categories: Bread, Cooking for Kids, Dessert Ideas, Italian, Lunch Ideas, Main, Pasta, Pastry, Pre-Teen Classes, Salads   Tags: , , , , , , , , , , ,

PRETEEN/TEEN INTERNATIONAL BAKING CAMP PHOTOS

DAY ONE –  French & Italian Bread

Country French Bread Team


COUNTRY FRENCH BREAD  ————–>


Italin Foccacia – with sun-dried tomatoes, basil & Fresh Mozarella


We also made French Baguettes, an Italian   Country Corn Loaf and a French Corn Loaf in addition to Quick Chocolate Bread from France.


Lunch – Cold Cuts were served with the Bread the Student made as well as Vegetable sides. The beverage was Italian Sodas.


DAY TWOScandinavian Cookies


Norwegian Cherry Cookies

Mary with Swedish Jam Cookies


Making Krumkake


J.J., Dean, Kevin & Tristan – on Cookie Day


Krumkake is a Norwegian Waffle-like Cookie similar to an Italian Pizzelle but the Iron is much thinner, thereby producing a thinner cookie.


Fatigman are also Norwegian in origin.  They are a fried cookie – the name translates to Poorman’s Cookie, but the ingredients are certainly not those of a poor man.  They are rich in butter, eggs and cream.


Danish Meringue Cookies


Grace & Tristan…

  Grace, Tristan & Jeanette


DAY THREEAustrian, Russian & German Pastries

Viennese Chocolate Nut Torte

Rugelah


Fruit Kuchen from Austria


DAY FOURSouth American Savories & Sweets

Panquecas Estufa with Tomato Sauce – (Stuffed Pancakes)


Cheese Empadhinas


Tristan, Jeanette, Megan & Grace with

 Empanadas they made


DAY FIVEUnited States


Strawberry Shortcake & Beignets


Kevin sugaring the Beignets —–>


Lunch Time


Additional Photos


Morgan


Morgan & Kendal


Jeanette & Grace

First at the Table


Anticipating Lunch

Digg This
Reddit This
Stumble Now!
Buzz This
Vote on DZone
Share on Facebook
Bookmark this on Delicious
Kick It on DotNetKicks.com
Shout it
Share on LinkedIn
Bookmark this on Technorati
Post on Twitter
Google Buzz (aka. Google Reader)

Be the first to comment - What do you think?
Posted by sylveee - 2012/08/13 at 5:37 PM

Categories: Baking, Bread, Cooking for Kids, Main, Pastry, Pre-Teen Classes   Tags: , , , , , , , , , , , , , ,