One Dish Meals

Culinary Makeover #21 – Trickle Down Leftover Recycling (Burger Buns from Cheesy Cauliflower)


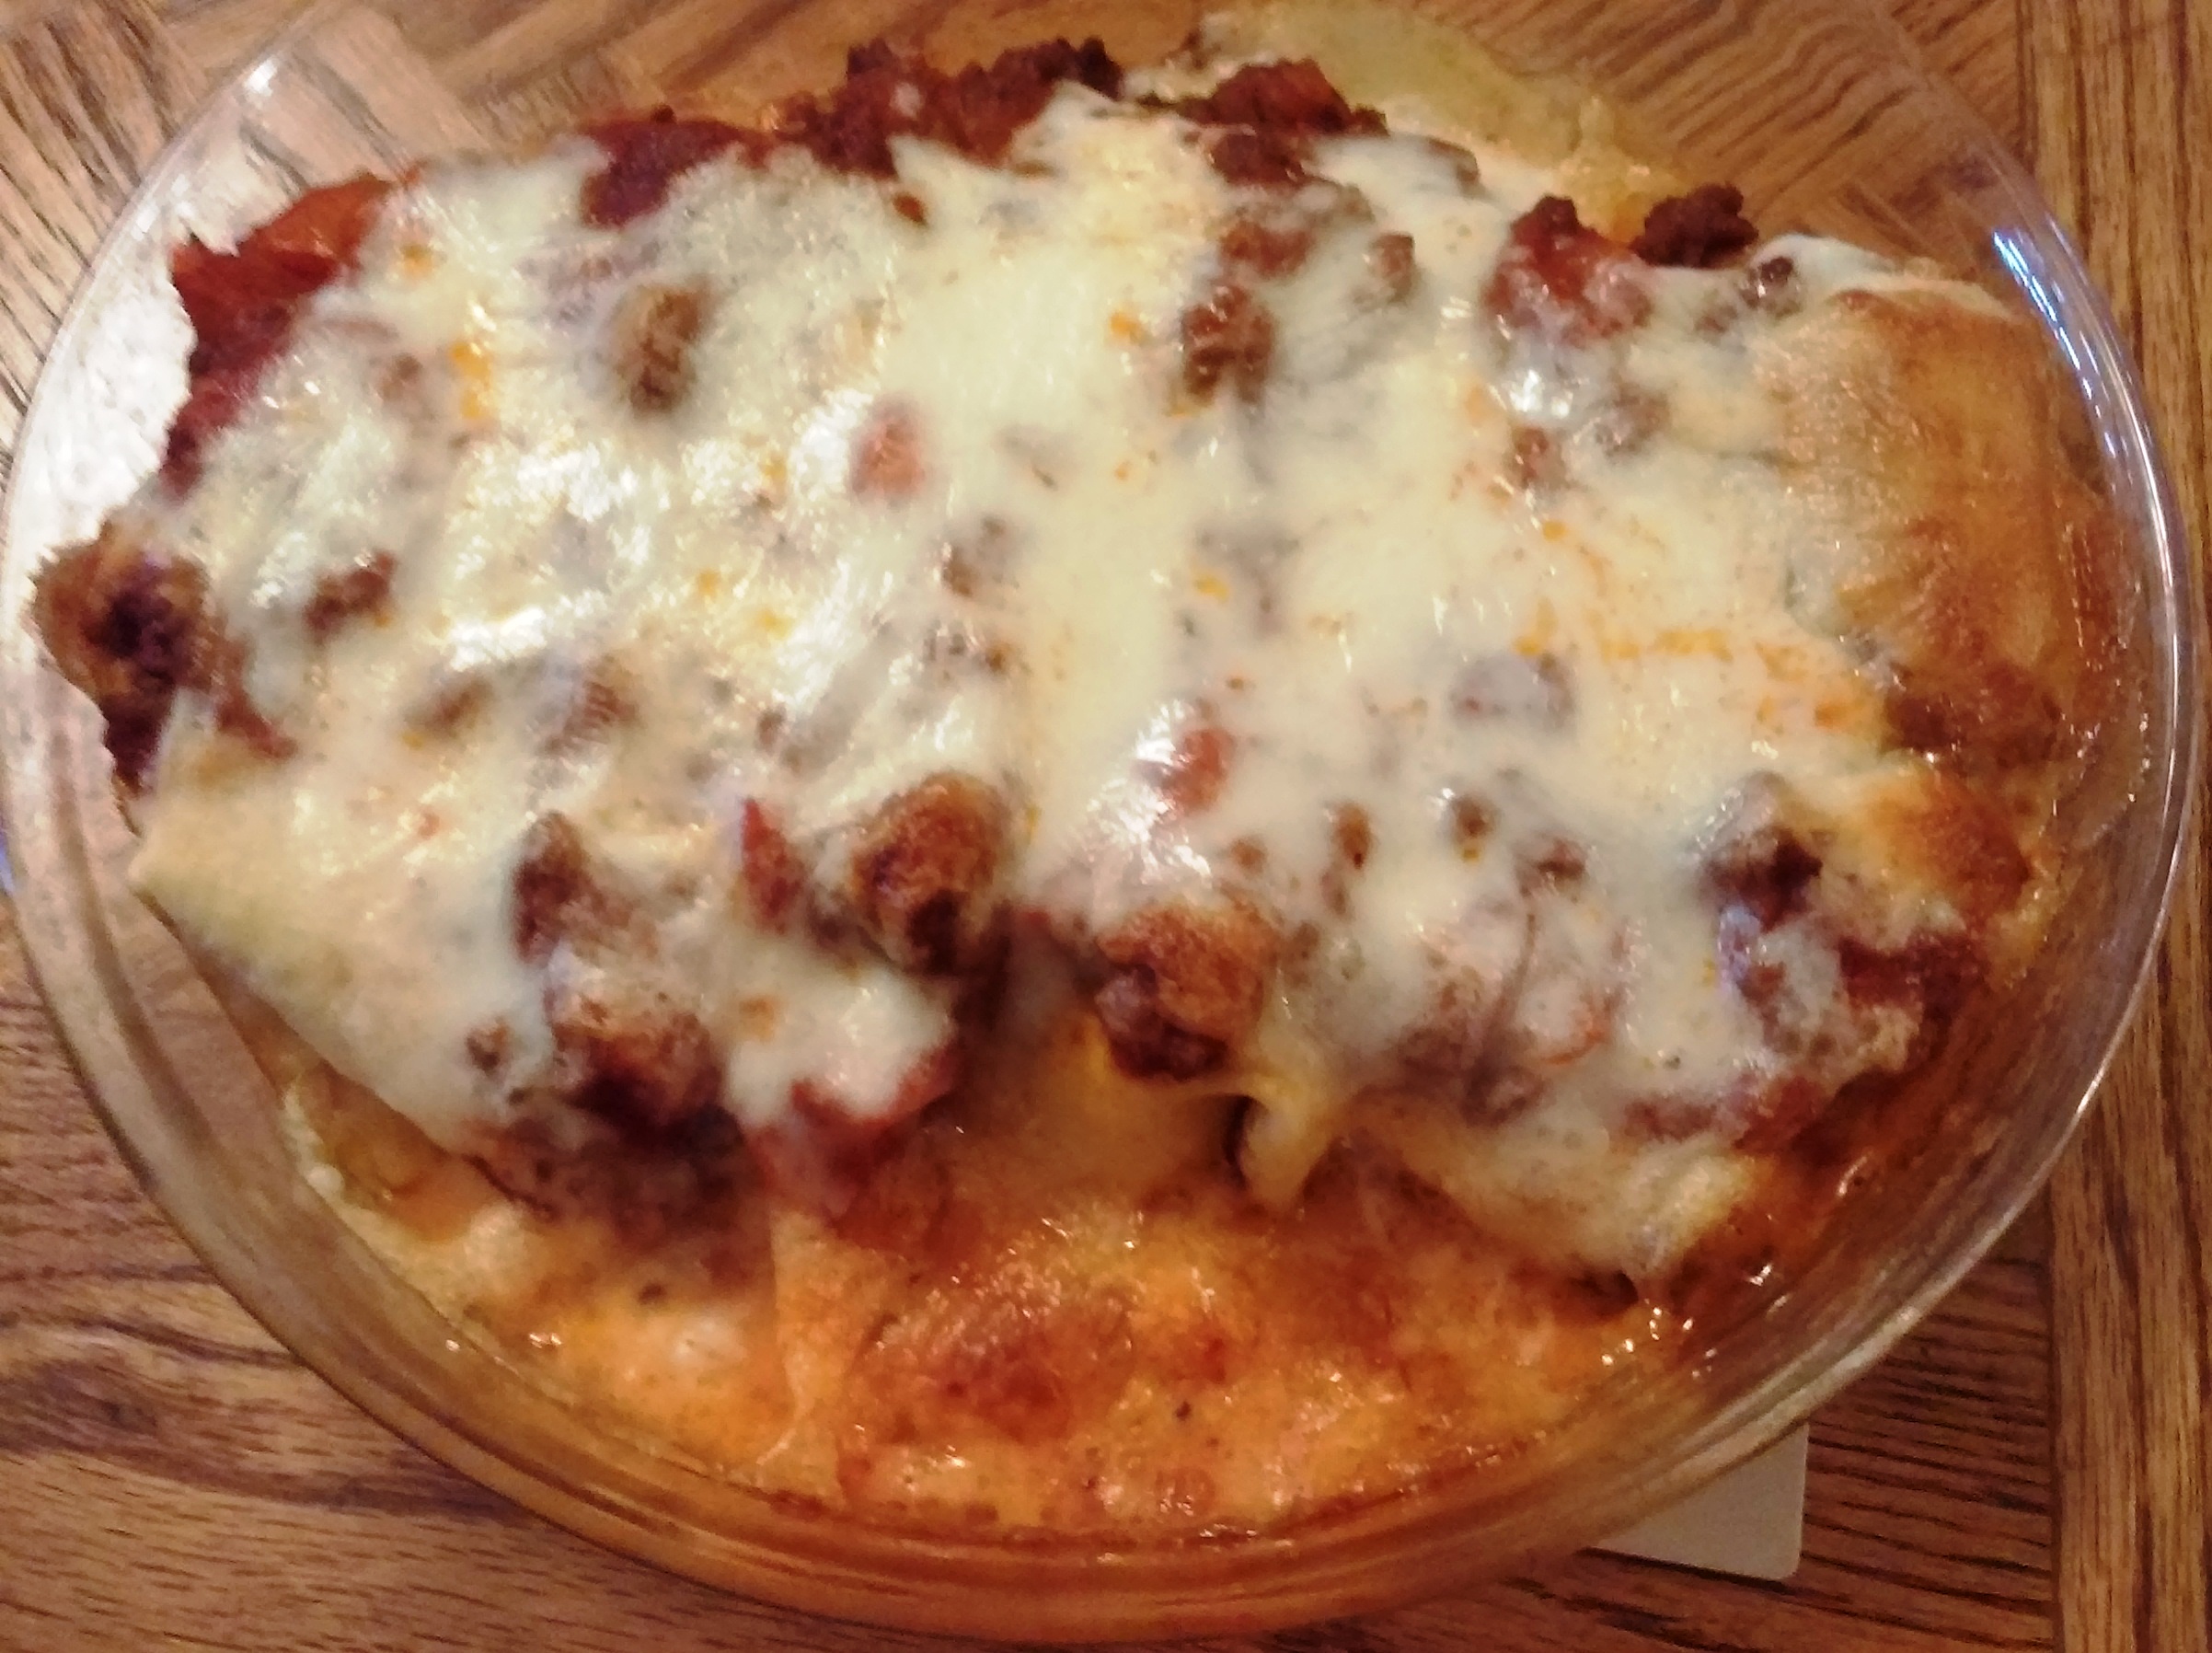
In my previous post I mentioned that I was going to try and use up all the food in my freezer and/or refrigerator.  I have made pretty good progress but have not got around to posting it.  This post will be sort of fun because as the title suggests, it is a ‘trickle-down’ recycle or in other words, recycling the recycled.  Now, it is not really like it sounds.  The main ingredients are recycled only once and the twice recycled is just sort of using the leftovers as you will see when you read the rest of the post.


My husband Everett, loves Mac and Cheese.  I sometimes make it but he wants it so often, that I tried resorting to purchasing small portions of it from Trader Joe’s and/or Bob Evans Mac and Cheese from the local market.  While these are fairly good products, the Mac and Cheese that I make is so much better that I decided to make a large portion of it – having it for dinner one night and then packaging the rest in lunch size container and freezing it for use when needed.  I made so much sauce that there was actually some leftover.  You can put a lot of Cheese Sauce in the Macaroni but only so much!

So, the first recycled product was Cauliflower made with the leftover Cheese Sauce.  Cauliflower is good for you but taste wise, just so so.  But I couldn’t resist the pretty heads that had at our local Farmer’s Market so of course I purchased one.

Before I continue with the recycling portion of this post listed below are the nutritional benefits of cauliflower.


Calories per serving        25

Fiber                             3 grams

Vitamin C                      77% of the RDI

Vitamin K                      20% of the RDI

Vitaming B6                  11%

Folate                           14%

Pantothenic Acid              7%

Potassium                       9%

Manganese                     8%

Magnesuim                     4%

Phosphorus                     4%


So, as you can see whether or not you specifically love or don’t love cauliflower, it is beneficial to eat it.  So, with this in mind I did cook the Cauliflower by separating the segments and washing it thoroughly and then cooking it in the microwave.  Vegetables are about the only thing that I will cook in the microwave and cauliflower cooks up in a manner of a few minutes.  When we were ready to eat dinner, I just put the covered dish of cauliflower into the microwave for about 2-3 minutes depending on the quantity and your microwave.  Then I removed it from the microwave and topped it with the leftover Cheese Sauce from the Mac and Cheese.  Voila!  Cauliflower with a Cheesy Sauce tastes quite good.

But we are only two people who can eat just so much cauliflower at one time and since I don’t like using leftovers without doing something to change them I did do something quite unusual to recycle the Cheesy Cauliflower and this was to make Hamburger Buns!  Yes!  Hamburger Buns made from Cauliflower.  Now, these are not Buns for people who want gluten-free bread products as there is definitely wheat flour in these buns.

Here is the procedure for making the Buns! (Or go to recipes (bread) for more concise directions.


  •  I had approximately 1 cup of Cheesy Cauliflower segments left over which I pulverized in the       Food Processor.


Cheesy Cauliflower


Cauliflower in Processor Workbowl


  •     I added 1 cup of warm water to the pulverized Cheesy Cauliflower along with 1 tablespoon of      Active Dry Yeast and 1 Tbsp. of Sugar.


 Yeast and Sugar Added


  •      Next I added 2 cups All-Purpose Flour to the mixture and ran the processor just long enough       to mix the ingredients together.


2 cups Flour Added


  •    Once the foregoing ingredients were well-blended I changed the chopping blade to the dough       blade and added more Flour to the mixture as needed.  I ended up adding an additional 2 cups       of flour so that there 4 cups used altogether.


  Dough Blade


  • I ran all the ingredients together for one minute and then transferred the dough to a greased and floured bowl and covered it with plastic wrap.


 Dough in bowl Rising


  • Once the Dough had doubled in size (approximately 1 hour depending on the warmth of the room) I punched the Dough down and formed it into buns.
  • I shaped the buns two different ways:
  •         a.  I rolled out the Dough and cut circle with a large round cutter.


     Dough Rolled and Cut


  •         b.  I then kneaded the scraps together and divided them into segments which I rolled into                     balls  and then flattened them.
  •         c.  The second method yielded small buns which would be ideal for children or those with                      small  appetites..  For those with  large appetites, the first method would be more                            appropriate.


   Cauliflower Buns Formed


  •  The shaped buns were placed on greased baking sheets which had been sprinkled with cornmeal       and  then covered.  Once the buns had risen to double their size, I placed them in a cold oven and   turned the heat on to 375 degrees.  Placing the buns in a cold oven gives them a little more raising          time and gives a lighter product.


 Baked Buns


Buns in Oven Baking


  • Baking time was approximately 20 minutes or until they are nicely browned on top and on the          bottom as well.  You can lift one up with a metal spatula to check the bottom.


We used the buns for Burgers and had quite a few leftover for other sandwiches as well.  We used the larger buns for Steak and Mushroom Sandwiches the following night.  Nope – not leftover Steak although there was some leftover from this dinner for lunch the following day.


Burger on Cauliflower Bun

Digg This
Reddit This
Stumble Now!
Buzz This
Vote on DZone
Share on Facebook
Bookmark this on Delicious
Kick It on DotNetKicks.com
Shout it
Share on LinkedIn
Bookmark this on Technorati
Post on Twitter
Google Buzz (aka. Google Reader)

Be the first to comment - What do you think?
Posted by Admin Test - 2020/01/28 at 11:16 AM

Categories: Baking, Bread, Cheese, Cooking for Everyone, Cooking for Kids, Culinary Makeovers, Dairy, Dinner Ideas, Family Fun, Leftovers, Main, One Dish Meals   Tags: , , ,

WINTER COMFORT FOOD – VEGETABLE SOUP

Comfort Food is Food that warms the body and the soul.  It makes you feel good and satisfied after eating it.  I think Comfort Food is different for different cultures and different people but there are variations within the dishes that we call ‘Comfort Food’.  The differences are not so much in the main ingredients but in the preparation techniques and the seasonings used.  Here is another great Comfort Food that really warms you inside – Vegetable Soup – it can be served as a complete meal with the addition of some protein and delicious fresh bread.  It can also be served as a first course and the leftovers are great for lunch.


I love to make Vegetable and it is one of my favorite ways of cleaning out the Vegetable in my refrigerator. If you have ever wondered what you are going to do with all those vegetables that you just can’t seem to getting around to use or even if like I do, you have little bits and little bits of that, Vegetable Soup is the perfect vehicle for using up those items.  So when I taught school, I taught my students how to make ‘Clean Out the Refrigerator’ Vegetable Soup.


What you will need is a large pot and some Olive Oil and whatever you can forage from your refrigerator.  If you don’t have items in your refrigerator that you can use, you can always visit your local Farmer’s Market or Grocery Store to pick up whatever you wish to put in your soup.  For the last batch I made, I used Onions, (a must), Celery, Carrots, Mushrooms, Tomatoes and Tomato Paste, Frozen Peas and Corn.  For the batch before this one I used a Sweet Potato and Spinach.  Visit vegetable-soup for the complete recipe.


Saute your Vegetables (starting with the Onion and Mushrooms)  in Olive Oil. I always salt the Mushrooms as they do need and it helps to leech out some of the water in their pores.  Once they have cooked and started caramelizing add the remaining fresh Vegetables and dried herbs.  For the liquid I use either de-fatted Turkey, Chicken or Beef Broth, depending on what is in my freezer.  Vegetable Soup does not need to cook for a long time – you do not want really mush vegetables.  It is much better to have some texture left to bite into. About 10 minutes before serving bring the soup up to boiling and add about 1 cup uncooked Pasta.   Once the Pasta is ‘al dente’ add fresh Herbs  (in this case two kinds of Basil), and frozen Peas and/or Corn if you are going to use them.  A couple of minutes is all you need for these frozen Vegetables.


To make a complete meal out of your Vegetable Soup, add some Protein such as Tofu (for Vegans), Chicken, Sliced Hot Dogs or Sausage or Turkey.  Any one of the above make a great addition to your soup which is also delicious without it.  Just serve it with some Hot Fresh Bread.


                                Fresh Vegetable Soup with Pasta


Digg This
Reddit This
Stumble Now!
Buzz This
Vote on DZone
Share on Facebook
Bookmark this on Delicious
Kick It on DotNetKicks.com
Shout it
Share on LinkedIn
Bookmark this on Technorati
Post on Twitter
Google Buzz (aka. Google Reader)

Be the first to comment - What do you think?
Posted by sylveee - 2017/01/18 at 7:59 PM

Categories: Cooking for Everyone, Dinner Ideas, Farm Markets, Leftovers, Lunch Ideas, Main, One Dish Meals   Tags: , , , , , , ,

Homemade Ricotta in Cannelloni


Update to Homemade Ricotta – In July and September I posted Blogs about making your own Ricotta Cheese.  The first batch that was made used Lemon Juice to curdle it.  The second batch I tried using Rennet Tables but that did not work so well, so here I am back using the Lemon Juice which works great!  This batch of Ricotta like the first batch made was very delicious and on a par (if not better) than the expensive brand I usually buy.  When I buy Ricotta I buy a whole milk product which has much more flavor and body than the lower fat one.  I usually pay between $5 & $6 for it.  The batch I made at home this time, cost:


Milk – $2.99

Cream – 75 cents

Milk, Salt and Cream

Milk, Salt and Cream


Lemon Juice – free (the lemons were given to me – if you have to purchase the lemons you will need 1-2 lemons depending on the size – also the price will vary from store to store and from State to State.


3 Tbsps. Fresh Lemon Juice

3 Tbsps. Fresh Lemon Juice


Cheese Cloth – about $2.00 worth (but I was able to wash it and will be able to reuse it again)


So, my fresh batch of Ricotta which tasted delicious and was made right in my own kitchen cost me about $4.00 to make, not counting the gas and the hot water for washing the pot.  Maybe it was as much as I pay for the finished product but it was well worth it as it is delicious.  For the directions for making the Ricotta, please visit Adventures in Cheese Making


Homemade Ricotta Cheese

Homemade Ricotta Cheese


Now, what did I do with this batch of Ricotta.  I made Cannelloni for dinner tonight and was able to freeze half of them for another meal.  If you have four or more eating dinner, the whole recipe will be sufficient for 4- 6 people, depending on appetites.  If teenage boys are involved, then you will have dinner only for four.  If like us, there are only 2 people at the meal, then you will have at least 2 meals out of it and maybe more.


While the Ricotta was draining  I made the Crepe Batter for the Cannelloni Shells and then refrigerated it.  Crepe batter needs to rest for at least one hour after being made. For the recipe see  Crepe Batter

While the Crepe Batter was resting, I started the Meat Sauce that was to go over the top of the filled shells.  Next, I shredded the Mozzarella Cheese that was to go over the Meat Sauce.  If you need a recipe for the Meat Sauce you can just use my Fresh Tomato Sauce but start out by sauteing a pound of ground beef, chicken or veal before you add the other ingredients.  Or you can use only Tomato Sauce.


Tomato Sauce

Meat & Tomato Sauce


After the Crepes are made and the Sauce is simmering, prepare your Ricotta Cheese by adding an Egg, some freshly shredded Parmesan, Basil and about 1/2 tsp. Salt and 1/4 tsp. White Pepper or whatever your taste buds decree.  The Basil that I added was actually a combo of minced Basil and Garlic in Olive Oil.


Basil, Egg and Parmesan Added

Basil, Egg and Parmesan Added


Set the Crepe Shells out on a flat surface and place 2-3 Tablespoons of the Ricotta filling on each Crepe (depending on the size of the Crepe).  Fold in the sides and then the top and bottom.


Filling on Crepes

Filling on Crepes


Wrapping the Crepes

Wrapping the Crepes

Wrapping the Crepes (2)


Wrapped Crepes

Wrapped Crepes


Place each filled and rolled Crepe in a baking dish that has been lightly oiled with Olive Oil.  Place them close together.  When all the shells are filled, wrapped and placed in the baking dish top with the Sauce and some shredded Mozzarella Cheese.


Wrapped Crepes in Baking Dish

Wrapped Crepes in Baking Dish


Sauce on Crepes

Sauce on Crepes


Bake at 350 degrees for 20-30 minutes or until everything is hot and the Mozzarella Cheese has melted.


Baked Cannelloni

Baked Cannelloni


Serve immediately with a mixed Green Salad and fresh Italian Bread, if so desired.


This dish will serve from 4-6 people, depending on appetites.  We had enough leftover for a second meal and half the Manicotti went in the freezer for a third meal.  Of course, we are only two people and so we are lucky enough to have more than one meal out of this dish.


Digg This
Reddit This
Stumble Now!
Buzz This
Vote on DZone
Share on Facebook
Bookmark this on Delicious
Kick It on DotNetKicks.com
Shout it
Share on LinkedIn
Bookmark this on Technorati
Post on Twitter
Google Buzz (aka. Google Reader)

Be the first to comment - What do you think?
Posted by Admin Test - 2016/04/10 at 7:47 PM

Categories: Cheese, Dinner Ideas, Ethnic Cuisine, Italian, Main, One Dish Meals, Pasta   Tags: , , , , , , ,

CULINARY MAKEOVERS # 18 – Sweet Potato Waffles


Our ‘Culinary Makeover’ today is a relatively simple one.  Mashed White Sweet Potatoes turned into Sweet Potato Waffles which I served with Chili con Carne.


Chili con Carne

Chili con Carne


A very delicious meal, but with only 2 people in the household we had Waffles left over which we in turn toasted for Breakfast the next day.  They tasted really delicious with melted Butter and Maple Syrup!

Sweet Potato Waffles with Bacon for Breakfast

Sweet Potato Waffles with Bacon for Breakfast


The Sweet Potatoes I purchased had red skin and I had forgotten that the Red Skinned Sweet Potatoes are not red inside but White.  They were a little more starchy than the gold ones but they still tasted good and were perfect for making Waffles.


For the Waffles I used:

2 cups mashed Sweet Potatoes

3 Eggs

1 cup flour

1 Tbsp. Brown Sugar

2 Tbsps. Olive Oil (melted Butter can be used instead)


I had forgotten to put in a leavening agent which would have been maybe 1 tsp. Baking Powder, but the waffles came out very well without it.  You can use any type of Sweet Potato or even Russets that had been mashed for dinner the night before.  Try your hand at it and see what you can come up with!


Digg This
Reddit This
Stumble Now!
Buzz This
Vote on DZone
Share on Facebook
Bookmark this on Delicious
Kick It on DotNetKicks.com
Shout it
Share on LinkedIn
Bookmark this on Technorati
Post on Twitter
Google Buzz (aka. Google Reader)

1 comment - What do you think?
Posted by Admin Test - 2016/04/06 at 1:52 PM

Categories: Breakfast Ideas, Dinner Ideas, Leftovers, Main, One Dish Meals   Tags: , , , , , ,

VEGETABLE SOUP – COLD WEATHER FOOD


Cold Winter Weather always makes me want something hot and hearty – today it is Vegetable Soup.  When I was teaching High School Culinary Arts, one of the things I taught my students was to make ‘Clean Out the Refrigerator Vegetable Soup.  Now, that may not sound too great, but how many times have you had small amounts of many Vegetables that you really did not know what to do with?  Making Vegetable Soup is the best way to use up these odds and ends and at the same nourish your family and keep them warm.  So, here we go with ‘CLEAN OUT THE REFRIGERATOR VEGETABLE SOUP’.


The Vegetables that I had on hand were  Celery, Carrots, Red Cabbage, and Onions.  Small amounts of Red Cabbage or any other color for that matter are good for Vegetable Soup.  You do not want to use too much or it will overpower the other Vegetables in your soup.


Celery and Carrots

Celery and Carrots


Red Cabbage

Red Cabbage


The Vegetables that I purchased for the Soup were Golden Beets and Mushrooms.


Golden Beets

Golden Beets


Mushrooms and Onions

Mushrooms and Onions


The Golden Beets are pictured before being peeled and the Onions are pictured with the

Mushrooms.  I also used Frozen Peas, Crushed Tomatoes and Turkey Broth.

The Turkey Broth was my hold-over from Thanksgiving.  It is a waste to just throw out the carcass because there is always some pieces of meat clinging to it and the bones themselves do provide some flavor and of course gelatin.  To make the Broth, I placed the Turkey Carcass in my largest pot along with  Onion, Celery, Carrots, Bay Leaves, Peppercorns and Parsley.  Just cover it all with water, place a lid on the pot (offset) and bring to a boil.  Once it comes to a boil, remove the lid and turn the flame down to a simmer and just let it cook until the liquid has cooked down to at least half.  Even more is better.  Shut off the flame, let it cool to room temperature and then pour through a colander into a clean container.  Refrigerate if you are going to use within a day or two or freeze until you are ready to use it.


Before starting to cook the Soup, wash and towel dry your Vegetables and then prep them.


  • Onions -peel and dice
  • Celery – remove any loose strings and then cut into 1/4 to 1/2″ thickness.
  • Mushrooms –  Cut up your cleaned and dry Mushrooms (how you cut them depends on the size and type tht you have.  Mine were small brown Crimini so I mostly quartered them. Cabbage – cut into pieces about 1/4″ to 1/2″ thick and about 3/4″ long.Beets – Peel and then quarter and then slice the quarters into smaller pieces.  (The beets are actually easier to peel if they are par-boiled first or microwaved.  If you do par-boil them, Scrub them clean first and then save the water to add to the soup.
  • Carrots – either scrub or peel and then slice in half lengthwise and then cross-wise into about 1/4 to 1/2″ pieces depending on how small you want them or on how large your carrots are.  Generally, the smaller carrots have more flavor and are sweeter.  The larger ones are older and tend to lose flavor as they age – also they are less tender


To cook, start with the Onion -by sautéing in a small amount of Olive Oil. Add the Mushrooms to the Onions and add a little Salt.  The Salt not only seasons them but helps them to release their water and cook down faster.  Add the Cabbage and Celery and then the Carrots and Beets. Adding some dried Basil (fresh is best, but mince and add at the end so the flavor is not lost) After all the Vegetables are in the Pot, add your cooking liquid and a couple of Bay Leaves (dried or fresh – remove them before serving).  You can also add some garlic to the vegetables while they are sauteing, but this would be a personal choice.  Not everyone likes garlic.  After the soup has cooked for a while, taste for seasoning and add more Salt and some freshly ground Pepper.  Oregano is also good added to Vegetable Soup.  If you are using canned Tomatoes, Tomato Sauce  or Crushed Tomatoes, add it now and then thoroughly mix in.  If desired, you can add some tiny pasta at the end or cook it first and then add.  Add the frozen peas and or corn if desired at the very end.  They need only minutes to cook.


Vegies before Broth Added

Vegies before Broth Added


Tomato Sauce

Crushed Tomatoes


Tomato Sauce added

Crushed Tomatoes added


The soup does not need to cook for a lengthy time – one hour is more than enough – 30 minutes will probably suffice.  This soup can be eaten right away or you can cool it and refrigerate it – the flavors will intensify if held overnight in the refrigerator.


Serve and enjoy – this will easily make a delicious and hearty one-dish meal.  Serve with Garlic Bread or Croustades.


Digg This
Reddit This
Stumble Now!
Buzz This
Vote on DZone
Share on Facebook
Bookmark this on Delicious
Kick It on DotNetKicks.com
Shout it
Share on LinkedIn
Bookmark this on Technorati
Post on Twitter
Google Buzz (aka. Google Reader)

Be the first to comment - What do you think?
Posted by Admin Test - 2015/01/06 at 5:06 PM

Categories: Cooking for Everyone, Dinner Ideas, Leftovers, Main, One Dish Meals   Tags: , , , , , ,

STIR FRY DINNER

Stir Fry is one of my favorite dishes to cook and to eat.  You can literally clean out your refrigerator and almost always come up with enough items to make a delicious Stir Fry Dinner.  Beef, Pork Chicken or Fish or even Tofu will serve as the Protein.  Vegetables such as Cabbage, Celery, Carrots, Onion, Spinach or Broccoli will complement your protein items.  Asian Condiments such as Soy Sauce, Bean Sauce, Hoison Sauce and even Oyster Sauce will add the flavor enhancements.  A Stir Fry Dish can be served with either Rice or Noodles.


The Noodles that I prefer with Asian Stir Fry are Rice Noodles which only need to be cooked or soaked for a short time.  (This will depend on the manufacturer and the directions on the package they come in)


Cooked Rice Noodles

Cooked Rice Noodles


This particular night we had decided that we wanted Stir Fry Shrimp.  While I had the Shrimp in the freezer I did have to go out and purchase a few of the Vegetable items for the Stir Fry.  The Vegetables that I did have on hand were:

Broccoli Stalks – I love the crunchiness of the stalks – peel the stalks and then slice thinly.


Peeled Broccoli Stalk

Peeled Broccoli Stalk


Peeled & Sliced Broccoli Stalks

Peeled & Sliced Broccoli Stalks


Green Cabbage –

Green Cabbage

Green Cabbage

Orange Carrots  – Carrots can be had in a variety of colors these days – Red, Yellow, White or even Purple.

Onions

Garlic – an absolute necessity when it comes to Stir Fry


Eight Ball Zuchinni – an interesting shape – this is a round zuchinni just about the size of a pool table ball ‘8’ ball.


Eight Ball Squash
Eight Ball Zuchinni


Garlic & Zuchinni

Garlic & Zuchinni


Ginger Root – adds amazing flavor – a little zing!  Cut off the amount you need (usually a piece about the size of a quarter) and peel.  This can be done with a teaspoon as the skin has a contrasting texture to the Ginger itself.  Then mince before using.


Ginger Root

Ginger Root


Maitaki Mushrooms – these are also known as Beech Mushrooms which also come in a white variety.  They grow together in a cluster which you can cut apart at the base leaving tiny mushrooms on a slender stem.

Maitaki Mushrooms

Maitaki Mushrooms

Maitaki-Mushrooms

Maitaki-Mushrooms


The Vegetables that I purchased for this dish were:


Bean Sprouts – I usually use Mung Bean Sprouts – just add them at the very end – these also need very little or no cooking

Mung Bean Sprouts

Mung Bean Sprouts

Bean Sprouts (2)


Chinese Pea Pods – wash and remove the strings – they need very little or no cooking

Vegetables for Stir Fry

Chinese Pea Pods, Broccoli Stalks, sliced & Zuchinni

You will want to marinate whatever Meat you are using in your Stir Fry;  Shrimp or any other Seafood should not be marinated for more than about 20 minutes.  Chicken, Beef Pork or Lam on the other hand can be marinated for several hours or even overnight.  For our Stir Fry this night I did use Shrimp.  For the Marinade I used:

Hoison Sauce – 1-2 Tbsps.

Black Bean Sauce – 1- 2 Tbsps.

Fish Sauce – 1 Tbsp.

Peanut Oil – 2 Tbsps.


To make your Stir Fry start with the Onion;  sauté in a wok or large sauté pan just to soften and then add the Garlic.  Next add the Vegetables that would need the most cooking, starting with the Cabbage and then the Carrots and lastly the Zuchinni which needs very little cooking.

  Vegetables for Stir Fry

Vegetables for Stir Fry


Once  these Vegetable are almost done (about 2-3 minutes) remove them to a covered dish and then Stir Fry the Shrimp.  Stir Fry the Shrimp in the same vessel as the Vegetables were cooked in – Shrimp should take 3-4 minutes to cook.  Add the Noodles  (if the Noodles have stuck together, just rinse them with some warm water) and combine with the Shrimp Mixture.


Shrimp-Sauce- & Noodles

Shrimp-Sauce- & Noodles

Once the Noodles have warmed and been coated with the Sauce, add the cooked Vegetables along with the Pea Pods, Bean Sprouts and the Bell Pepper.


Vegetables and Shrimp combined with the Pea Pods and Bean Sprouts added.

Vegetables and Shrimp combined with the Pea Pods and Bean Sprouts added.

Once everything is combined and hot serve immediately.  This is a great one-dish meal or can be served as a second course after a soup or salad starter.

Stir Fry in serving Dish

Stir Fry in serving Dish

Stir Fry Completed

Stir Fry Completed

Digg This
Reddit This
Stumble Now!
Buzz This
Vote on DZone
Share on Facebook
Bookmark this on Delicious
Kick It on DotNetKicks.com
Shout it
Share on LinkedIn
Bookmark this on Technorati
Post on Twitter
Google Buzz (aka. Google Reader)

Be the first to comment - What do you think?
Posted by sylveee - 2014/06/09 at 10:54 PM

Categories: Asian, Condiments, Cooking for Everyone, Dinner Ideas, Leftovers, Main, One Dish Meals   Tags: , , , , , , , , , , , ,

ONE DISH MEALS – VEGETABLE BARLEY SOUP

OKAY!  Last month I said that I never make New Year’s Resolutions, because I don’t keep them.  And here is the reason why:      I made myself a promise that I will pay more attention to this blog and try to write something, if not daily then at least twice weekly.  And guess what?  It has been more than a month since I wrote the last one.  That is hardly once a week, let alone twice a week.  Let’s see if I can redeem myself and start keeping that promise now.  ‘One Dish Meals’ was my theme last month and I am going to continue it this month.  And maybe I can get myself to do something every day.  If it becomes a habit then it will work.

Since it is still Winter in most parts of the Western Hemisphere (not So. Calif. though) hearty soups are great to make and eat.  You can make a big pot for a family or a small one for just two people.  I used to make those great big ones since I had 5 boys to feed, but now that it is just my husband and I (except when the kids drop in) I usually try to make a smaller one.  Quite honestly, even though my children have been grown for several decades now, I still find it difficult to cook in small batches;  therefore, whenever someone comes over, there is almost certainly something (leftover or otherwise) in the refrigerator for them to eat.

All that aside, here is the process for the Vegetable Barley Soup.  Bear in mind that you can use any kind of vegetable that you may have on hand.  This is a wonderful way to clean out the refrigerator and make way for future shopping trips.  Since we live in Southern California, the Farmer’s Markets operate all year round and the nearby farmer’s stands are open also.  In addition, our Super Markets do carry locally grown produce.

MAKING THE SOUP:

Start with the Barley by cooking it either in Chicken, Beef or Vegetable Stock or even Water.  Follow the cooking directions and time on the package the Barley comes in.  Be sure and cook it until it becomes tender enough to eat – this will probably take about an hour or more.


Cooking the Barley

Cooking the Barley


While the Barley is cooking, search the Vegetable Bin in your refrigerator and/or your freezer for Bags of Frozen Vegetables.  This is a good way to use up those open bags that have been partially used.  Wash, peel (if necessary) and dice or slice your Vegetables.  The method of cutting will depend on the Vegetables you are using and also your personal preferences.  Be sure and use an Onion which will give tremendous flavor to your soup.

Heat your Soup Pot over low heat while the Vegetables are being prepared.  Once all the Vegetables are ready, you can start by sautéing the diced Onion in a small amount of Olive Oil or Butter, if you prefer.  Olive Oil is the healthy way to go and has great flavor.  Sauté the Onion until it begins to brown – the longer it browns the more flavor that will be imparted.  Just don’t cook to the point where it starts burning or the flavor will be ‘burn’.  Onions have a lot of natural sugar so that when you sauté them, the Sugar helps to caramelize the Onion – a light color will give a light flavor and a darker color will give a heavier flavor.  In the photo below left, Onions and Mushrooms are being sautéed.  In this case, I used only Mushrooms Stems as I had used the caps for another dish.


Mushrooms and Onions

Mushrooms and Onions

Celery and Onions

Celery and Onions

Other Vegetables that are good to sauté before adding the liquid is Celery, Mushrooms, Leeks and Garlic if you want Garlic in your soup.  Just go easy with it so that it doesn’t overpower everything else.


Carrots and Cabbage Added

Carrots and Cabbage Added


In the photo above, Carrots and shredded cabbage was added along with peas and frozen corn.  If using frozen vegetables along with the fresh, add the frozen Vegetables at the end of the cooking period – do not let them cook more than 5 minutes.  Again, use whatever you have on hand.  Once the Vegetables are sautéed and the Barley is fully cooked combine the two mixtures.  For seasoning Basil, Bay Leaves Salt and Pepper may be added.  Add the Bay Leaves to the Barley while it is cooking and if you use fresh Basil, add it at the end, just before serving.  If using dried Basil, then it may be added once you add the Cooked Barley and Broth to the Vegetables.  Season according to your own tastes.  In the soup pictured, Vegetable Juice was added for more flavor.  Tomato Juice may also be used.

This is a good hearty winter soup that if served with fresh bread can actually be your complete meal.  If meat is desired, sliced Chicken Breast or any leftover meat may be used.  If desired, ground Beef may be sautéed along with the Vegetables.  If you are a Vegan or Vegetarian, cook the Barley in Vegetable Broth or Tomato Juice or just plain Water.  If desired, tiny Pasty may also be added.


Try this dish tonight!  It is easy to make, delicious to eat and nourishing!


Finished Soup

Finished Soup


Digg This
Reddit This
Stumble Now!
Buzz This
Vote on DZone
Share on Facebook
Bookmark this on Delicious
Kick It on DotNetKicks.com
Shout it
Share on LinkedIn
Bookmark this on Technorati
Post on Twitter
Google Buzz (aka. Google Reader)

Be the first to comment - What do you think?
Posted by sylveee - 2014/02/20 at 10:55 PM

Categories: Cooking for Everyone, Dinner Ideas, Leftovers, Main, One Dish Meals   Tags: