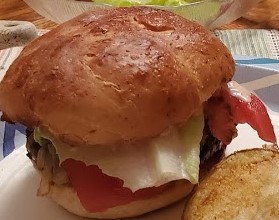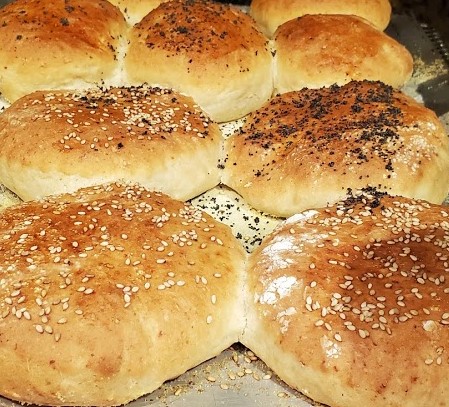
Culinary Makeover #21 – Trickle Down Leftover Recycling (Burger Buns from Cheesy Cauliflower)
In my previous post I mentioned that I was going to try and use up all the food in my freezer and/or refrigerator. I have made pretty good progress but have not got around to posting it. This post will be sort of fun because as the title suggests, it is a ‘trickle-down’ recycle or in other words, recycling the recycled. Now, it is not really like it sounds. The main ingredients are recycled only once and the twice recycled is just sort of using the leftovers as you will see when you read the rest of the post.
My husband Everett, loves Mac and Cheese. I sometimes make it but he wants it so often, that I tried resorting to purchasing small portions of it from Trader Joe’s and/or Bob Evans Mac and Cheese from the local market. While these are fairly good products, the Mac and Cheese that I make is so much better that I decided to make a large portion of it – having it for dinner one night and then packaging the rest in lunch size container and freezing it for use when needed. I made so much sauce that there was actually some leftover. You can put a lot of Cheese Sauce in the Macaroni but only so much!
So, the first recycled product was Cauliflower made with the leftover Cheese Sauce. Cauliflower is good for you but taste wise, just so so. But I couldn’t resist the pretty heads that had at our local Farmer’s Market so of course I purchased one.
Before I continue with the recycling portion of this post listed below are the nutritional benefits of cauliflower.
Calories per serving 25
Fiber 3 grams
Vitamin C 77% of the RDI
Vitamin K 20% of the RDI
Vitaming B6 11%
Folate 14%
Pantothenic Acid 7%
Potassium 9%
Manganese 8%
Magnesuim 4%
Phosphorus 4%
So, as you can see whether or not you specifically love or don’t love cauliflower, it is beneficial to eat it. So, with this in mind I did cook the Cauliflower by separating the segments and washing it thoroughly and then cooking it in the microwave. Vegetables are about the only thing that I will cook in the microwave and cauliflower cooks up in a manner of a few minutes. When we were ready to eat dinner, I just put the covered dish of cauliflower into the microwave for about 2-3 minutes depending on the quantity and your microwave. Then I removed it from the microwave and topped it with the leftover Cheese Sauce from the Mac and Cheese. Voila! Cauliflower with a Cheesy Sauce tastes quite good.
But we are only two people who can eat just so much cauliflower at one time and since I don’t like using leftovers without doing something to change them I did do something quite unusual to recycle the Cheesy Cauliflower and this was to make Hamburger Buns! Yes! Hamburger Buns made from Cauliflower. Now, these are not Buns for people who want gluten-free bread products as there is definitely wheat flour in these buns.
Here is the procedure for making the Buns! (Or go to recipes (bread) for more concise directions.
- I had approximately 1 cup of Cheesy Cauliflower segments left over which I pulverized in the Food Processor.

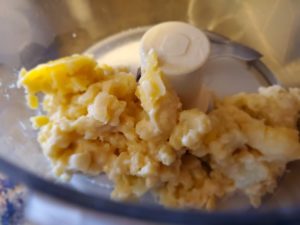
- I added 1 cup of warm water to the pulverized Cheesy Cauliflower along with 1 tablespoon of Active Dry Yeast and 1 Tbsp. of Sugar.
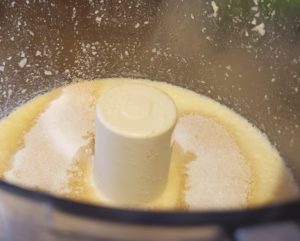
- Next I added 2 cups All-Purpose Flour to the mixture and ran the processor just long enough to mix the ingredients together.
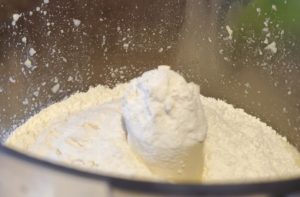
- Once the foregoing ingredients were well-blended I changed the chopping blade to the dough blade and added more Flour to the mixture as needed. I ended up adding an additional 2 cups of flour so that there 4 cups used altogether.
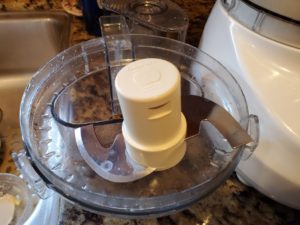
- I ran all the ingredients together for one minute and then transferred the dough to a greased and floured bowl and covered it with plastic wrap.
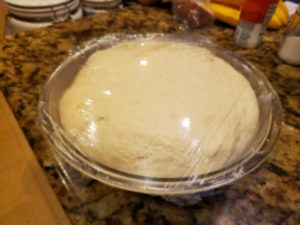
- Once the Dough had doubled in size (approximately 1 hour depending on the warmth of the room) I punched the Dough down and formed it into buns.
- I shaped the buns two different ways:
- a. I rolled out the Dough and cut circle with a large round cutter.
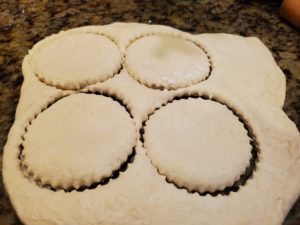
- b. I then kneaded the scraps together and divided them into segments which I rolled into balls and then flattened them.
- c. The second method yielded small buns which would be ideal for children or those with small appetites.. For those with large appetites, the first method would be more appropriate.
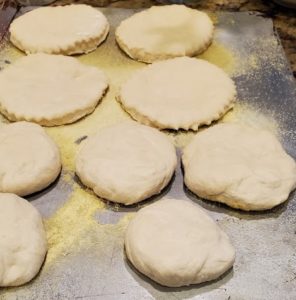
- The shaped buns were placed on greased baking sheets which had been sprinkled with cornmeal and then covered. Once the buns had risen to double their size, I placed them in a cold oven and turned the heat on to 375 degrees. Placing the buns in a cold oven gives them a little more raising time and gives a lighter product.
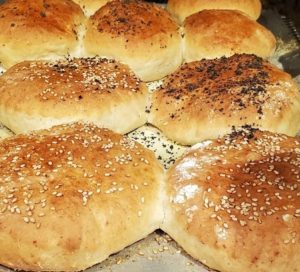
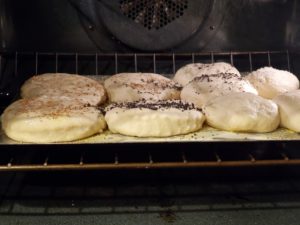
- Baking time was approximately 20 minutes or until they are nicely browned on top and on the bottom as well. You can lift one up with a metal spatula to check the bottom.
We used the buns for Burgers and had quite a few leftover for other sandwiches as well. We used the larger buns for Steak and Mushroom Sandwiches the following night. Nope – not leftover Steak although there was some leftover from this dinner for lunch the following day.
