LET’S BAKE!
The first week in April is ‘National Bake Week’. What a wonderful week to proclaim as most ofus know that there is nothing as welcoming as the aroma of fresh baking permeating the air. There are cookies and pies and pastries; chocolate and vanilla and almond and Cinnamon. All the flavors and essences that go into fresh baked products.
My blogs this week will pay homage to ‘National Bake Week and I will start out today as I start my Teen Baking Camps during the summer. And that is with the baking of bread. If you can bake a loaf of bread, then you can most likely bake anything. Some people will think that starting with bread may be too difficult, but it really isn’t. I am talking about yeast breads, not the quick variety of bread that is made with baking powder or baking soda and is not sturdy enough to toast or make a sandwich out of.
The nice thing about yeast breads is that it is very difficult to over mix as it is with chemical leavening agents. Basic Yeast breads contain flour which contains gluten which is what forms the walls of your bread. In addition, there is of course yeast, sugar or another sweetener to feed the yeast (yeast is a live organism which needs food and warm liquid to multiply) and a liquid, usually water. These are the basic ingredients. From just these four ingredients you can make flat bread (pizza dough), French Bread or Sourdough Bread. Add Butter or Oil and your bread becomes softer and longer lasting. Add Eggs and you have Egg Bread which is even softer and is great for French Toast, Cinnamon Rolls or Danish.
The type of flour that you use for you bread depends on how you want your bread to turn out. You can use All-Purpose Flour which as its name implies can be used for most anything. Whole Wheat Flour can be used to substitute for part of the White Flour. If you want your Bread to have a good structure use Bread Flour which has more Gluten than All-Purpose Flour. If you do use Bread Flour you will probably want to make your bread in your Standing Mixer or Food Processor as Bread Flour is harder to knead by hand. Corn Flour can be used for part of the Bread or All-Purpose Flour as well as Rye which is used of course to make Rye Bread.
The sweeteners that are used for bread are sugar, honey, molasses (wheat bread), or malt powder. Even though there is some sugar in flour (maltose) most bread recipes call for a sweetener in a small amount, usually not more than 1 Tablespoon unless of course, you are making a sweet bread.
The liquids that are used for bread can be water, juice, milk (I prefer to use Instant Dry Milk as the enzymes in fresh milk, unless scalded will inhibit the yeast from developing).
If you want a whole list of Yeast Breads we could probably fill up the whole page, but from here on in, I am going to describe the bread that I decided to start ‘National Bake Week’ with.
I am a lover of Olives and I had a jar of pitted Kalamata Olives (Greek Olives) in my refrigerator, so I decided to make a loaf of Olive Bread. I wanted my bread to have an Italian or Mediterranean flavor appeal as I was going to serve it with a homemade pasta dinner. Having just made the pasta and used some semolina flour along with my All-Purpose Flour, I decided that the Bread would also have some Semolina in it.
I roughly chopped the Olives in my Food Processor with the Metal Chopping Blade and then switched to the Dough Blade. (Actually, for this type of bread, it would have been better to use my Kitchen Aid as the Olives do tend to change the texture of the bread.) To the chopped Olives I added about a cup of Semolina and 2 -3 cups of Bread Flour – I don’t measure. When making bread you don’t necessarily go by measurements, but by feel. You want the texture of the bread dough to be soft but not dry and not wet. For this reason, it is best for new bread makers to knead their dough by hand until they become accustomed to how the dough should look and feel.
However, since I made my dough in the Food Processor I will describe the method I used for it. To the Olives and Flour I added 2 teaspoons of Salt and 1 Tablespoon of Yeast and 1 Tablespoon of Sugar. I put the top on and took off the small feed tube. While the machine was running, I slowly added the water along with 2 Tablespoons of Olive Oil. Once enough water had been added, I allowed the Dough to knead for one minute. If you are doing this in your Kitchen-Aid or other standing mixer, you must knead for at least 7 minutes. If you are kneading by hand, then you must knead for at least 10 minutes.
Once the knead had reached the consistency and texture that I wanted, I removed it from the Food Processor Bowl and put it in a greased bowl and then covered it with plastic wrap. Since I had decided at a late hour to make the Dough and wanted it to be ready for dinner I had to do a fast rise. This is how I did it.
While I was making the Dough I heated my oven to 200 degrees and then shut it off and left the door open for about 10 minutes. This allowed just enough warmth to help the dough rise without cooking it. If the yeast gets too hot, it will die and not be able to grow and release carbon dioxide to make your bread rise. I placed the covered bowl with the dough in it in the oven for about half an hour or until the dough had doubled in bulk.

Then I punched down the dough, flattened and shaped it into a long loaf. To form the loaf, I flattened the dough into a rectangle about 10 x 8 and then folded over ¼ on the long side and flattened it down.
")
")
I then folded over the same amount on the other side and did the same thing.


Next I folded the whole thing in half and flattened it again being sure to seal the opened edges. I then returned it to the oven and let it rise again until doubled in bulk. Fortunately, I have a double oven, so the raising was done in the top oven. While the dough was rising, I heated my pizza stone in the bottom oven at 500 degrees. When the stone was heated and the bread had risen sufficiently, I turned the oven down to 375 degrees and baked my bread. It took about 45 minutes to bake completely. If you are using a pizza stone be sure to sprinkle some cornmeal on it and on the peel from which you will slide your loaf onto the stone.
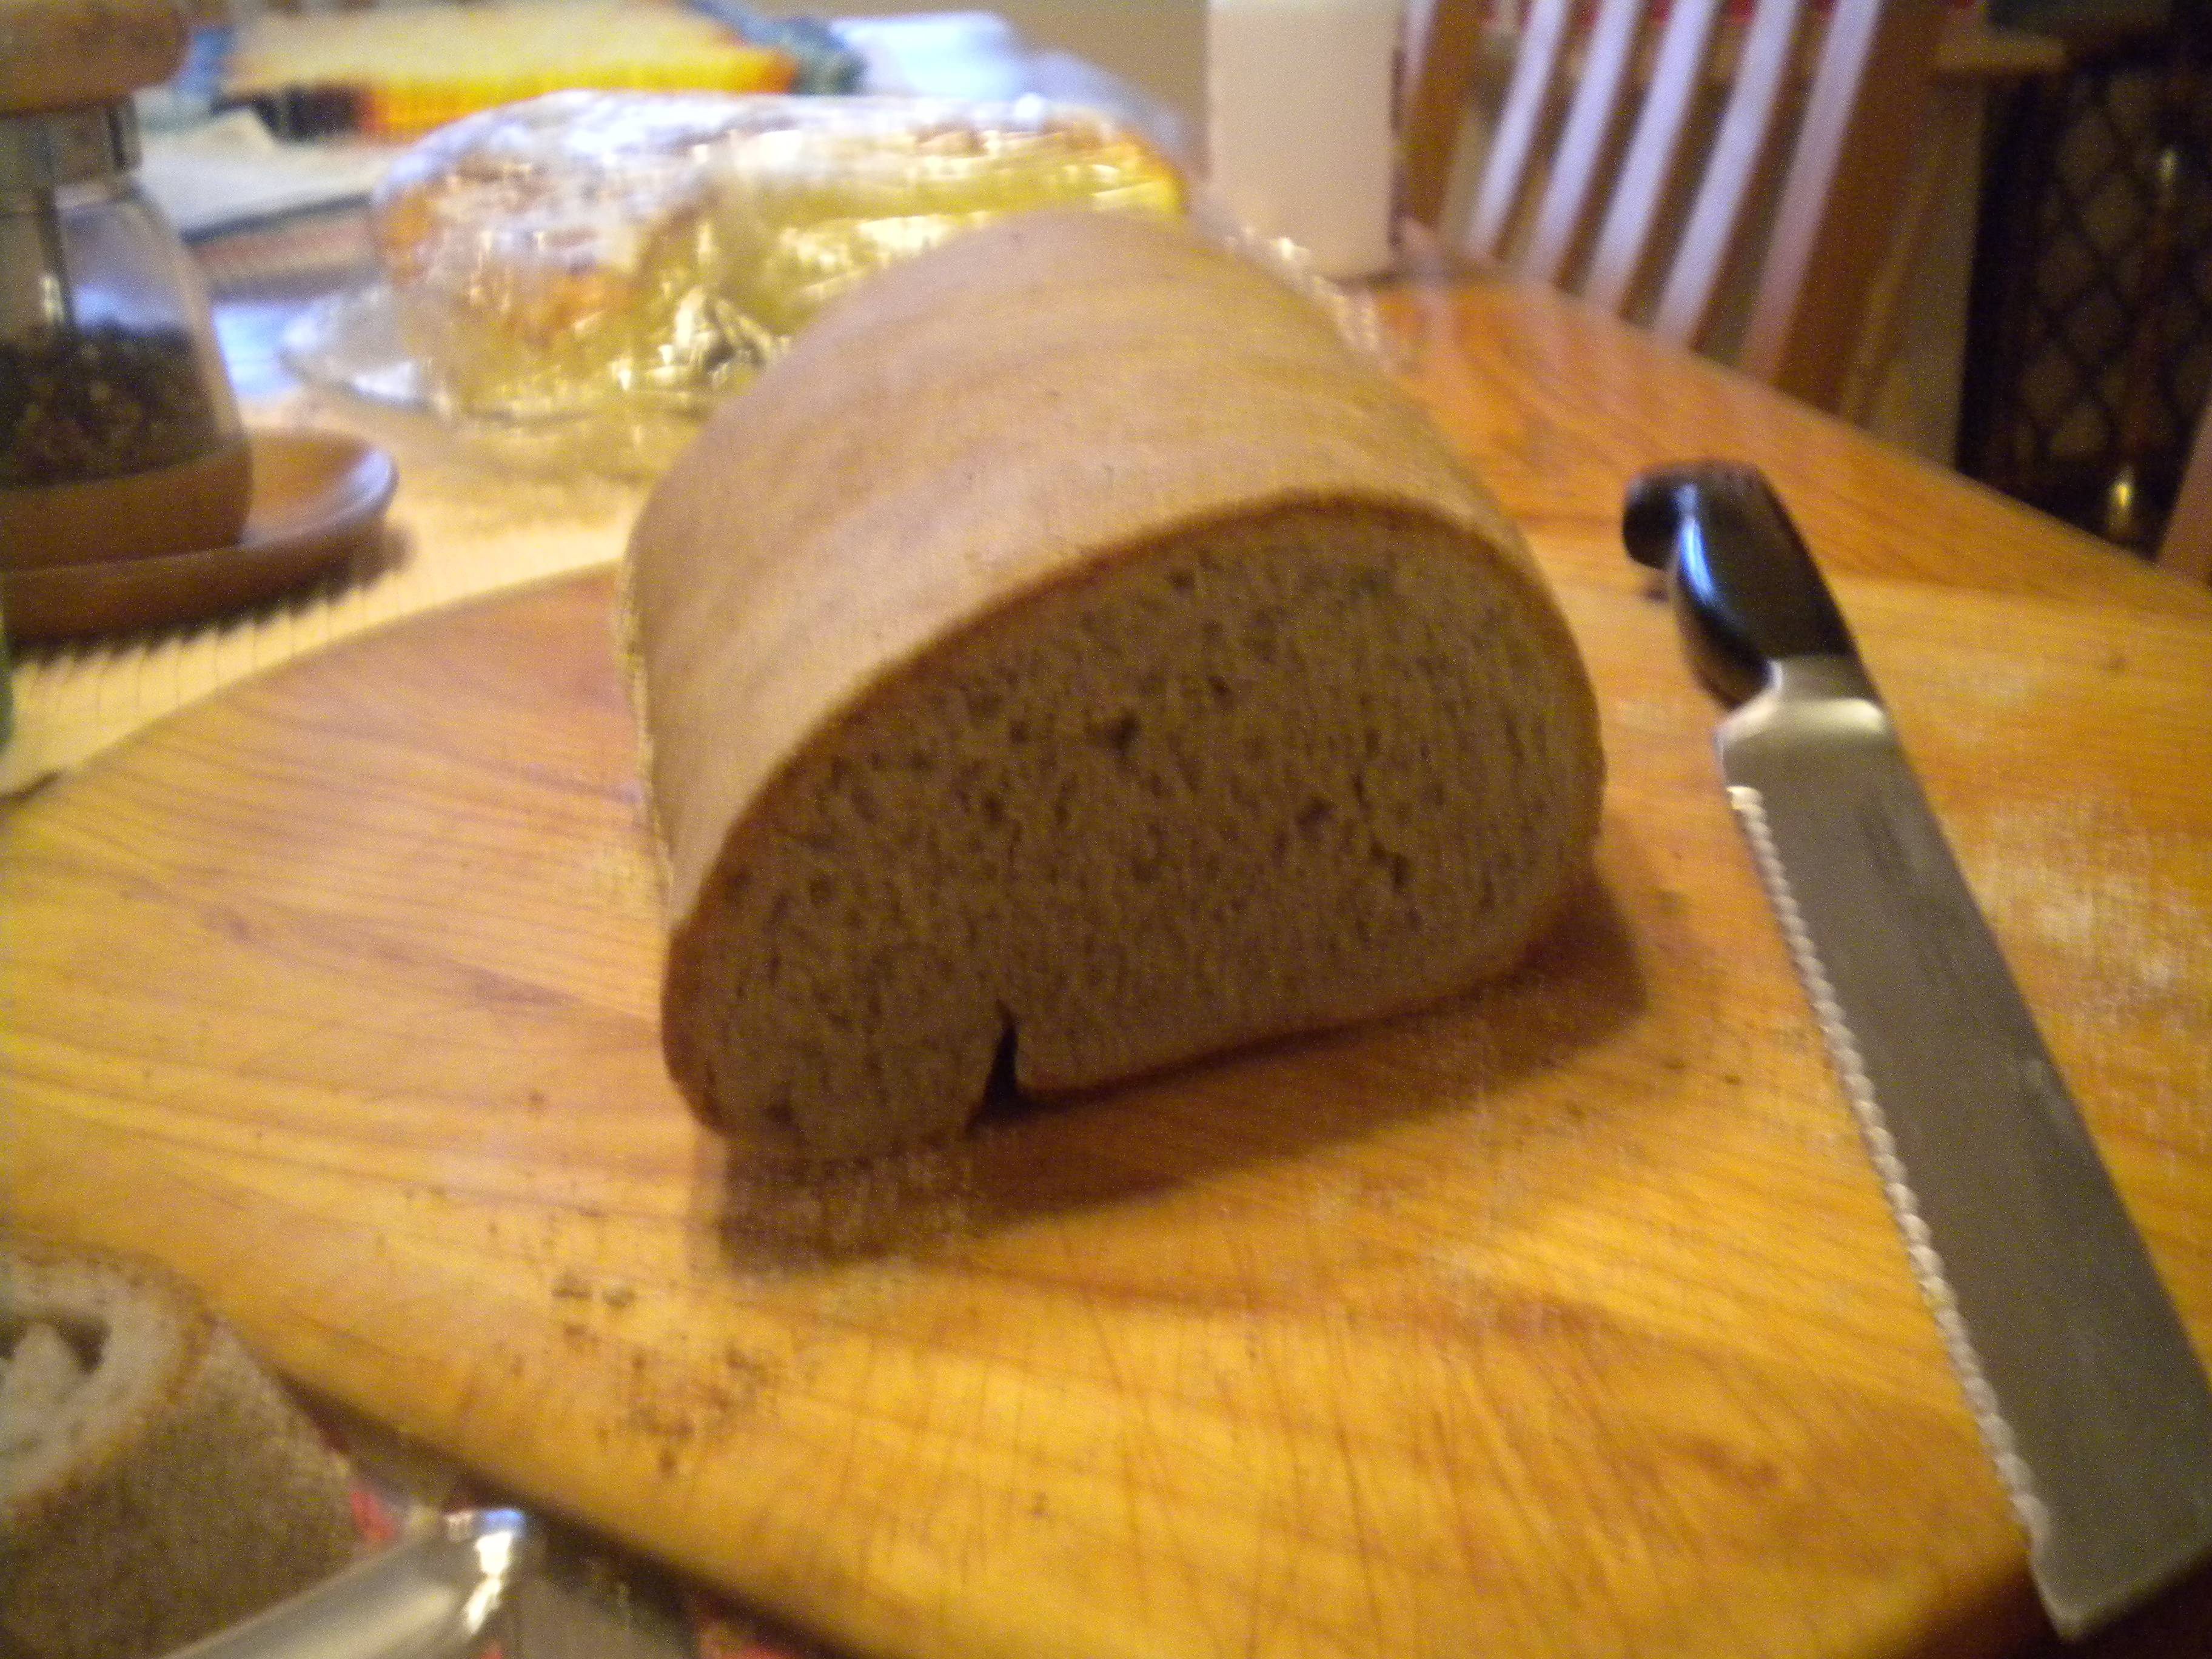
When the bread is done, it will sound hollow when tapped on the bottom. Next take it out and place it on a wire rack to cool. Once the bread has cooled sufficiently so that you can touch it without burning yourself, you can then slice it and serve it. To slice a warm loaf of bread, heat your bread knife under hot running water and then dry it with a clean towel. This will make it easier to slice.
A bread knife is always a serrated knife as the best way to cut bread is to use a sawing motion. If you use a straight edge knife you will have to press down and that will squash the bread.
For large slices, cut your bread at an angle. For smaller slices cut t straight across.
One last thought on bread making. If it seems too hard to you, just try before you negate the process. One of the wonderful things about bread making is that it helps to get rid of the frustrations of a hard working day. It lets you get rid of the stress in a constructive manner. When you are done making bread, you feel less bodilyand mental tension and you end up with a delicious loaf of bread that can be used for breakfast as toast, or lunch as a sandwich or with an Olive Oil Dip for dinner. Try it at least once and you will definitely be hooked forever!
")
For Bread Recipes please see Recipes/Baking/Bread