MAKING MOLASSES DOUGHNUTS
NATIONAL FOOD DAYS
NATIONAL DOUGHNUT DAY
Friday, June 1st is National Doughnut Day. You can either go out and buy some or stay home and make some. Making doughnuts can be fun, if not messy but think how tasty, those Doughnuts, right off the fire would be. I decided to make some Molasses Doughnuts for National Doughnut Day. I have made these before at home and at school with my students. Molasses Doughnuts originated in New England where baked goods with molasses are frequently made. This particular was included in my Regional US Cooking Camp last summer. Read and watch below for the actual procedure in making these Doughnuts at home. See the Recipe in the Recipe Section of this Blog.
First off, make sure you have all the correct ingredients which are:
Molasses, Buttermilk, Melted Butter, Eggs, Sugar, Flour, Baking Soda, Cinnamon, Ground Ginger, Nutmet & Oil for Frying.
Next make sure you have the correct equipment which includes:
Electric Stand Mixer or Hand Mixer or Food Processor, Medium Mixing Bowl, Small Mixing Bowl,
Liquid Measuring Cups, Dry Measuring Cups, Measuring Spoons
Rolling Pin & Stockinette

Bench Knife or Dough Scraper
Doughnut Cutter or Biscuit Cutter & Canapé Cutter or Thimble

Deep Fryer
Jelly Roll Pan or Baking Sheet with shallow sides
Silpat or Parchment
")
Spider, Slotted Spoon or Tongs & Cooling Rack

To make the Doughnuts, set out all the equipment and measure the ingredients.
Combine the Molasses, Buttermilk and melted Butter.
Combine the Dry Ingredients.
Place the Eggs and 1 cup of Sugar in the Electric Mixer with the Whisk Attachment in place. Beat at full speed until the mixture becomes light in color and thick enough to form ribbons when the beater is lifted up.
Beat in the Buttermilk Mixture and then stir in the Dry Ingredients, 1 cup at a time, beating well after each addition.
Cover the bowl and refrigerate the Dough for at least 30 minutes.
Lightly dust a flat surface with flour and rub flour into your stockinette covered rolling pin. Roll out half the Dough to ½” thickness. (Refrigerate the remaining Dough until ready to use it)

Cut out Circles with a Doughnut Cutter or a Round Cookie Cutter. If you are using the Cookie Cutter, cut out small circles from the middle with a Canapé Cutter or a thimble. (Cutting out the center will insure that the Doughnuts cook all the way through)
")

Place the cut out Dough on a silpat ® or parchment covered baking sheet. While you are cutting out the dough begin heating about 3 inches of Oil (Peanut Oil, if no allergies, is best) or use Vegetable Oil. The oil should reach 360 degrees on a deep fat thermometer or use a laser thermometer.
Place 1 cup of Granulated Sugar in a 1 gallon plastic bag or a paper bag.
Cook the Doughnuts in the hot oil; when the Doughnuts puff up and brown on the bottom, carefully turn over, using a spider or tongs. Cook on the other side until a dark golden brown.

Use the spider or tongs to transfer to a cooling rack placed on a jelly roll pan or a large baking pan with shallow sides.
Once the Doughnuts are cool enough to handle, place 1 at a time in the bag with the Sugar and gently toss, to coat the Doughnuts.

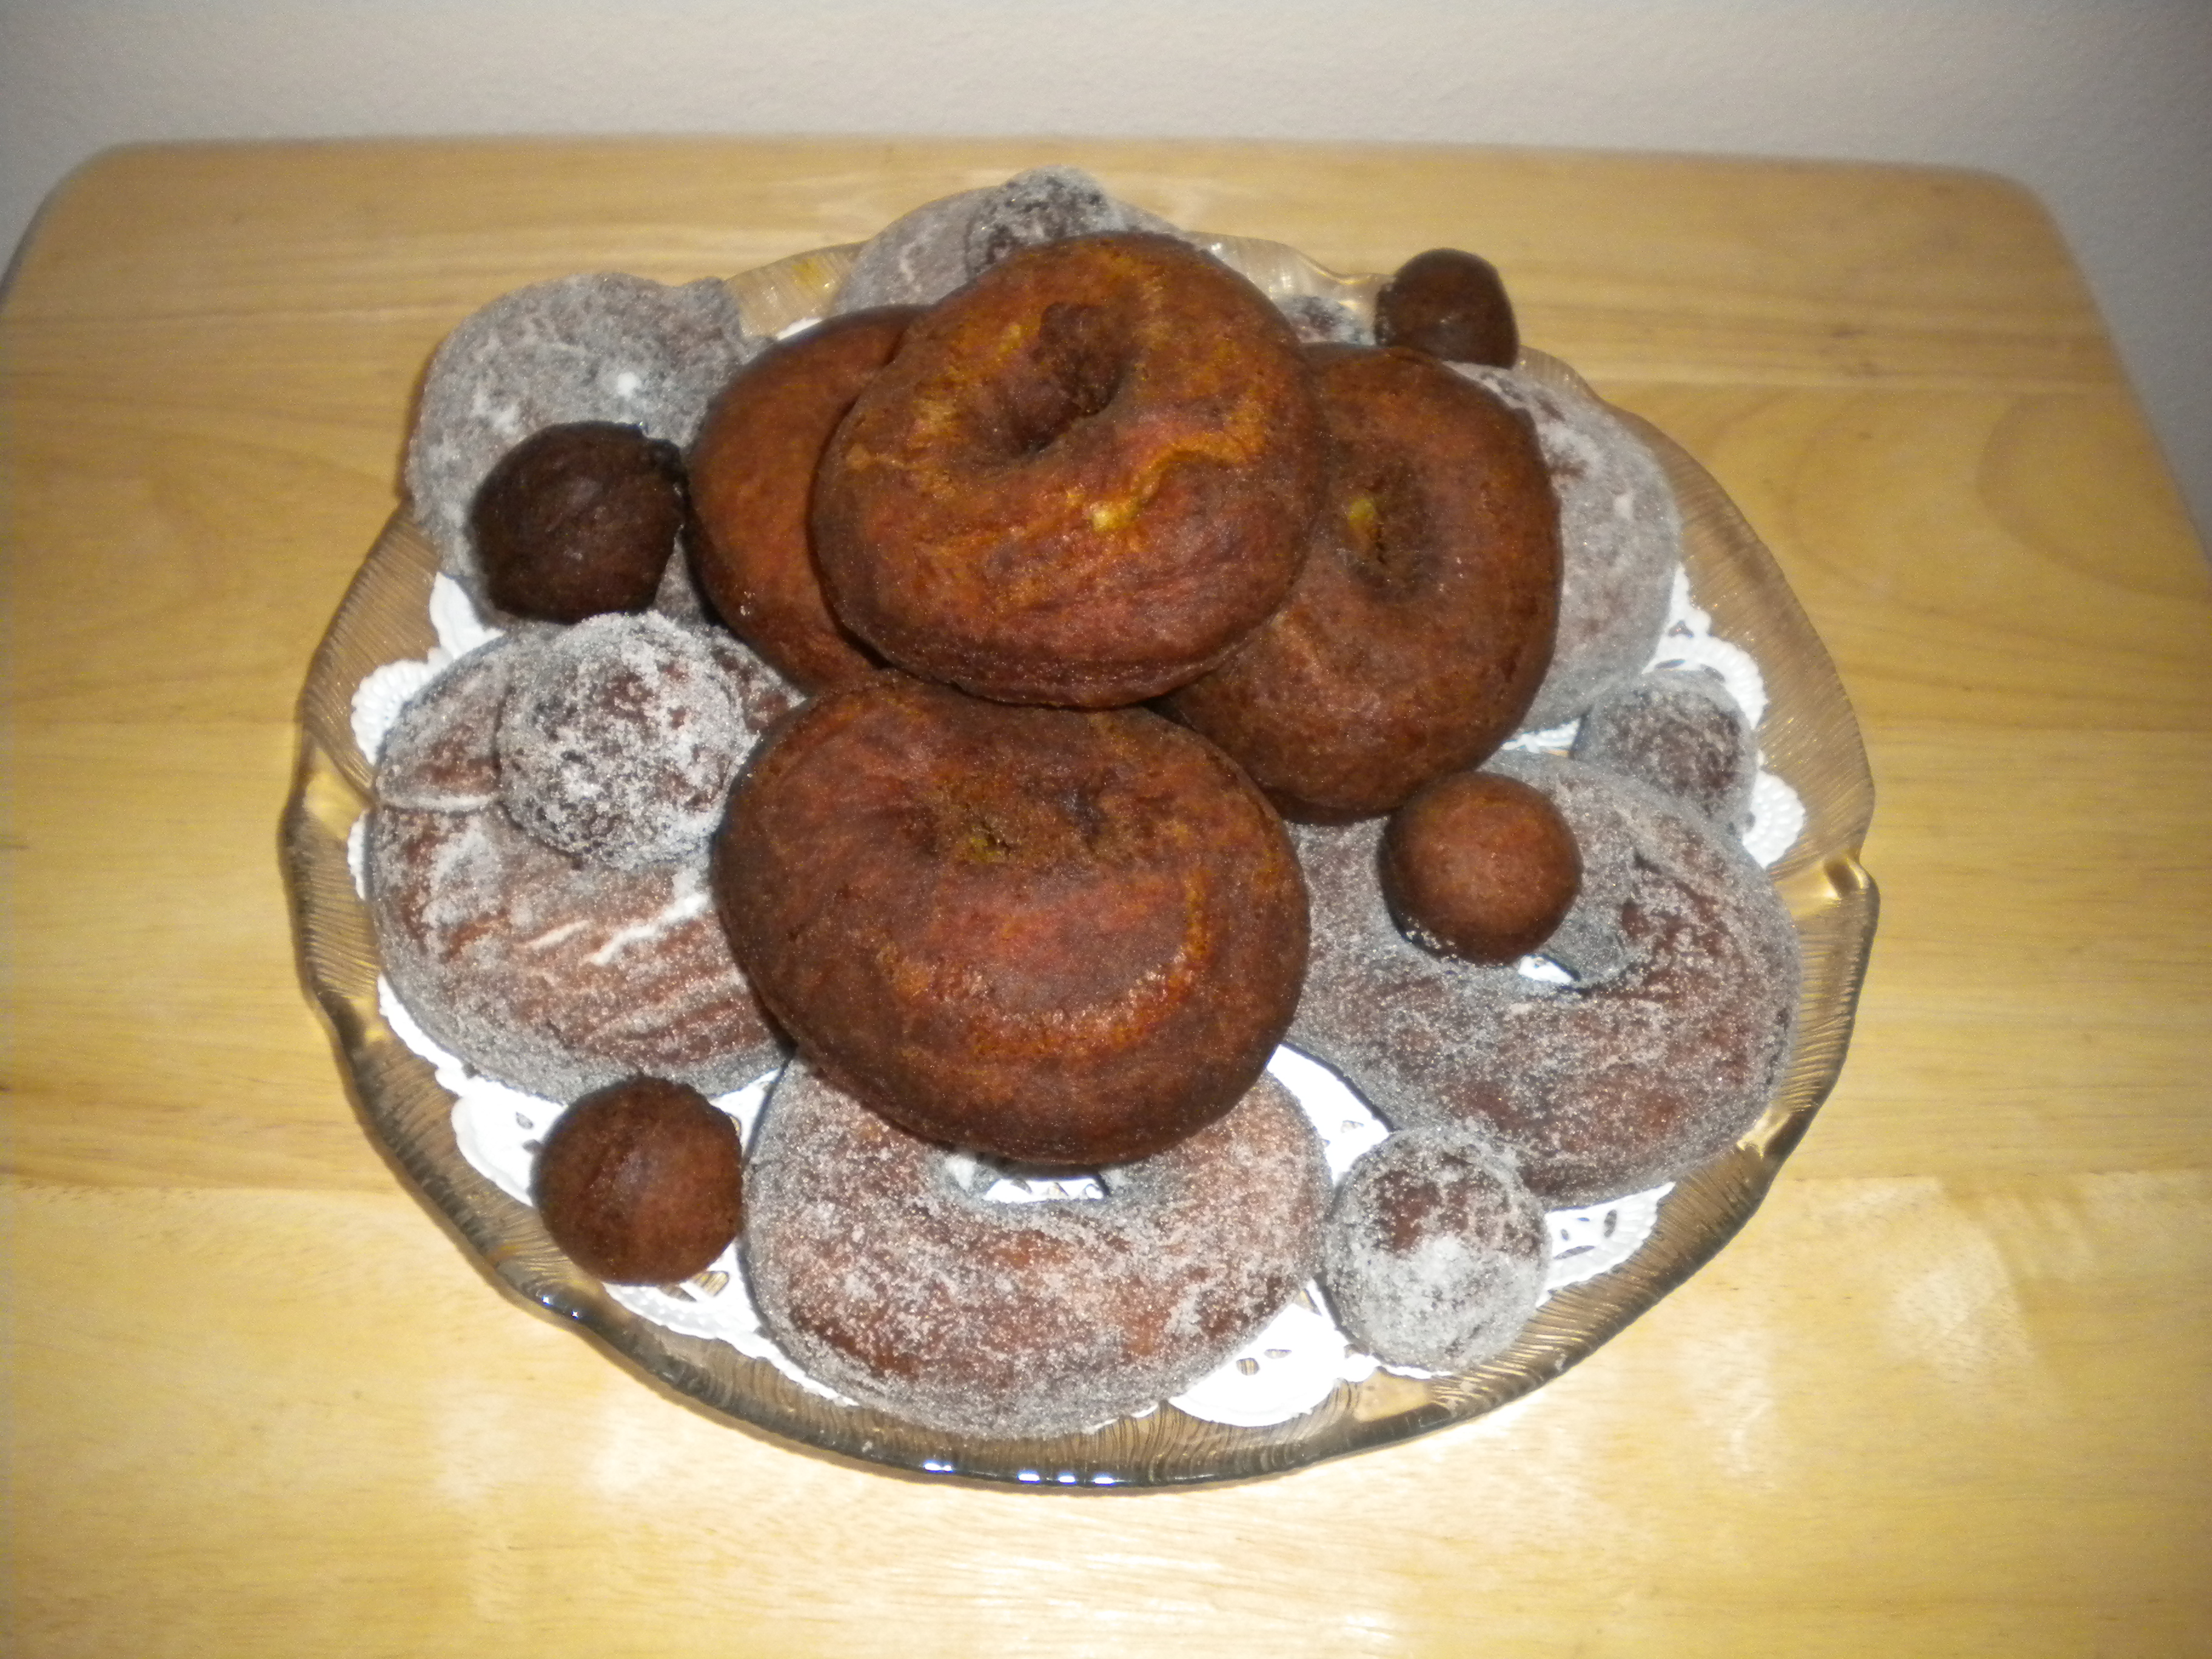
Transfer to a serving platter that is covered with a doily.

The recipe will make 24 Doughnuts and 24 Doughnut Holes.
This is a very tasty Doughnut that will keep for several days. These are delicious for breakfast along with a scramble egg or just for snacking.
Try them and see!